Filmora Video Editor Online: What It Is and How to Use It
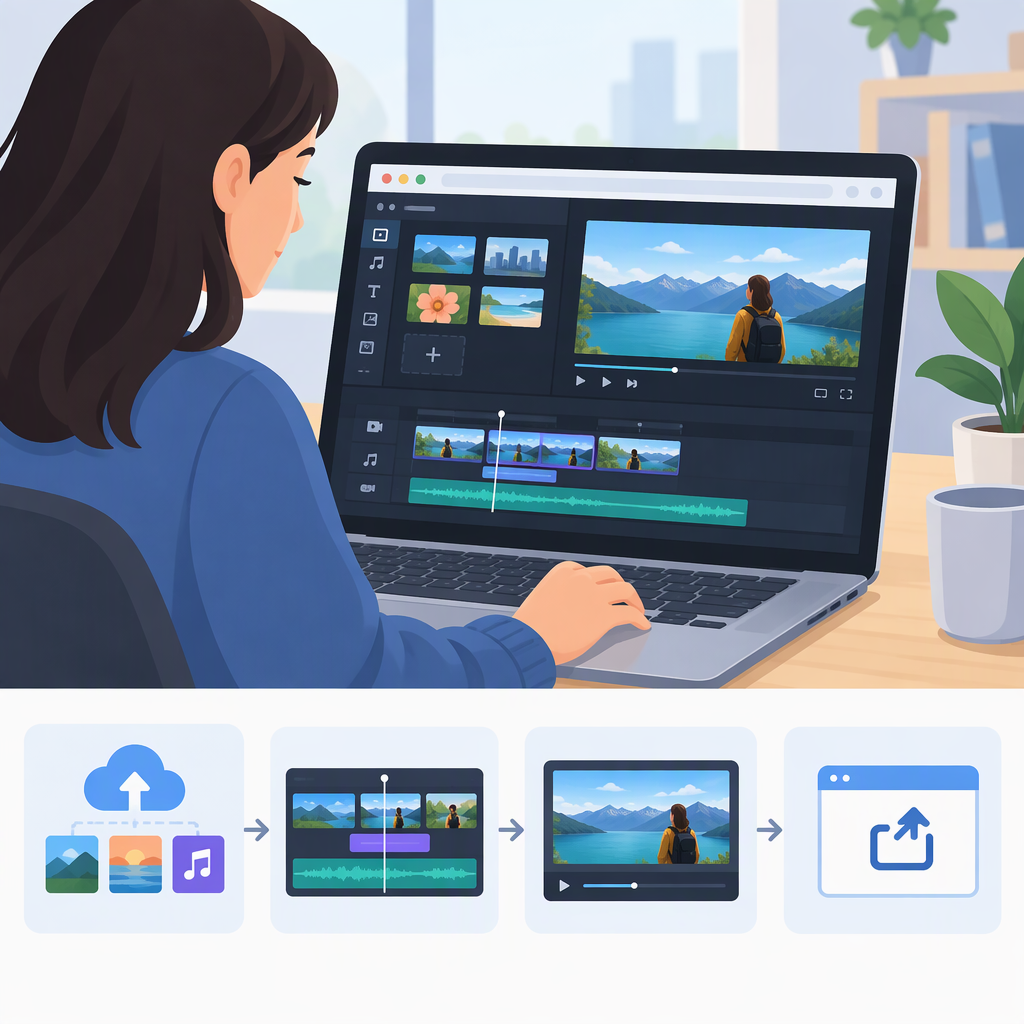
Filmora Online is a browser-based editing option presented separately from Filmora’s installed desktop editor. Filmora’s official online-editor page describes a simple route: upload videos, edit them online, then share the result. It mentions template-based editing, resizing for social platforms, and cloud storage. The page describes this as “light editing,” so don’t assume it has the same workflow or controls as the desktop app. (filmora.wondershare.com)
Is Filmora Online a Browser Editor or an App?
It can refer to either, so choose the route that fits your task:
- Want to edit in a browser without installing the desktop editor? The official Filmora Online page presents a web-based option. Its overview describes uploading video, making edits, and sharing the result. (filmora.wondershare.com)
- Want a timeline-based desktop workflow? Filmora’s separate Windows user guide documents importing media, arranging clips on a timeline, trimming or splitting clips, previewing, and exporting. Those are Windows-app instructions—not instructions for the browser editor. (filmora.wondershare.com)
The online-editor overview does not establish which browsers or devices are supported, whether an account is required, or whether every project can be downloaded as a local video file. Check those points in the online editor itself before uploading important footage or relying on a particular output method.
Basic Workflow in Filmora Online
Filmora’s public overview gives a high-level workflow, but not a complete click-by-click tutorial. Based on the steps it documents:
- Open the Filmora Online editor in a browser.
- Upload the video or videos you want to use.
- Make a light edit. The page highlights templates and resizing a video for a social platform; it does not document the exact controls for trimming, arranging clips, or adding other elements. (filmora.wondershare.com)
- Review the result, then use the online route’s sharing option if it fits your goal. Filmora describes distribution and cloud storage, but its overview does not specify a local-download procedure. (filmora.wondershare.com)
Before starting: If you need precise timeline edits or a confirmed local export, don’t assume the browser workflow offers the same options as the desktop app. The available online-editor overview is too general to confirm those details.
Desktop Alternative: A Documented Windows Workflow
If you are using the installed Windows editor rather than Filmora Online, the official Windows guide documents this basic edit-to-file sequence:
- Create or open a project and import your video and other media. Filmora’s Windows guide covers media import. (filmora.wondershare.com)
- Add clips to the timeline. Arrange them, then trim or split footage to remove unwanted sections. (filmora.wondershare.com)
- Preview the edit and make any needed adjustments. The Windows guide includes playback preview among its editing topics. (filmora.wondershare.com)
- Open Export, choose a local output, and set the file name and save location. Filmora’s export guidance describes choosing a format and adjusting settings such as resolution and frame rate before exporting. (filmora.wondershare.com)
- After export, locate the saved file and play it back to confirm it looks and sounds as intended.
These steps are for the documented Windows desktop workflow. Interface labels and available options may differ in Filmora Online, Mac, or mobile versions; don’t transfer desktop instructions to those routes without checking their own guidance.
Which Route Should You Choose?
Choose Filmora Online when you specifically want the browser-based option and its documented upload, light-editing, and sharing workflow suits your project. Choose the installed Windows editor when you need the documented timeline workflow and local export controls. If your must-have is downloading a finished file from the browser editor, confirm that option in the current online interface first: the public overview does not spell it out.