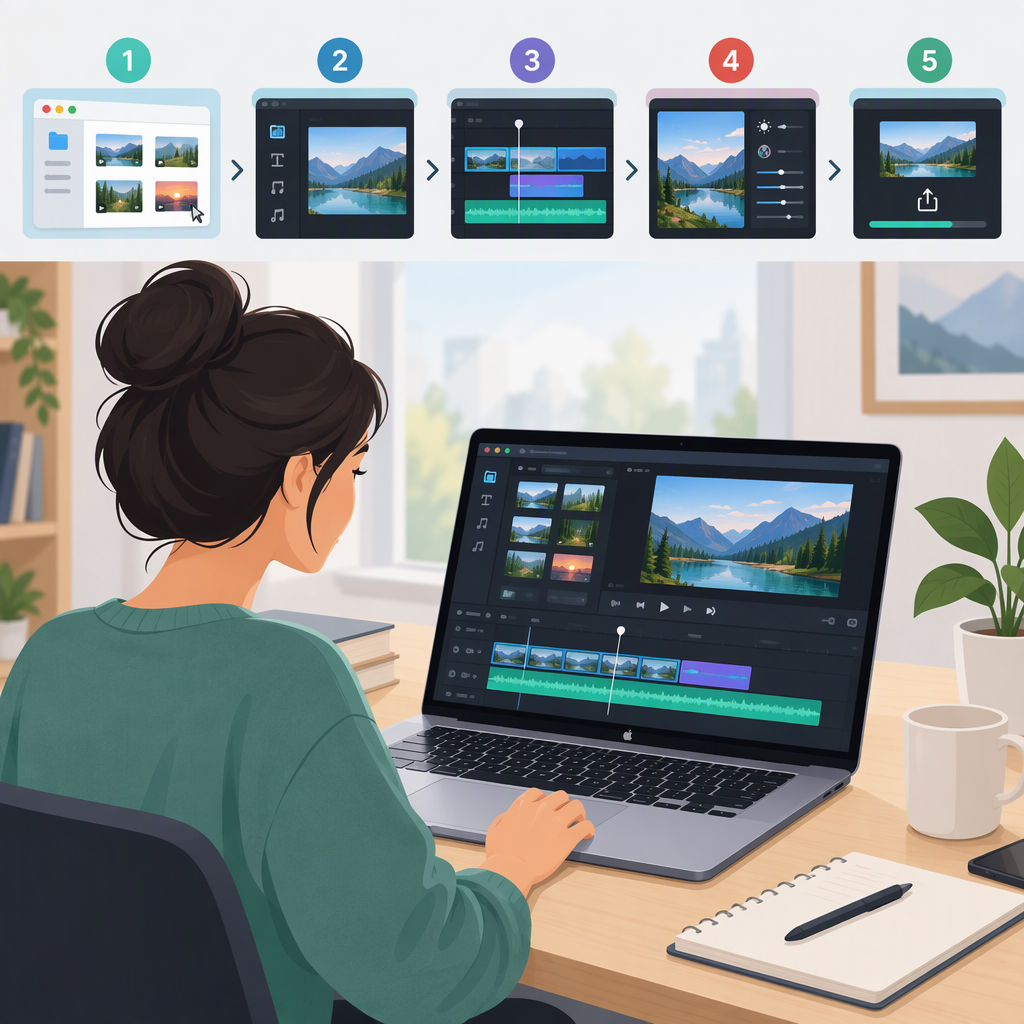
How to Use Filmora on a Mac: A Beginner’s Editing Workflow
Filmora on Mac follows a straightforward editing sequence: check that your Mac and macOS meet the requirements for your Filmora version, create a project, import and arrange your media, make basic cuts, then export a video for its intended use. Wondershare’s current Mac guide identifies its latest-version section as Filmora 16; however, interface directions can vary across releases, so match them to the version installed on your Mac. (filmora.wondershare.com)
1. Check Compatibility and Prepare Your Files
Before beginning, compare your Mac with Filmora’s published Mac system requirements. The requirements page lists macOS 10.15 through macOS 26 as supported and says macOS 15 and 26 require Filmora V13 or later. It lists 8 GB RAM, with 16 GB required for HD and 4K video, and at least 10 GB of free disk space for installation. Requirements can vary by task and software version, so check the page against your setup rather than treating one specification as a guarantee of smooth editing. (filmora.wondershare.com)
Keep your source video, photos, and audio in a location you can find again. A Filmora project file stores editing decisions and refers to your original media; it does not contain the source files themselves. Moving or renaming those files can leave the project unable to locate them. (filmora.wondershare.com)
2. Start a Project
- Open Filmora for Mac and choose Create Project or New Project, depending on the startup screen in your version.
- Choose an aspect ratio that fits the intended video shape. Filmora’s Mac project guide documents creating a project from the startup window and setting project parameters; the available labels may differ by release. (filmora.wondershare.com)
- Save the project so you can return to your editable timeline. Keep the source media where it is, or use an available project-collection option if you need to move the project with its media. (filmora.wondershare.com)
You’re ready to edit when: the project opens in Filmora and you can see the editing workspace and timeline.
3. Import and Assemble a Simple Edit
- Import your media. In Filmora’s Mac guide, documented ways include using the import control in the Media Library, choosing File > Import Media > Import Media Files, or dragging files into the library. The exact menu wording can depend on the installed version. (filmora.wondershare.com)
- Place clips on the timeline. Drag a clip from the Media Library onto the timeline. Add the next clip after it, then play the sequence to review the order and pacing. (filmora.wondershare.com)
- Trim the beginning or end. Select a clip and drag its edge inward to remove unwanted material from that end. This changes the portion used in the edit; keep the original source file unchanged if you may need it later. Filmora’s Mac documentation also describes splitting with the playhead’s Split button, a timeline scissors control, or a clip context menu. (filmora.wondershare.com)
- Split to remove a section from the middle. Position the playhead at the first cut and split the clip. Repeat at the second cut, select the separated unwanted section, and remove it. Play the timeline afterward to check that the remaining clips meet as intended. The documented split methods are Mac-specific; if the controls differ in your release, consult the guide for that version. (filmora.wondershare.com)
- Add audio only if needed. Import an audio file and place it on an audio track in the timeline. Filmora’s Mac audio guide documents importing audio from the Mac or dragging it into the Media Library, then moving it onto the timeline. Preview the edit to check that the audio starts and ends where you want. (filmora.wondershare.com)
Worked example: For a short sequence from three phone clips, import all three, place them in story order, trim unwanted starts or endings, and split around any pause you want to remove. Play the full timeline before exporting. This example illustrates a general editing workflow; it is not a claim about a tested project or a required Filmora preset.
4. Choose Export Settings and Save the Video
When the timeline is ready, open Filmora’s export workflow and choose an export to your computer or device. Filmora’s Mac documentation covers local export and an export window with configurable options. Follow the labels shown in your installed version if they differ from the guide. (filmora.wondershare.com)
Choose settings based on the source footage and where the video will be watched or shared. If a destination specifies a format, resolution, or frame rate, use those requirements. Otherwise, avoid assuming that one combination is best for every video: higher-resolution or higher-quality output can require more storage, and a setting that differs from the footage may not improve the result. These are general editing considerations, not a Filmora-specific preset recommendation.
Before starting the export, confirm the selected output location and file name. After export finishes, open the saved video and check the beginning, a few points in the middle, the ending, and the audio. This final review helps catch an incomplete export or an edit that needs another adjustment.
Basic Completion Checklist
- The project opens and its source files are still available.
- Clips appear in the intended order, and unwanted sections have been removed.
- Any added audio plays as intended.
- Export choices match the video’s intended use or the destination’s stated requirements.
- The exported file is saved where expected and plays through.
Filmora’s official Mac user guide and Mac compatibility page are the references to consult when your installed version or system differs from the scope described here.