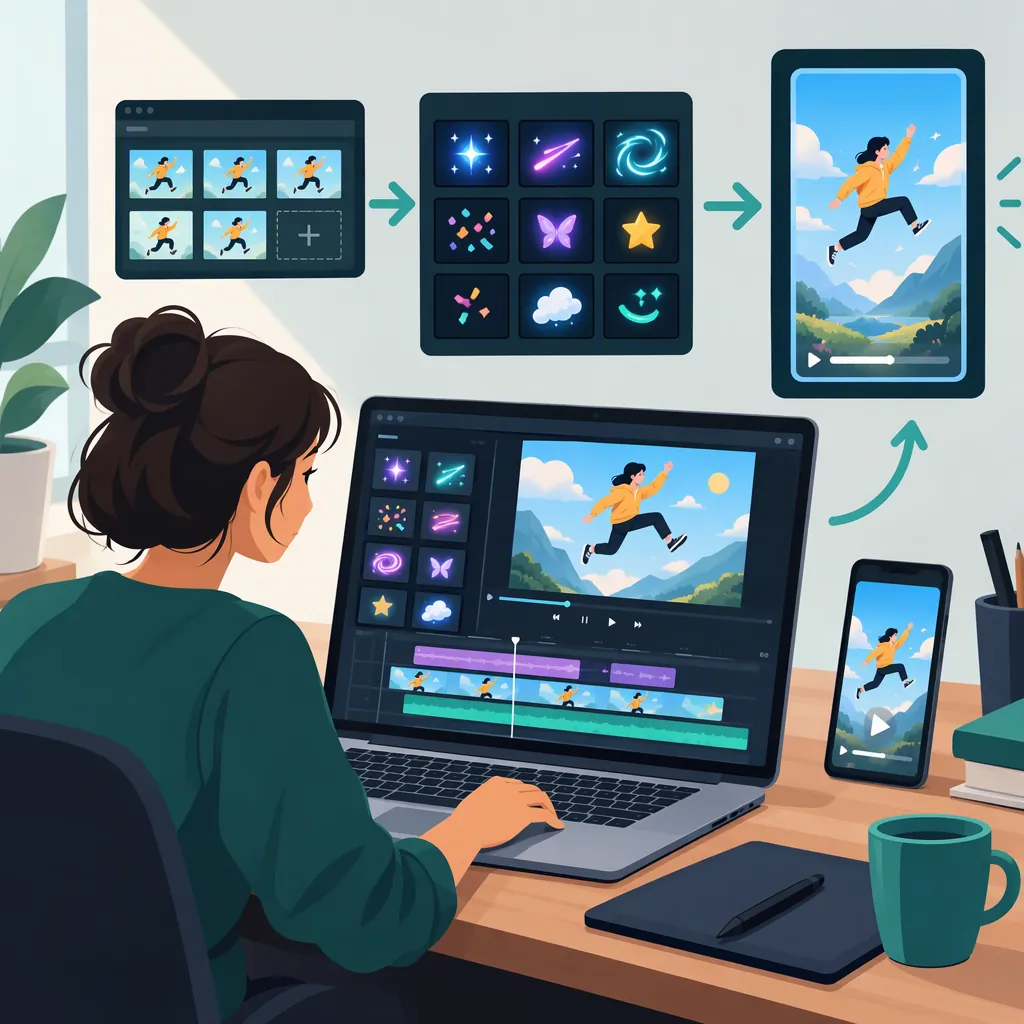
Filmora Animation: A Short Video and Visual Effects Workflow
For Filmora animation, the supplied tutorial describes two approaches: working with ready-made animation assets or generating a short video through AI Text to Video, then editing the result. Its documented workflow includes effects, subtitle adjustments, optional background music, and export. This is a short-video editing workflow, not a detailed guide to character rigging or frame-by-frame animation. [citation-1]
Choose an Animation Approach
Start by deciding what the motion should communicate: a moving title, a graphical explanation, or an animated scene. The supplied tutorial discusses infographic animation, 2D animation, and motion graphics as different production styles. It also describes Filmora workflows involving ready-made animation assets and AI Text to Video. [citation-1]
Keep these approaches distinct. Editing an animated asset is not the same task as generating a clip from a description. For a first exercise, define one scene and one visual objective rather than attempting an entire animated story.
One-Scene Planning Template
Message: Write the single idea this scene should communicate.
Visual: Describe the subject, background, and intended movement.
Text: Write any title or subtitle that must remain readable.
Audio: Note whether the scene needs narration, music, or neither.
Review: Identify what you will check before exporting.
Follow the Described Text-To-Video Workflow
The tutorial gives the following Filmora AI Text to Video sequence. Treat the labels as source-described controls, not a guarantee that every installed version has the same interface. [citation-1]
- Launch Filmora and select AI Text to Video from the dashboard.
- Enter a description of the intended video. The tutorial also describes a Generated by AI option for drafting text from a topic and brief.
- If using that text-generation route, select Generate Text.
- Review the text and configure Voice Language, Audio Sound, and Video Aspect Ratio.
- Select Text to Video and review the generated result before further editing. [citation-1]
The source mentions AI credit charges. Check the charge shown in your current interface before running a generation; this article does not establish current pricing or account entitlement.
Refine Effects, Subtitles, and Sound
After generation, the tutorial directs the editor to add effects, adjust subtitles, and optionally add background music. It does not provide effect-specific settings or a keyframe animation procedure. [citation-1]
For this exercise, make one visual change at a time and compare the result with the unmodified scene. Keep an effect only if it supports the planned message. Review subtitle placement during movement, not just on a paused frame, and listen for music competing with narration.
Do not assume that an attractive generated scene accurately communicates your intended action. Review the subject, movement, text, and scene continuity before treating the clip as finished.
Visual Effects Review Checklist
- Play the scene before and after each effect change.
- Check whether the intended subject remains clear.
- Read every subtitle while the scene is moving.
- Listen to narration with background music enabled.
- Remove changes that distract from the scene's message.
Export and Check the Finished Clip
The source-described workflow ends with Export and selection of a destination for the saved video. The tutorial also recommends previewing and revising the animation before finalizing it. [citation-1]
After export, play the saved file separately. Check the beginning and ending, subtitle readability, framing, and audio balance. This final check is a recommended review step, not a claim that Filmora automatically validates those elements.
FAQ
Does This Workflow Require AI Generation?
No. The supplied tutorial also describes ready-made animation assets as an approach. However, it does not give detailed controls for customizing those assets, so this article's step-by-step instructions are limited to its text-to-video route. [citation-1]
What Keyframe Settings Should I Use?
The supplied tutorial does not document keyframe controls or values. It therefore does not support a specific Filmora keyframe recipe for position, scale, rotation, or timing. [citation-1]
Is Smart Scene Cut an Animation-Creation Step?
In the supplied tutorial, Smart Scene Cut is used on an existing animated video to select scenes for highlights or trailers. That is a separate editing task from generating the initial animated clip. [citation-1]