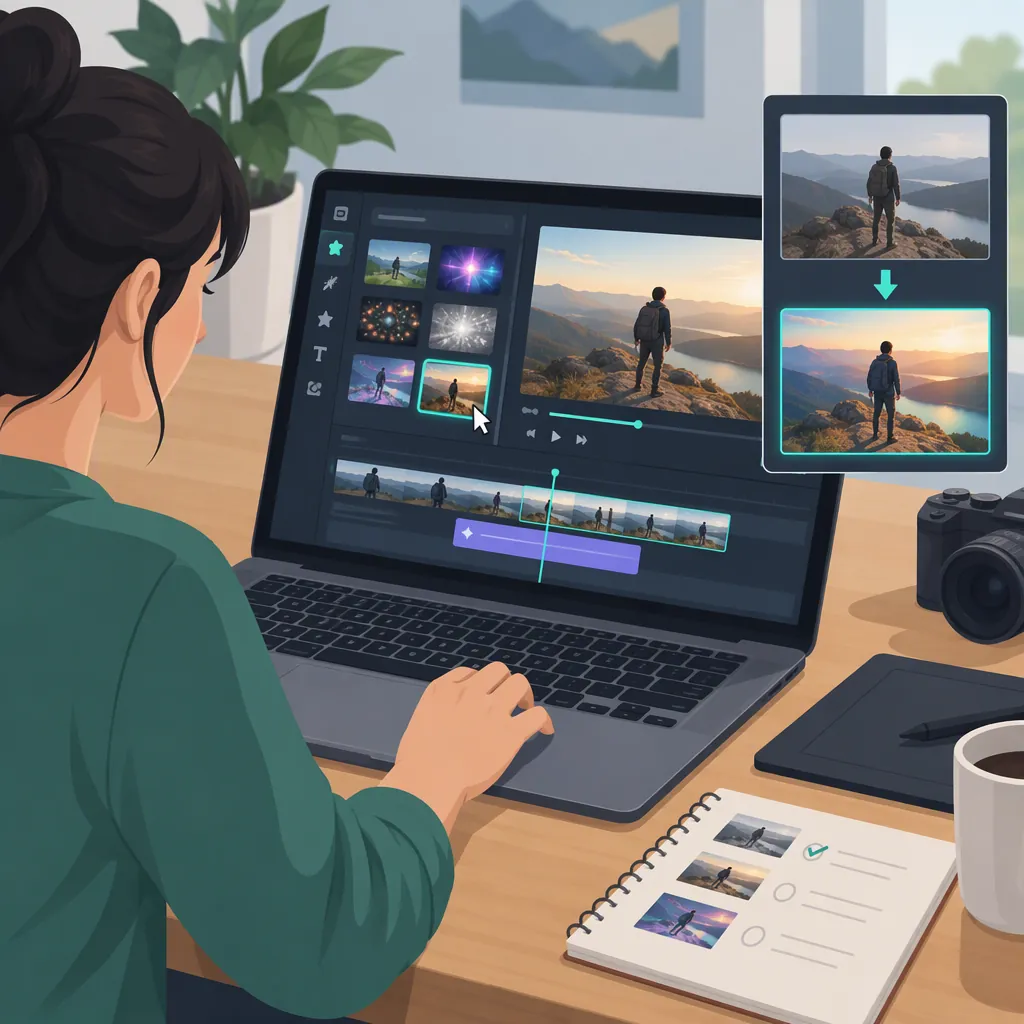
Filmora Effects: How to Choose and Test a Treatment
Choose Filmora effects by what your shot needs: background blur to reduce distraction, VHS for a retro look, a film overlay for texture, or slow motion to give an action more viewing time. Filmora’s effects page describes these options and gives a basic slow-motion sequence: select the clip, click the speed control, and adjust the slider. [c1]
This guide combines documented operations with editorial checks. The cited pages do not establish a complete find, apply, adjust, and remove workflow for every visual effect, or confirm identical controls across versions and platforms. The slow-motion steps below are an overview—not a version-specific interface tutorial.
Choose an Effect by Editing Purpose
Filmora’s effects page describes background blur, VHS effects, film overlays, video-on-video overlays, and lens flare overlays. Its creative-assets page lists effects, titles, filters, music, stock media, and transitions separately. Use these categories to narrow your search rather than treating every asset as interchangeable. [c1] [c2]
Write a one-sentence goal before choosing a treatment. For example: “Keep attention on the speaker without hiding the location.” Then use the table to select a candidate.
| Editing purpose | Treatment to consider | Treatment-specific review |
|---|---|---|
| Reduce distraction behind a subject | Background blur | Inspect subject edges and decide whether essential background context remains understandable. |
| Create a deliberately retro look | VHS effect | Check whether the treatment makes faces, captions, or small text difficult to read. |
| Add texture or atmosphere | Film overlay, including grain or light leaks | Inspect dark details and whether the texture competes with the subject. |
| Combine images in one composition | Video-on-video overlay | Check whether the main subject remains distinguishable from the secondary layer. |
| Add a lighting accent | Lens flare overlay | Check whether the flare pulls attention away from important action or text. |
| Give an action more viewing time | Slow motion | Judge whether the extra duration makes the action easier to follow. |
The treatment types are documented on Filmora’s effects page, which also describes opacity and blending modes for video-on-video overlays. The review criteria are editorial recommendations, not promises about an effect’s output. [c1]
Slow Motion: Documented Operation Overview
Filmora’s effects-page FAQ provides these steps: [c1]
- Select the clip you want to slow down.
- Click the speed-control option.
- Adjust the slider to the desired slow-motion percentage.
The FAQ recommends shooting at a high frame rate for better results. It does not specify a required frame rate, a percentage for a particular shot, or version-specific panel locations. [c1]
Choose the speed according to the action, not an arbitrary percentage. For example, if a quick hand movement is hard to understand, judge the setting by whether the movement becomes readable without giving it unnecessary screen time.
For slow-motion review, focus on two questions:
- Does the whole action remain clear at the chosen speed?
- Does the added duration suit the pace of the surrounding edit?
Use the general test checklist below before keeping the change.
Split-Screen Effects: Selection and Evaluation
Under “Featured Highlights in Filmora 16,” Filmora’s creative-assets page describes drag-and-drop application for split-screen effects and AI transitions. That is a version-labeled feature description, not a universal application method for Filmora effects. The page does not identify the drag destination, adjustment controls, or removal procedure. [c2]
Treat split screen as a composition choice first. Define why the viewer needs to see both views simultaneously—for example, to compare two actions. Then assess whether each view has enough space to communicate its purpose.
If one view becomes too small to understand or competes with the important action, a sequence of separate cuts may be clearer. This is an editorial alternative, not a documented Filmora operation.
For application, adjustment, and removal, use instructions matching the treatment and your installed version. The cited drag-and-drop description alone is not enough to supply those steps.
Test One Representative Shot
Choose a short test segment containing the details the treatment is most likely to affect. Apply the treatment using instructions applicable to your installation, then evaluate it against your one-sentence goal.
Filmora Effect Review Checklist
- Record the effect name, installed Filmora version, and shot’s intended purpose.
- Compare the treated shot with an untreated version.
- Use the treatment-specific checks in the selection table.
- Watch where the treatment begins and ends, including adjacent cuts.
- Check whether the look fits neighboring shots.
- Review a short exported sample before repeating the treatment throughout the project.
- Confirm the selected asset’s access and usage terms before delivery.
These checks are editorial recommendations, not verified performance claims about Filmora. Keep the treatment only if it serves the shot’s purpose. If it does not, revise or remove it using the instructions for your installation, or leave the shot untreated.
Check Older Filmstock Resources Separately
For an older project, identify each asset and its compatibility label. The Filmstock library distinguishes Filmora-compatible effects from After Effects-compatible assets. Appearing in the same library does not make an After Effects template a Filmora effect. [c3]
Filmstock’s notice, dated August 31, 2026, announced that operations would cease on September 30, 2026, Eastern Time. It states that existing resource entitlements would remain available within the Filmora desktop application and that new Filmstock subscriptions would no longer be available for purchase from the closure date. [c4]
This is the notice’s stated policy, not verification of an individual account’s access. Check the exact resources used in your project and their license terms before delivery. Entitlement continuity does not establish permission for every possible use.
FAQ
Are Filmora Effects and Filters the Same Category?
Filmora’s creative-assets page lists Effects and Filters separately, alongside Titles and Transition. These labels can help narrow your search, but the page does not provide a complete technical definition covering every asset. [c2]
Does This Guide Provide the Same Steps for Desktop and Mobile?
No. The cited effects page gives a general slow-motion sequence without version-specific panel locations, while the creative-assets page labels its split-screen example as a Filmora 16 highlight. Neither establishes an identical workflow across desktop and mobile installations. [c1] [c2]
Can I Use the Split-Screen Drag-And-Drop Description for a Vhs Effect?
The cited description specifically covers split-screen effects and AI transitions; it does not document VHS application. Use instructions for the VHS treatment in your installed version rather than assuming the same method applies. [c2]
Does the Filmstock Closure Mean Existing Resources Disappear?
The discontinuation notice states that existing Filmstock resource entitlements would be retained and relevant resources would remain available within the Filmora desktop application. It does not verify a particular account’s resources or permissions. [c4]