How to Remove and Replace a Green Screen Background in Filmora
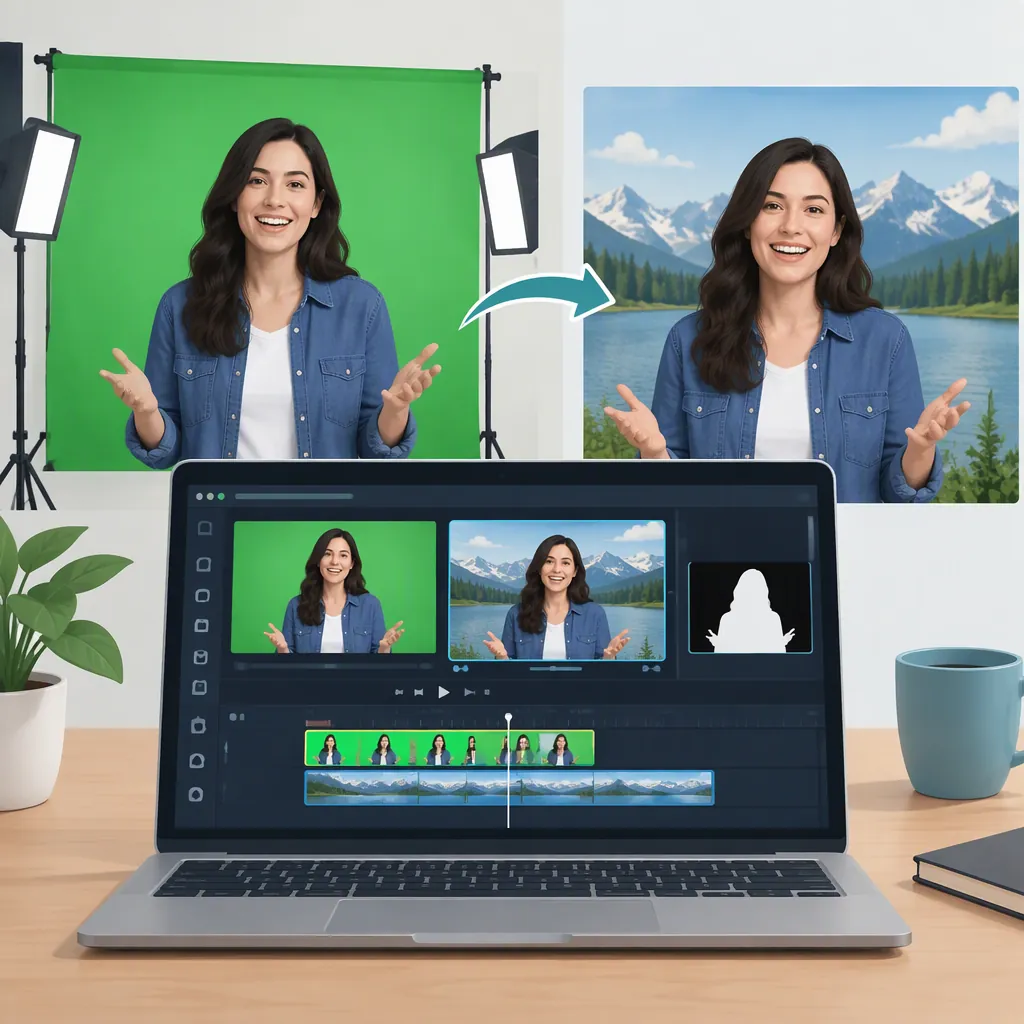
To replace a green screen background in Filmora, import your footage, select its timeline clip, enable Chroma Key, and select the background color with the color picker. Place the replacement image or video on a layer below the subject, refine the key, and export. The supplied pages show different desktop menu paths, so use the path that matches your interface. [c1] [c2]
Prepare the Footage and Background
Start a new Filmora project and import the green screen recording. Place it on the timeline. The Windows guide begins with these steps; the feature page also specifies placing the replacement background on a layer below the keyed footage. [c1] [c2]
For this workflow, prepare two assets: the subject recorded against the green screen and the image or video that will replace it. Use your own replacement asset if you do not need stock media.
If you are still recording, the feature page recommends evenly lighting the screen to avoid shadows and wrinkles, and keeping distance between the subject and screen to reduce green spill. Treat those as preparation measures, not a guarantee that the key will need no adjustment. [c2]
Enable Chroma Key on the Subject Clip
- Select the green screen clip on the timeline—not the replacement background.
- Open the clip’s video settings and locate Chroma Key. The Windows guide describes enabling AI Matting in the right-side video settings, then switching on Chroma Key. The feature page’s desktop instructions instead show Video > AI Tools > Chroma Key. These supplied instructions do not establish which path applies to every installed version. [c1] [c2]
- Enable Chroma Key. Use the color picker to select the green background in the footage, as described in the Windows guide. [c1]
- Put the replacement image or video on the layer below the subject footage. Preview the two together before adjusting the edges. [c2]
The feature page describes automatic green detection when Chroma Key is enabled, while the Windows guide explicitly includes color selection. If the initial selection does not match your screen, follow the color-picker step rather than assuming the default has selected the correct color. [c1] [c2]
Refine the Background Removal and Edges
The Windows guide lists Tolerance, Spill Suppression, Edge Feather and Thickness, Alpha Channel, and Pedestal among its chroma key attributes. The feature page also mentions Offset. Use the controls available in your interface; the supplied pages do not provide universal numeric settings. [c1] [c2]
Use the documented control roles to organize your adjustments:
- Remaining background color: Tolerance changes how much of the selected color range is removed. The feature page suggests increasing it for stubborn green pixels. [c1] [c2]
- Green tint on the subject: Spill Suppression is described as reducing unwanted background-color spill. [c1]
- Harsh or uneven outlines: Feather and Thickness adjust the subject’s edges; the feature page also identifies Offset as an outline-adjustment control. [c1] [c2]
- Transparency or dark-area separation: The guide describes Alpha Channel as controlling transparency and Pedestal as refining dark areas and contrast. [c1]
As a working method, change one control at a time and compare the result with the previous state. Check both remaining green and lost subject detail. Do not judge the adjustment solely by how much background disappears.
Review the Composite Before Export
With the replacement background beneath the subject, adjust positioning and review the combined image. The Windows guide ends with positioning and blending adjustments followed by Export; the feature page likewise ends its desktop workflow with background placement and export. [c1] [c2]
Before exporting, inspect more than a single paused frame. Use the checklist below as a review procedure, not as a promise of a particular result. After export, review the saved file as well as the timeline preview.
Pre-Export Green Screen Checklist
- Confirm that the replacement background is below the keyed subject.
- Check the beginning, middle, and end of the clip.
- Inspect hair, clothing edges, and moving hands for remaining green or missing detail.
- Compare the subject’s position and scale against the replacement scene.
- Confirm that the replacement background covers the intended duration.
- Export, then play the saved file to check the composite.
FAQ
Where Is Chroma Key in Filmora?
The supplied Windows guide places it under AI Matting in the selected clip’s video settings. The feature page gives the desktop path Video > AI Tools > Chroma Key. Check which labels appear in your interface; these sources do not resolve the menu path for every version. [c1] [c2]
Can I Select a Background Color Other than Green?
The feature page describes using the color picker to select other uniform background colors, including blue. That is a color-keying workflow, not evidence that Chroma Key can isolate a subject from any complex background. [c2]
Is the Filmora Mobile Workflow the Same as Desktop?
The feature page gives a different mobile path: Trim > Smart Cutout > Chroma Key. It then instructs users to select the green area with the color picker, refine removal with touch controls, and add a replacement background. Do not use the desktop menu path as a mobile instruction. [c2]