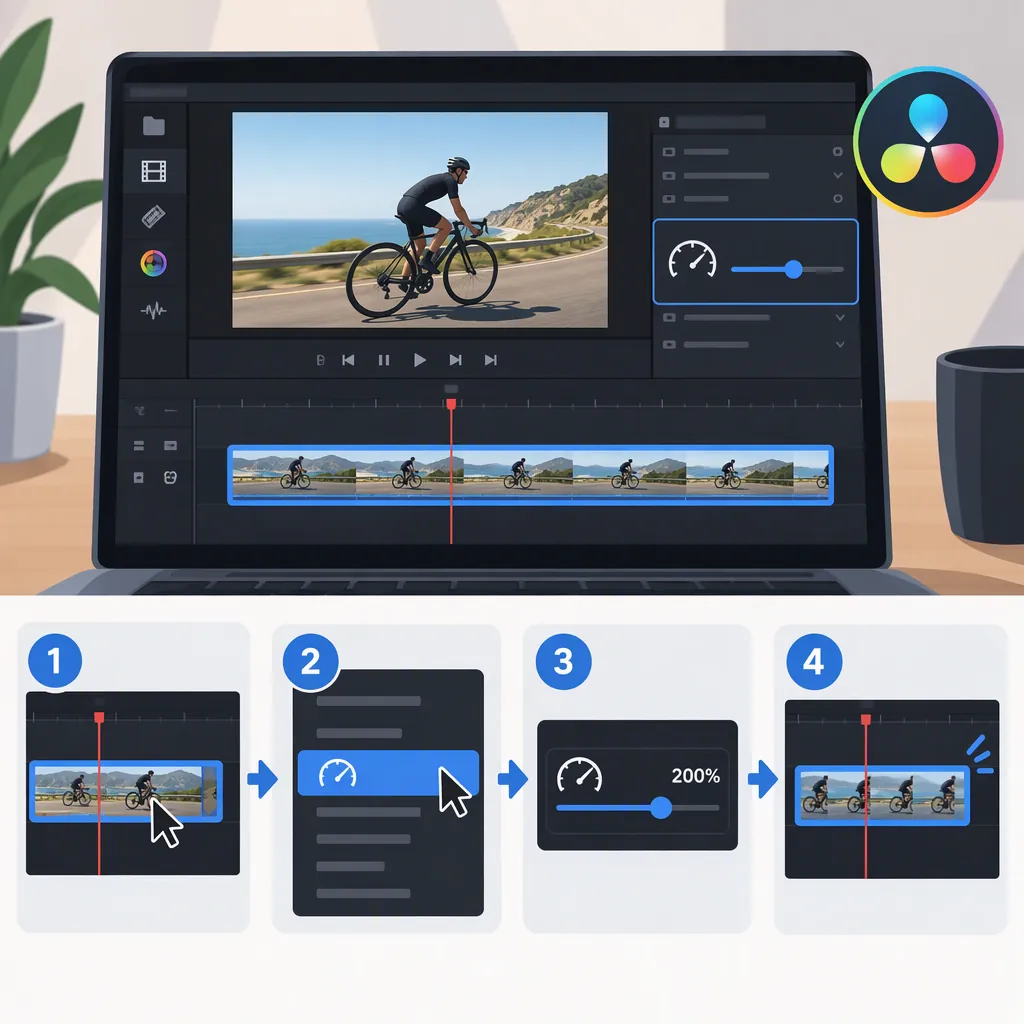
How to Speed up a Clip in DaVinci Resolve
To speed up a clip in DaVinci Resolve, select it in the timeline, open the Inspector, and increase its playback speed. Then play through the clip and its surrounding edits to check the pacing and timeline placement. The Inspector-based approach is supported by the referenced tutorial. [citation-1]
Speed up the Clip: Workflow Overview
The Inspector provides controls for changing a timeline clip’s playback speed, including speeding it up, slowing it down, and reversing it. [citation-1]
Interface detail: This is a workflow overview, not a version-specific click-by-click guide. The available reference text does not identify the exact control labels, field values, or confirmation steps, so those details are not specified here.
- Select the target clip in the timeline. Identify the action you want to accelerate and the pacing you want to achieve.
- Open the Inspector and locate the playback-speed controls. This is the speed-adjustment location identified by the tutorial. [citation-1]
- Increase the playback speed above normal. Start with the speed adjustment rather than changing unrelated retiming settings.
- Play the result in context. Begin before the accelerated clip and continue into the following shot.
- Refine the adjustment. If the action becomes difficult to follow, reduce the acceleration and review again.
For the demonstrated interface操作, the Changing Clip Speed in DaVinci Resolve tutorial includes a “Speed Up” segment starting at 00:31. [citation-1]
Check Timing and Nearby Edits
A faster clip should still communicate the intended action. Review the result rather than judging the speed setting alone.
Use this single checklist after each adjustment:
- Action: Can you still understand the important movement or event?
- End point: Does the clip finish where you want it to?
- Nearby edits: Are the preceding and following clips positioned as intended?
- Audio: If present, does the sound still work with the accelerated footage?
- Overall pacing: Does the faster section fit the surrounding sequence?
The tutorial also includes a “Ripple Timeline” segment at 01:38. That establishes that the option is covered, but not its exact behavior or default state. Inspect the resulting timeline placement rather than assuming what the option will do. [citation-1]
Keep Slow-Motion Settings Separate
Do not assume that a speed-up requires Optical Flow or another frame-generation setting. The reference discusses generating frames to make slowed footage appear smoother and includes Frame Blend, Optical Flow, and Speed Warp among its topics. It does not establish that these settings are required to accelerate a clip. [citation-1]
For this task, focus first on playback speed and the resulting edit.
FAQ
Where Do I Change a Clip’s Speed in DaVinci Resolve?
Select the timeline clip and use the Inspector’s playback-speed controls. The tutorial identifies the Inspector as a place to speed up footage. [citation-1]
What Should I Check on the Timeline After Speeding up a Clip?
Check the clip’s end point, the placement of nearby clips, and the transition into the following shot. If you are considering Ripple Timeline, the tutorial covers that topic at 01:38; its available text does not explain the option’s behavior. [citation-1]
Do I Need Optical Flow to Speed up a Clip?
The reference does not establish that Optical Flow is required for a speed-up. Its frame-generation discussion concerns smoother slow motion, so begin with the playback-speed adjustment and review the result. [citation-1]