DaVinci Resolve Photo Editing: A Still-Image Workflow
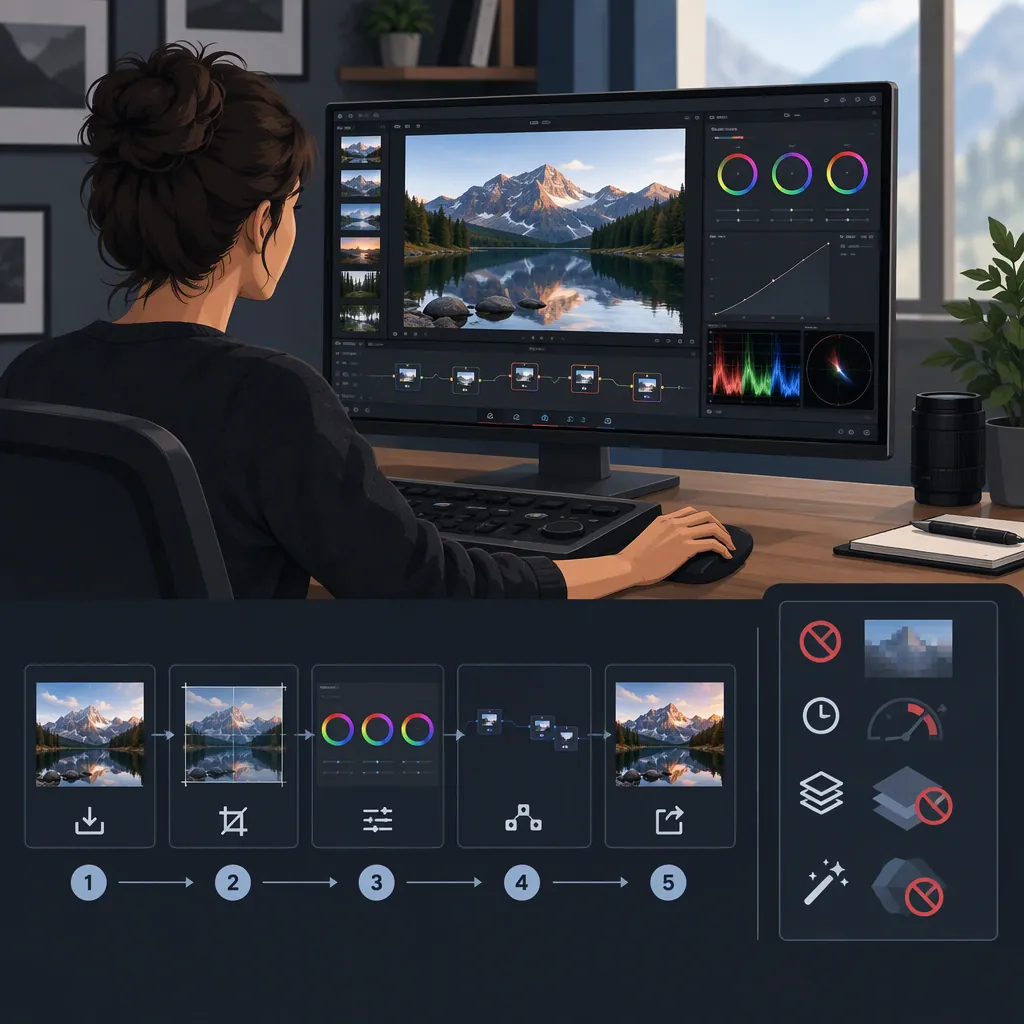
Yes—DaVinci Resolve 21 includes a dedicated Photo page for still-image editing. Blackmagic Design describes photo import, albums, white balance and exposure adjustments, non-destructive cropping, Color-page grading and image export. This is different from processing photos as clips on a video timeline. Check your installed version and edition before relying on particular tools, especially AI features. [c1] [c3]
Start with the Photo Page
Blackmagic Design identifies the Photo page as an addition in DaVinci Resolve 21. Its described workflow uses photo albums and source-resolution image processing, rather than treating every photograph as a video-timeline clip. Basic adjustments include white balance, exposure, color and saturation; the Color page provides additional grading controls. [c1] [c3]
Before following a tutorial, check which workflow it demonstrates. Dehancer’s supplied guide imports images through Media, places them on an Edit timeline and exports through Deliver. Those instructions describe a timeline-based approach, not the dedicated Photo-page workflow. Its timeline-resolution restrictions should not be assumed to describe Photo-page processing. [c4] [c1]
The steps below outline the Photo-page workflow documented in the supplied sources. They are not a complete menu-by-menu manual, and the sources do not establish every feature’s availability in every build or edition.
Import and Organize a Small Image Set
Begin with a small selection of representative files before importing a larger library. Blackmagic Design describes direct photo import, import from Apple Photos or Lightroom, and organization using albums, tags, ratings, favorites and keywords. Albums can also be filtered or sorted using information such as dates, camera details and EXIF data. [c1]
The Photo page lists native RAW support for Canon, Fujifilm, Nikon, Sony and iPhone ProRAW. That brand-level description is not a camera-model compatibility list. Test files from your own camera before planning a full RAW workflow. [c1]
For an initial editing pass, put related images in one album and choose a representative photograph to establish the basic correction. Keep your original files and backups separate from exported results.
Adjust Tone, Color and Composition
Start with the Photo page’s white balance, exposure and saturation controls. As an editing approach, establish a neutral baseline before adding a strong creative look: inspect bright areas, shadow detail and any colors that should remain recognizable. The listed basic controls support this first correction pass. [c1]
Use the Photo-page Inspector for transform and crop adjustments. Blackmagic Design describes zoom, position, rotation, flipping and edge cropping as non-destructive operations at the image’s source resolution and aspect ratio. It states that these adjustments can be refined or reset without changing the original source file. [c1]
Choose the composition for the intended output rather than adopting a video-shaped frame by default. After cropping, review the subject’s placement and check that important details have not been removed.
Use Nodes for Additional Grading
For more detailed adjustments, move to the Color page. The Photo documentation lists curves, qualifiers, Power Windows, a node-based grading workflow and scopes including waveform, parade, vectorscope and histogram. [c1]
A manageable starting approach is to separate basic correction, local adjustments and the creative look into distinct nodes. This is an organizational suggestion, not a required node sequence. Compare the result with your baseline after each change rather than stacking effects without review.
Blackmagic Design also describes copying a photo’s grade to other images in an album and creating multiple grade versions that reference the same original file. Use a copied grade as a starting point, then inspect each photograph individually. [c1]
Do not assume all effects are available in the free edition. The product overview places the DaVinci AI Neural Engine and additional Resolve FX in Studio; The Phoblographer’s beta review specifically reports IntelliSearch as Studio-only. That review reflects its tested beta, not a complete current feature matrix. [c3] [c2]
Export and Inspect the Finished Photo
The Photo page’s Quick Export supports JPEG, PNG, HEIF and TIFF, with options for selected photographs or an entire album. Blackmagic Design lists controls for resolution, bit depth, quality and compression. Select settings that match the intended destination, then inspect a test export before processing the full set. [c1]
Pay attention to metadata when sharing. Blackmagic Design states that photo exports preserve original EXIF metadata, including camera settings and location data. Do not assume an exported image is location-free. [c1]
Photo Export Review Checklist
- Confirm the intended photos are selected.
- Check the crop and orientation.
- Confirm output format and pixel dimensions.
- Review available quality, compression and bit-depth settings.
- Open a test export and inspect color, detail and edges.
- Check metadata for information you do not intend to share.
FAQ
Do I Need a Video Timeline to Edit Photos?
The Resolve 21 Photo documentation describes a dedicated album-based workflow with source-resolution cropping and Quick Export. A tutorial that places still images on an Edit timeline is describing a different approach, such as the one in Dehancer’s guide. [c1] [c4]
Are All Photo-Editing Features Free?
No. The supplied product overview distinguishes the free edition from Studio, which adds the DaVinci AI Neural Engine and additional effects. The sources do not provide a complete photo-specific edition matrix, so verify the particular tool you need rather than assuming every feature shown on the Photo page is free. [c3]
Can DaVinci Resolve Replace a Dedicated Photo Editor?
That depends on your requirements. Its documentation covers RAW processing, albums, cropping, grading and image export. However, The Phoblographer’s beta reviewer found its photo-management workflow less developed than dedicated alternatives. Treat that as a version-specific assessment, and evaluate your own organization and delivery needs rather than assuming feature coverage means workflow equivalence. [c1] [c2]