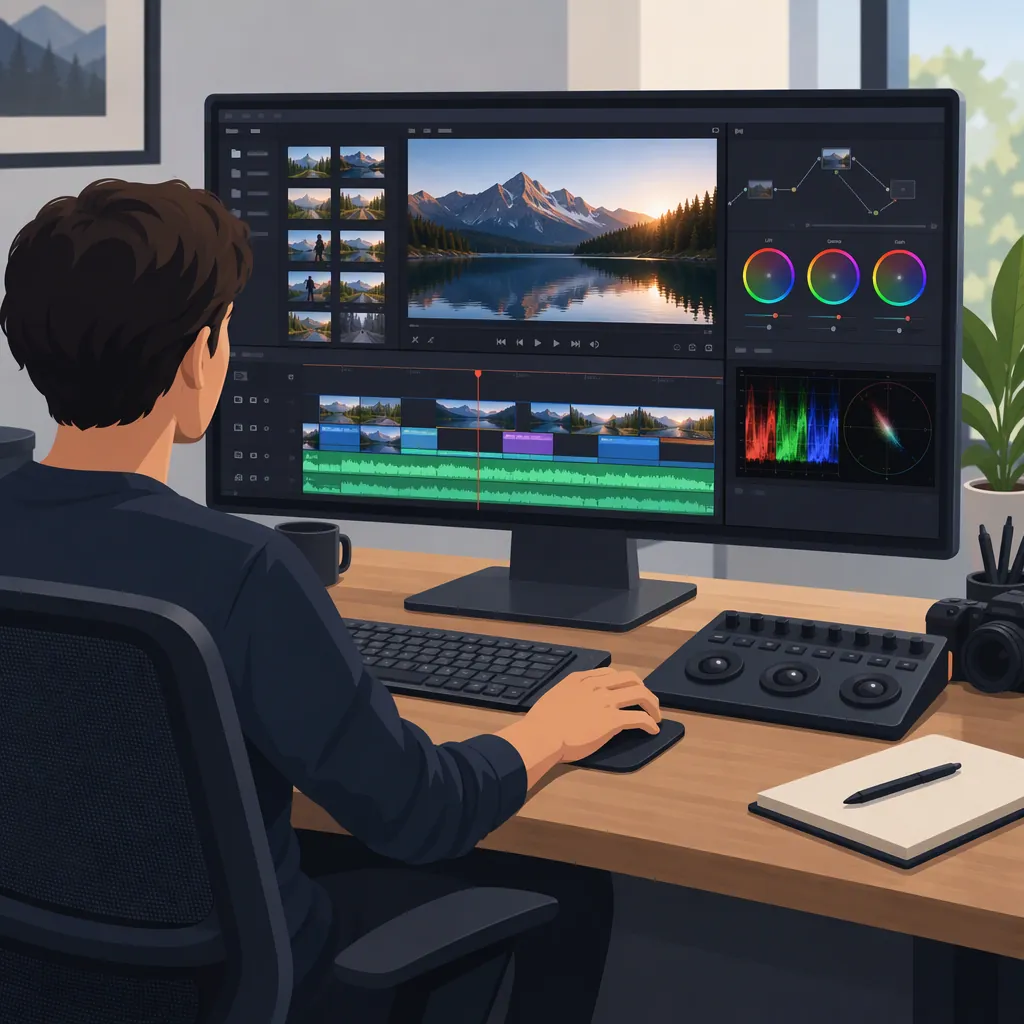
DaVinci Resolve Video Editor: Editing Workflow and Key Limits
DaVinci Resolve combines video editing, color grading, motion graphics, and audio editing in one application. For a first project, focus on Media for organizing footage, Cut or Edit for assembling it, Color for image adjustments, Fairlight for sound, and Deliver for export. This overview draws on PCMag’s November 2025 review of Resolve 20; feature availability and requirements may differ in other releases. [c2]
Which DaVinci Resolve Does This Overview Cover?
This article covers the Blackmagic Design desktop software described in PCMag’s Resolve 20 review. That review reports support for Windows, macOS, and Linux. [c2]
The supplied Google Play listing also uses the name “DaVinci Resolve Video Editor,” but names Meridian App Labs as its developer. The supplied sources do not establish a relationship between that listing and Blackmagic Design. Do not assume the Android listing has the desktop application’s features, licensing, or workflow. [c1] [c2]
Understand the Seven Workspace Pages
Resolve divides its workspace into seven pages, with navigation buttons along the bottom of the application window. PCMag describes their roles as follows: [c2]
| Page | Main Role |
|---|---|
| Media | Find and organize footage using bins and metadata. |
| Cut | Assemble and trim footage with a two-timeline interface. |
| Edit | Work with clips, tracks, trimming, titles, and effects. |
| Fusion | Build motion graphics and effects using connected nodes. |
| Color | Adjust and grade images. |
| Fairlight | Edit and mix audio. |
| Deliver | Configure output and render jobs. |
For a first editing exercise, keep the scope small. Use Media and Edit to build a clear sequence before adding color work, audio refinements, or Fusion effects. This is a suggested learning sequence, not a required order.
Build a Small First Edit
Use a few clips with a straightforward beginning, middle, and end. The following exercise uses operations described in the Resolve 20 review rather than assuming access to Studio-only automation. [c2]
- Organize the footage. In Media, group clips into bins so that source material is easy to find.
- Choose useful source ranges. Mark source in and out points with I and O before adding footage to the sequence.
- Assemble the sequence. Work in Cut or Edit. The Cut page offers actions including Append and Smart Insert; the Edit page provides timeline trimming controls.
- Review each boundary. Play across every cut and adjust the clip edges where the sequence feels too abrupt or slow.
- Add text only where needed. The Effects Library includes basic static text, lower thirds, and scrolling titles. Avoid making animated titles the first learning goal.
With the default shortcuts described by PCMag, J plays backward, K stops, L plays forward, and Spacebar starts or stops playback. Customized keyboard mappings can change these controls. [c2]
First-Edit Review Checklist
- [ ] Source clips are grouped into understandable bins.
- [ ] Each selected clip contributes to the sequence.
- [ ] Every cut has been reviewed during playback.
- [ ] Titles are readable and their spelling has been checked.
- [ ] Unnecessary effects have been removed.
Refine Color, Sound, and Output
Color: The Color page includes color wheels, scopes, and LUT support. For a first project, aim for reasonably consistent brightness and color between adjacent shots before attempting a stylized grade. The available tools are documented in the review; that order of work is an editorial recommendation. [c2]
Sound: PCMag describes timeline volume adjustment through the line displayed over audio waveforms, plus mixer controls and the Fairlight workspace. Listen through the full sequence and check whether speech remains understandable when music is present. [c2]
Output: The Deliver page provides configurable export settings, platform-oriented presets, and a render queue. Choose settings for the intended destination rather than treating one preset as universally correct. After rendering, review the exported file for missing material, unexpected framing, unreadable text, and audio problems. The source supports these export capabilities, but does not establish a single best export configuration for every project. [c2]
Account for Edition and Performance Limits
PCMag reports that the free edition includes standard editing, effects, motion graphics, color correction, and audio editing. Its Resolve 20 review identifies features such as automatic caption generation, Smart Reframe, and UltraNR noise reduction as Studio-only. Do not plan a workflow around an automated feature without checking its availability in your installed edition. [c2]
The review also describes substantial resource demands and a learning curve. It reports at least 16 GB of RAM, rising to 32 GB for Linux or Fusion work in the reviewed release. Those figures are version-specific reporting, not a guarantee that a particular computer or project will run smoothly. [c2]
PCMag’s reviewer encountered a GPU-memory warning and reported that reducing proxy resolution helped in that test. If playback is difficult, investigate proxy and playback-resolution options before adding more effects; the review’s result is not a universal performance promise. [c2]
FAQ
Can I Complete a Basic Edit with the Free Edition?
The reviewed free edition includes standard editing, effects, motion graphics, color correction, and audio editing. A basic sequence need not depend on Studio-only tools, but check individual feature availability in your installed version. [c2]
Should I Start on the Cut Page or the Edit Page?
Both support assembling footage. Cut uses a two-timeline interface and actions such as Append and Smart Insert; Edit provides timeline trimming and effects controls. For learning, choose one for your first sequence rather than repeatedly switching between them. [c2]
Is the Supplied Android Listing the Same as Desktop Resolve?
The sources do not establish that. The Google Play listing names Meridian App Labs, while PCMag identifies the desktop software with Blackmagic Design. Keep their features and workflows separate unless a relationship is independently established. [c1] [c2]