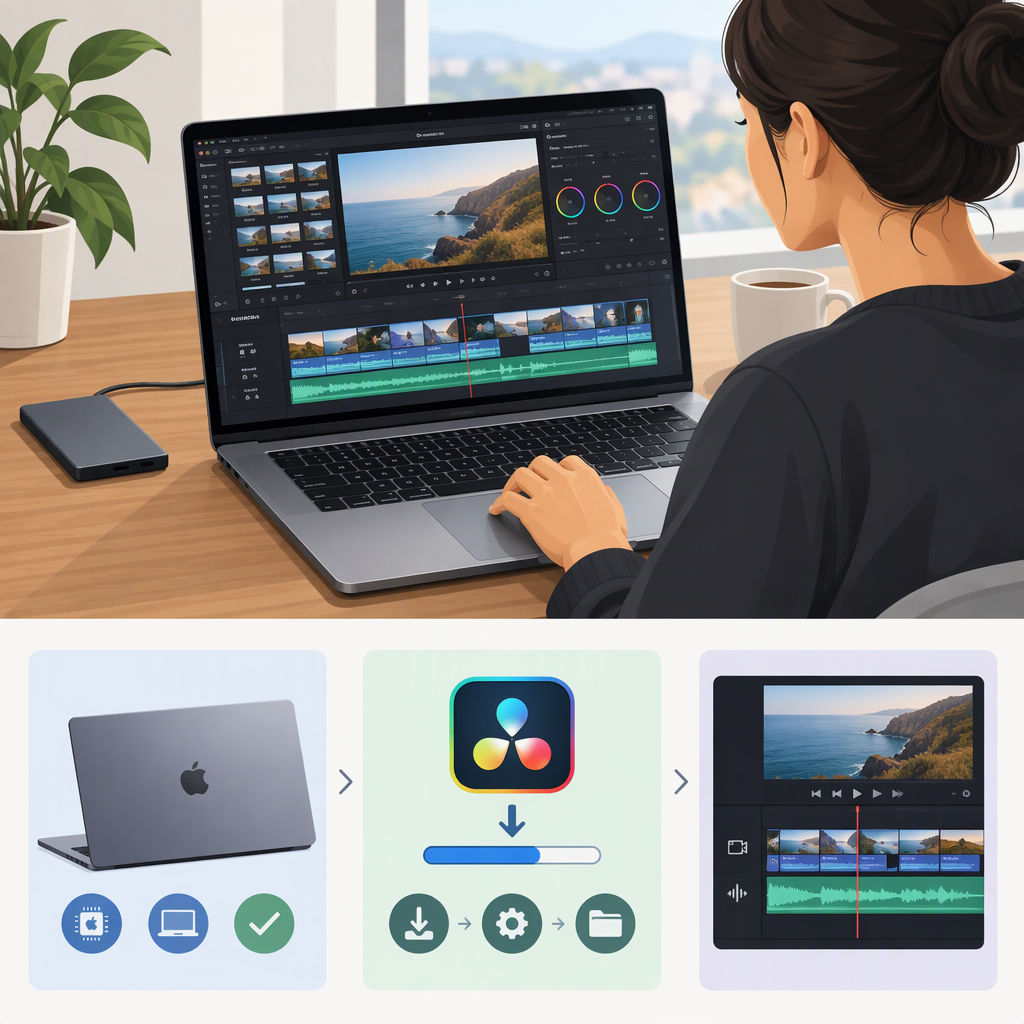
DaVinci Resolve for Mac: Compatibility, Setup, and a First Edit
You can use DaVinci Resolve on a Mac that meets the requirements for the version you plan to install. Before downloading, note your Mac’s model or chip, macOS version, and memory, then compare them with that version’s official system requirements. Once installed, a simple first project follows a straightforward path: create a project, import clips, arrange and trim them on a timeline, then export and play the resulting file.
Check Whether Your Mac Is Suitable
Requirements can differ by Resolve version, so don’t judge compatibility by a Mac’s model name alone. On your Mac, open Apple menu → About This Mac and note:
- macOS version
- Chip or processor (for example, the Apple chip or Intel processor shown there)
- Memory
- Mac model, if listed
Then check the system-requirements information for the specific Resolve version you intend to use in Blackmagic Design’s software support and downloads area. If a requirement doesn’t match, don’t assume the application will work as expected; look for a version whose published requirements match your Mac, or consult the version’s documentation before proceeding.
Version matters: Blackmagic Design’s current manual listing identifies a DaVinci Resolve 21.1 manual dated September 8, 2026. The available 21.1 material here does not establish its Mac system requirements. A separate requirements document for DaVinci Resolve 20 lists macOS 14 Sonoma or later, 8 GB of memory—or 16 GB when using Fusion—and an Apple Silicon computer or a GPU that supports Metal. Those are version 20 requirements, not confirmation of compatibility with 21.1. The download page also displays macOS 12 Monterey as a minimum, but that page does not identify the requirement as belonging to a specific version; don’t use it alone to confirm compatibility with a particular release. (blackmagicdesign.com)
Download and Install Resolve on a Mac
- Go to Blackmagic Design’s DaVinci Resolve download page.
- Select the Mac OS X download option. Make sure the download is for the Resolve version whose requirements you checked.
- Open the downloaded installer and follow its on-screen instructions. Prompts can vary by installer and version; follow the instructions shown on your Mac.
- Launch DaVinci Resolve. A practical first check is that the application opens and lets you create or open a project.
The official page provides a Mac download route, but the material available here does not establish exact installer-dialog steps for every version. If you see a prompt that differs from these general steps, use the instructions for the version you downloaded rather than assuming all releases behave identically. (blackmagicdesign.com)
Make and Export a Simple First Edit
This example uses a few video clips and focuses on the basic edit—not a particular social platform, delivery specification, or export preset. The interface labels below follow Blackmagic Design’s editing guidance; details may differ between versions.
- Create a project. Open a new project and give it a recognizable name.
- Import your footage. Find the video files on your Mac and drag them into the Media Pool. Blackmagic Design describes dragging files into the Media Pool as a way to begin editing. (blackmagicdesign.com)
- Build a timeline. Open the Edit page and drag the clips you want into the timeline. Arrange them in the order you want them to appear. (blackmagicdesign.com)
- Trim the clips. Play or scrub through the timeline, then shorten clips by dragging their edges. For a more precise selection, load a clip in the viewer and set In and Out points before adding that portion to the edit. The exact controls and their locations can vary by version. (blackmagicdesign.com)
- Preview the sequence. Play the timeline from beginning to end. Check that the clips are in the intended order and that the cut points look right.
- Export a file. Open the Deliver page, choose an available export option, set a destination and filename, then start the render. Blackmagic Design’s training materials cover the Deliver page, presets, and render queue; the best settings depend on where and how you intend to use the video, so there is no single preset to recommend for every project. (blackmagicdesign.com)
- Confirm the result. Check the destination folder for the exported file and open it in a media player. This confirms that a file was created and gives you a chance to check the picture and sound. This is a suggested check, not a reported test.
For guided practice, Blackmagic Design lists a Beginner’s Guide to DaVinci Resolve 20 and editing and delivery training on its training page. The guide is for Resolve 20, so use the manual or training materials that match your installed version when labels or steps differ. (blackmagicdesign.com)
If Something Doesn’t Work
- Your Mac’s details don’t match the requirements: Check the requirements for the exact version again. Don’t treat a general download-page minimum or another version’s requirements as proof that your setup is supported.
- Resolve opens, but footage won’t import or play as expected: Check the official supported-formats information for your version and the format of your source files. Resolve’s supported-format details distinguish formats and capabilities; support can depend on the file and hardware. (documents.blackmagicdesign.com)
- You can’t find the exported video: Return to the export settings and confirm the destination and filename, then check that the render completed.
Sources
- Blackmagic Design: DaVinci Resolve downloads and support
- Blackmagic Design: DaVinci Resolve download page
- Blackmagic Design: DaVinci Resolve 20 minimum system requirements
- Blackmagic Design: DaVinci Resolve 21.1 manual listing
- Blackmagic Design: Editing
- Blackmagic Design: Training
- Blackmagic Design: Supported codecs for DaVinci Resolve 21.1