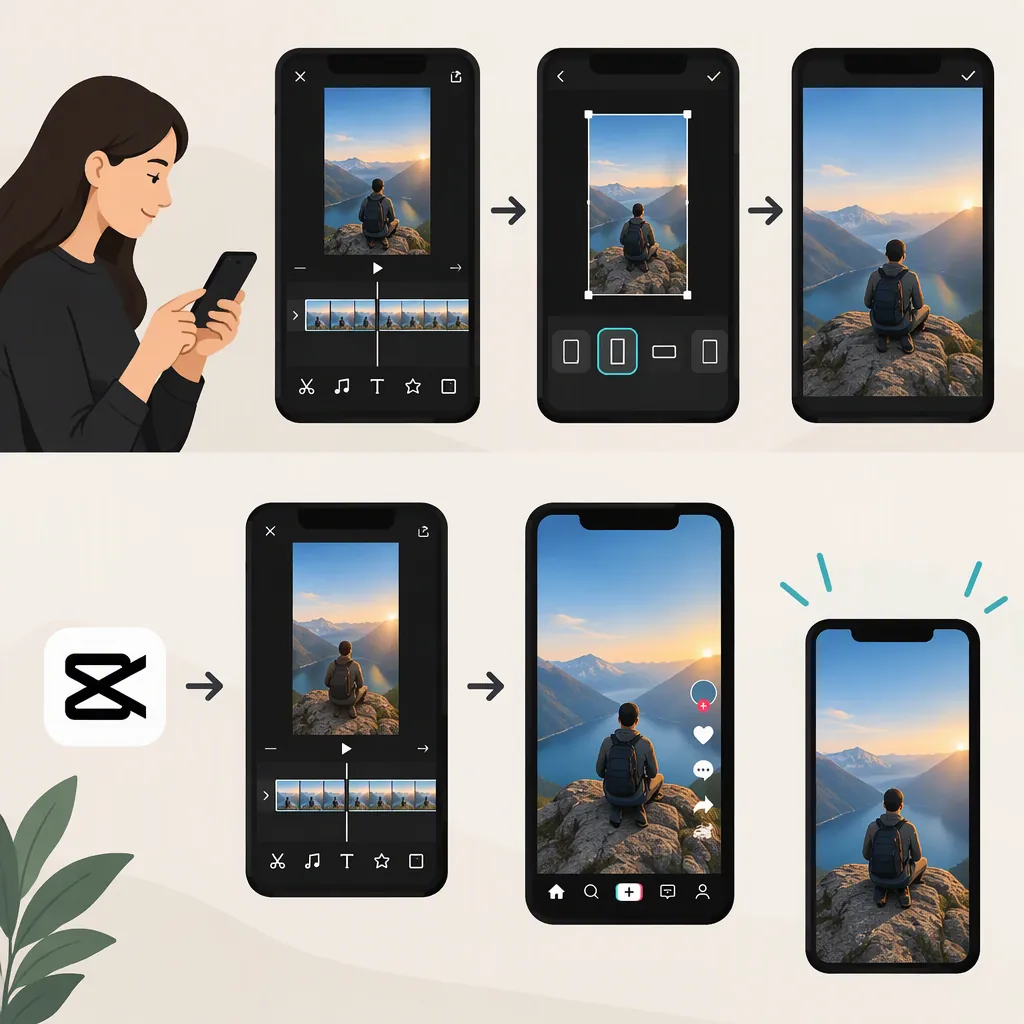
How to Make CapCut Edits Full Screen on TikTok
To make a CapCut edit fill TikTok’s vertical viewing area, reframe it to 9:16 and check that the footage fills the frame before exporting. Aim for a portrait file measuring 1080 × 1920 pixels. The supplied CapCut guide documents a desktop route through Video → Basic → Auto-reframe → 9:16, followed by Export. This is a desktop workflow, not a verified mobile walkthrough, and it does not guarantee identical display on every device. [c1]
Start with a 9:16 Portrait Frame
For this task, “full screen” means filling a vertical video frame rather than placing a smaller landscape or square picture inside it. The supplied guide identifies 9:16 as the portrait ratio for TikTok and recommends 1080 × 1920 pixels. [c1]
Aspect ratio and resolution solve different problems: 9:16 describes the frame’s shape, while 1080 × 1920 describes its pixel dimensions. Increasing resolution alone does not change a landscape frame into a portrait frame.
If your original footage is landscape, filling a portrait frame requires cropping away some of its width. Decide what must remain visible before reframing: a face, a moving subject, or essential on-screen text.
Framing Target
- Target shape: 9:16 portrait.
- Target exported dimensions: 1080 × 1920 pixels.
- Review priority: keep the subject and essential text visible.
- Acceptable trade-off: crop unneeded edges rather than stretch the picture.
Reframe the Edit in CapCut Desktop
The supplied guide describes the following CapCut desktop sequence. Labels or feature availability may differ in your installed version; the reference does not establish equivalent mobile steps. [c1]
- Open New Project and use Import to add your footage.
- Drag the clip onto the timeline.
- Select the clip, then open Video → Basic.
- Find Auto-reframe and enable it.
- Choose 9:16 from the aspect-ratio options. [c1]
Review the result rather than assuming the automatic crop is correct. Play through each clip, especially where the subject moves or a transition changes the composition. If the crop removes something essential, revise the framing before export.
For wide footage, you cannot preserve the entire original image and fill a narrower portrait frame without either leaving unused space or changing the composition. Choose the crop deliberately instead of distorting the image.
Framing Review Checklist
- Play the beginning, middle, and end of every clip.
- Check whether the subject remains visible during movement.
- Inspect transitions for unwanted empty edges.
- Check that captions and titles still fit within the portrait frame.
- Resolve any important content cut off by the crop.
Export and Check the Saved Video
Once the framing is ready, select Export. The supplied guide describes export controls for resolution, format, and frame rate, including MP4 and MOV. [c1]
Use 1080 × 1920 as your portrait target. If the export interface shows a resolution label rather than both dimensions, check the saved file’s dimensions afterward instead of assuming that “1080P” alone confirms a portrait export.
Open the exported file and watch it before uploading. Confirm that the video itself fills the portrait frame and that the crop remains acceptable throughout. Then inspect TikTok’s upload preview for composition and text placement before posting.
A correctly shaped export is not a promise of identical edge-to-edge presentation on every screen. Treat the upload preview as a final visual check, not as proof that every viewer will see the same layout.
Export Check
- Export the finished portrait edit.
- Confirm the saved file is 9:16, ideally 1080 × 1920 pixels.
- Watch the file for borders, missing subjects, and clipped text.
- Review TikTok’s upload preview before posting.
If the Edit Still Has Borders
Check the saved video first. If borders are visible inside that file, raising the export resolution will not remove them. Return to the edit and inspect how the footage sits within the portrait frame.
Separate these two checks:
- Frame shape: Is the exported file actually 9:16?
- Picture coverage: Does the image fill that frame, or is a smaller image surrounded by unused space?
The documented CapCut route for changing the framing is Auto-reframe with a 9:16 selection. [c1] If the source footage already contains black bars, changing the outer frame alone may leave those bars visible; review the image crop itself.
If the saved file looks correct but TikTok’s preview looks different, compare the same moments in both places before changing the edit. The supplied reference does not document TikTok-specific display troubleshooting.
Border Diagnosis
1. Open the exported file outside TikTok.
2. Check its dimensions.
3. Look for borders within the actual video image.
4. If borders are present, revisit the framing in CapCut.
5. If the file looks correct, compare it with TikTok’s upload preview.
FAQ
What Settings Should I Use for a Full-Screen TikTok Edit?
Use a 9:16 portrait frame and aim for 1080 × 1920 pixels, as recommended in the supplied CapCut guide. Also check that the footage fills the frame: the right dimensions alone do not remove borders within the picture. [c1]
Can I Make a Landscape Clip Full Screen Without Cropping?
Not while preserving the complete landscape image, its proportions, and a filled 9:16 frame at the same time. You must choose between cropping some content, leaving space around the image, or changing the composition. The supplied guide describes reframing footage to 9:16 in CapCut desktop. [c1]
Are These the Same Steps in CapCut Mobile?
The supplied reference documents CapCut desktop, so it does not verify the mobile controls or their locations. The framing target remains 9:16, but the desktop menu path should not be treated as a confirmed mobile walkthrough. [c1]