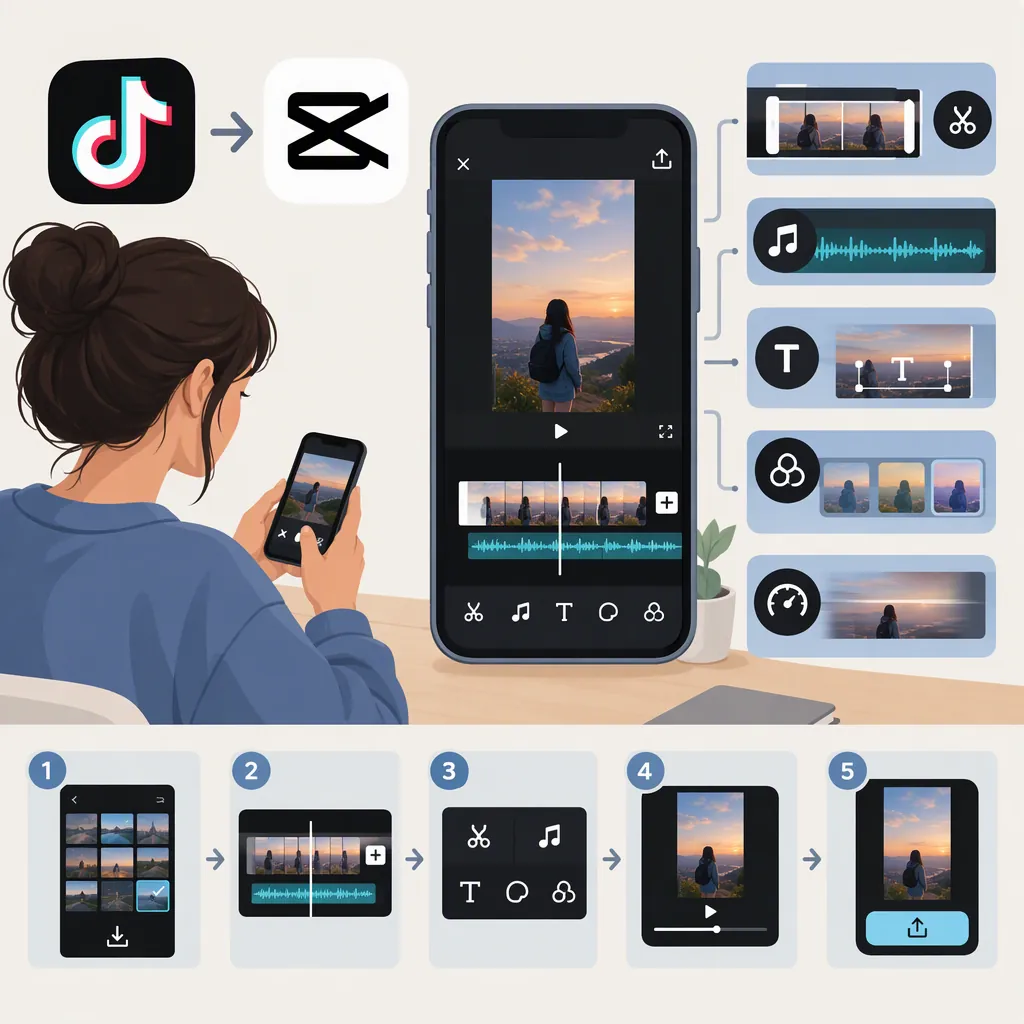
How to Make TikTok Edits on CapCut: A Short-Video Workflow
To make a TikTok edit in CapCut, plan one clear idea, add and arrange your footage, trim unnecessary moments, balance the audio, add readable text, and review the exported file. Finish the basic sequence before adding effects.
Scope: This guide explains editing decisions and the results to check, rather than verified button-by-button instructions for a particular CapCut mobile or desktop version. The available Mashable source covers creator-led learning topics, not current menu paths, feature availability, or export settings. [capcut-creators]
The example below is a hypothetical 15-second video about packing tomorrow’s bag. Its timing, script, and shot order are suggested editing choices—not a CapCut template or a claim about TikTok performance.
1. Plan Your Footage Before Opening CapCut
Write one sentence describing what the viewer should understand by the end. Choose footage that communicates that idea through an opening, a main action, supporting detail, and an ending.
Mashable describes Mia, @floofysocials, and her “Confidently Create” series as covering the journey from idea to finished video, including shot lists, filming b-roll, and editing in CapCut. [capcut-creators]
Fill-In Shot and Edit Plan
- Video idea: ___
- What the viewer should understand: ___
- Opening image: ___
- Main action or explanation: ___
- Supporting footage: ___
- Ending: ___
- Voiceover or original sound: ___
- Necessary on-screen text: ___
For the bag-packing example, the idea is: “Show a simple evening packing routine.”
| Position | Footage | Purpose |
|---|---|---|
| Opening | Finished bag beside the door | Establish the result |
| Main action | Notebook and keys placed inside | Show the routine |
| Supporting shot | Close-up of a checklist | Explain the check |
| Ending | Bag zipped and returned to the door | Complete the action |
If you already have footage, use the plan to select useful clips. Do not add more shots simply to make the video longer.
2. Add Your Clips and Build a Rough Sequence
Work through these tasks in your CapCut project. The actions describe what to accomplish; control names and gestures depend on your interface.
- Add the selected footage. Bring in the files from your shot list. Check that you have the intended takes before editing.
- Arrange the clips. Put them in the order the viewer should see them: opening, main action, supporting detail, ending.
- Watch the rough sequence. Ignore decorative effects for now. Check whether the video makes sense without an explanation from you.
- Trim each clip’s beginning and end. Remove waiting before the useful action and footage after it finishes.
- Remove redundant material. If an unwanted moment is inside a clip, isolate that portion using the editing controls in your version, then remove it. Replay the join to check that the action still makes sense.
Use Two Review Passes
Story pass: Does the opening establish the subject? Does each following shot add information? Does the ending complete the idea?
Pacing pass: Remove pauses, repeated actions, and shots that stay on screen after their purpose is clear.
For the hypothetical example, start with this timing plan:
| Approximate timing | Shot | Editing decision |
|---|---|---|
| 0–2 seconds | Finished bag beside the door | Establish the subject promptly |
| 2–7 seconds | Notebook and keys going inside | Keep the useful action |
| 7–10 seconds | Checklist close-up | Allow time to understand the detail |
| 10–15 seconds | Bag zipped and set down | End after the action is complete |
Suppose you recorded two nearly identical zipper shots. Keep the clearer one. If the chosen clip begins with your hand waiting outside the frame, remove that pause.
These timings are a starting point, not a rule. Give an important action or readable label more time when needed.
Completion check: The sequence communicates the idea from beginning to end without redundant footage.
3. Match the Audio to the Pictures
Choose whether speech, music, or the sound of the action will lead the edit. Make that priority understandable before adding more sound.
Mashable identifies audio and voiceover as topics in Meg’s, @happywithmeg, CapCut editing series. [capcut-creators]
For the bag-packing example, draft a voiceover that follows the pictures:
| Picture | Suggested voiceover |
|---|---|
| Finished bag | “Here’s my plan for packing tomorrow’s bag.” |
| Notebook and keys going in | “Put in the items you know you’ll need.” |
| Checklist close-up | “Check the list before closing it.” |
| Bag zipped and set down | “Then leave it ready by the door.” |
Make an Audio Pass
- Read or record the script against the rough sequence.
- Place each sentence alongside the action it describes.
- If the speech takes too long, shorten the wording or extend the relevant shot.
- Listen for clipped words and abrupt changes between recordings.
- Adjust competing sound, where your controls permit, so important speech remains understandable.
- Replay the entire sequence after adjustments—not just the section you changed.
For a montage without speech, listen for distracting changes between clips and decide whether the original sounds belong in the final edit.
Completion check: The intended lead sound is understandable, and the audio matches what the viewer sees.
4. Add Readable Text, Then Optional Motion
Add text when it supplies useful context. For the example, an opening label such as “Pack tomorrow’s bag” establishes the subject without repeating the whole voiceover.
Work through each text item separately:
- Write the shortest wording that preserves the meaning.
- Place it where it does not hide the action.
- Set its appearance to coincide with the relevant shot.
- Play that section at normal speed to check readability.
- Check the text across moving footage, not only over a still frame.
If you include captions, compare them with the spoken words and correct errors.
Decide Whether an Effect Helps
Only add decorative motion after the sequence, audio, and necessary text work. Ask whether an effect directs attention, introduces a label, or connects two moments. If it makes the edit harder to follow, simplify or remove it.
Mashable identifies Nat’s tutorials with text behind a person, floating font, and animations. It identifies Jeslyn’s “Editing 101” series with topics including keyframes and shot lists. [capcut-creators] These are optional learning topics, not requirements for finishing a TikTok edit.
Completion check: Text is accurate and readable, and every effect has a clear purpose.
5. Review the Export and the TikTok Presentation
Watch the whole project without stopping. A clean cut can still interrupt a sentence, and a readable title can still appear too late.
Export using the controls in your version, then watch the resulting file from beginning to end. Check the file itself rather than relying only on the project preview.
Final Edit Review Checklist
- The opening makes the subject clear.
- Shots follow a logical order.
- Unnecessary pauses and repeated actions are removed.
- Voiceover matches the visible action.
- Important speech is understandable.
- Text is accurate and readable.
- Effects serve a clear purpose.
- The ending completes the idea.
- The exported file has been watched from beginning to end.
Check the Video in Its TikTok Context
When preparing the file in TikTok, review its presentation before publishing:
- Orientation: Does the video appear in the direction you intended, rather than sideways?
- Framing: Is the subject still visible in the displayed composition?
- Cropping: Are important details or text cut off in the preview?
- Text placement: Can you read essential labels with the visible interface present?
- Playback: Does the prepared video retain the intended timing and understandable audio?
Treat these as visual checks, not fixed specifications for aspect ratio, interface clearance, or export settings. If the preview reveals a problem, revise the edit and check the replacement file.
For the bag-packing example, make sure the opening label remains readable, the checklist can be understood, and the ending shows the bag in place.
FAQ
What Should I Focus on for My First TikTok Edit in CapCut?
Start with one idea and a small shot list. Build a clear sequence, remove repetition, and make the audio understandable before adding decorative effects. Planning, b-roll, audio, and voiceover are among the learning topics identified in Mashable’s creator roundup. [capcut-creators]
Where Can I Learn Text-Behind-Person Effects and Keyframes?
Mashable identifies Nat, @natiduplat, with tutorials covering text behind a person, floating font, and animations. It identifies Jeslyn, @jslynb, with the “Editing 101” series, including keyframes and shot lists. [capcut-creators]
The Mashable roundup is the available entry point here; it identifies the creators rather than reproducing the full techniques.
Do I Need CapCut Pro to Follow This Workflow?
The workflow does not depend on a named premium effect. The available source cannot confirm which controls are included in your current version or plan. Mashable reports that Meg uses CapCut Pro, but that does not establish a Pro requirement for every TikTok edit. [capcut-creators]
Does This Workflow Apply to CapCut Mobile or Desktop?
The planning, sequencing, audio, text, and review decisions are not tied to one interface. However, this guide does not verify the exact controls for either platform; the Mashable source is a creator roundup, not a current interface walkthrough. [capcut-creators]
Use instructions matching your platform when you need exact import, trimming, text, or export controls.
What Should I Check After Exporting?
Watch the exported file for missing footage, awkward cuts, unreadable text, and audio problems. Then review its presentation while preparing it in TikTok, paying particular attention to framing, cropping, and text visibility. These are recommended checks; the available source does not establish specific export settings. [capcut-creators]