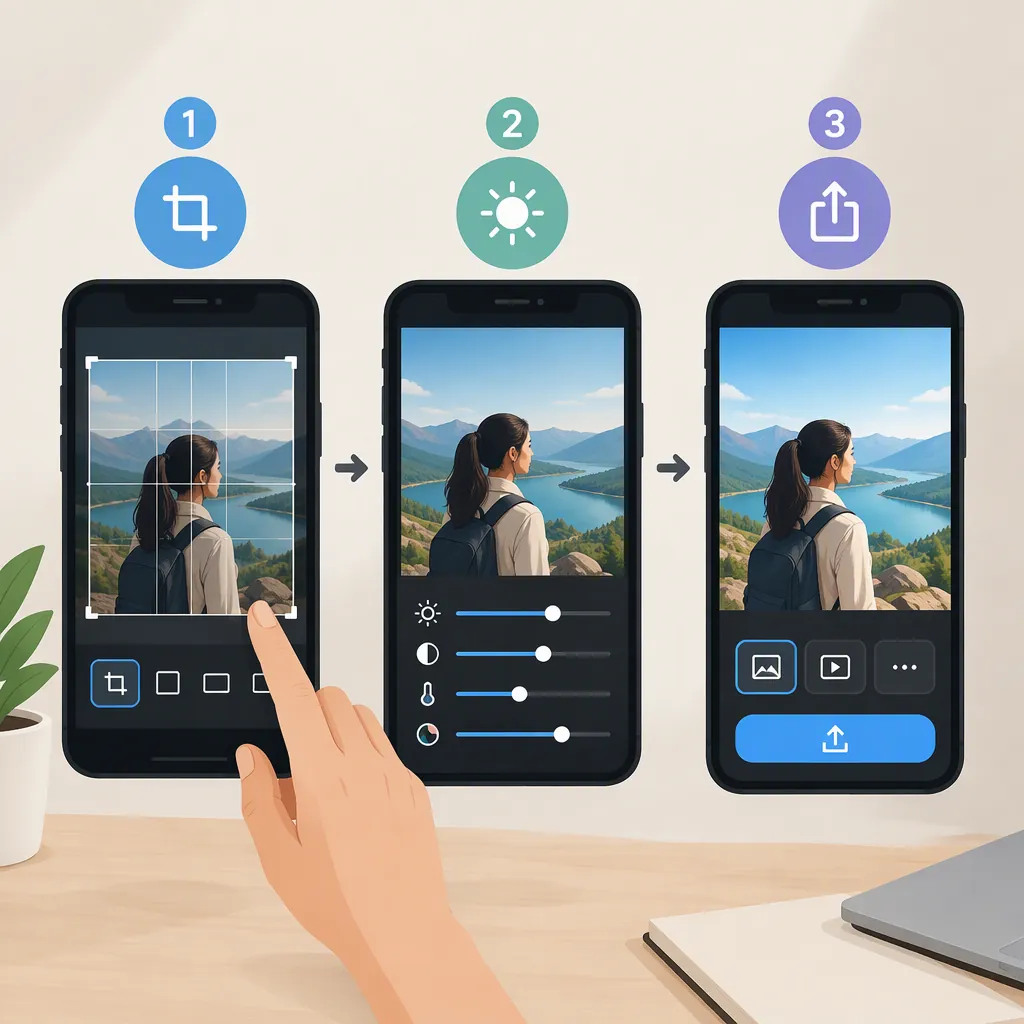
CapCut Photo Edit Tutorial: Edit and Save a Still Image
To edit a photo in the CapCut workflow described by the supplied photo guide, open “AI design,” choose “Create image,” set the canvas size, and upload your picture. Crop first, adjust color and light, then add optional filters or text. Use “Download” to save a JPG or PNG. These steps cover the described image workspace, not a mobile video timeline; the references do not establish identical controls across versions. [c1]
1. Open the Image Workspace
This tutorial is for a finished still photo, rather than a video made from photos. The supplied photo guide describes a desktop route through AI design → Create image. Its separate beginner guide describes video projects and timeline editing, so those instructions should not be treated as interchangeable. [c1] [c2]
- Open CapCut and locate AI design in the left-hand panel.
- Select Create image.
- Enter your intended canvas dimensions or select a listed aspect-ratio preset, such as 1:1, 9:16, or 16:9.
- Select Create.
- Use the + icon, then Upload, to add your photo. Select the photo on the canvas before editing it. [c1]
The photo guide also mentions an online photo workspace, but the supplied material does not verify every browser control or a matching mobile still-image workflow. If your interface differs, do not substitute the video project's export steps and assume they will produce a photo.
2. Crop and Correct Color Before Styling
With the photo selected, open the Crop control. Decide which parts of the scene belong in the final image. The photo guide recommends locking the aspect ratio when resizing to avoid distortion. [c1]
Next, open More and locate the color and light controls. The guide lists brightness, contrast, saturation, and white balance, and recommends making these corrections before applying filters. [c1]
Use this restrained editing order:
- Composition: Keep the subject and any important context inside the crop.
- Brightness: Make a small change, then inspect both light and dark areas.
- White balance: Adjust an unwanted warm or cool cast before deciding on a creative look.
- Contrast and saturation: Change one at a time and compare the result with the starting image.
Treat these as visual checks, not fixed slider values. A useful adjustment for one photograph may be unsuitable for another.
Basic Correction Checklist
- [ ] Choose the final crop before styling.
- [ ] Keep proportions intact when resizing.
- [ ] Adjust brightness and white balance.
- [ ] Review contrast and saturation separately.
- [ ] Compare the corrected photo with the original before adding a filter.
3. Add an Optional Filter or Text
The described workspace includes filters in the More panel and a Text control for adding text to the canvas. [c1]
For a simple photo edit, choose just one stylistic change initially. Apply a filter, inspect the subject's colors, and decide whether the treatment supports the image. If adding text, keep it away from important details and check that it remains readable against the background.
A filter is optional. Stop after the basic corrections if the photo already communicates what you intended.
4. Remove the Background Only If Needed
For an isolated subject, the photo guide gives this sequence: select the photo, then choose Remove BG → Auto remove. It recommends PNG export to preserve transparency. [c1]
After removal, inspect the subject's outline, especially hair, thin objects, and edges that resemble the background. Keep the original photo available for comparison. Do not assume an automatic result needs no review.
The guide also describes Remove, Inpaint, Expand, and Upscale tools. These are optional, not prerequisites for a basic photo edit. [c1] The supplied material does not establish consistent output quality, current access conditions, or guaranteed recovery of original detail. For documentary images, distinguish ordinary color corrections from edits that remove or generate scene content.
5. Download and Check the Finished Photo
The photo guide places Download at the top right of the image workspace. It describes downloading a file locally or using Copy as PNG, and lists JPG and PNG as image export formats. [c1]
Choose PNG when retaining a transparent background. The guide suggests JPG for web or social use where file size is a consideration. [c1] Check the available export settings rather than assuming a particular resolution or quality setting.
Open the saved file and review it independently of the editing canvas. Confirm the crop, text, background, and dimensions match your intended result. Keep the original separately so later revisions do not depend on the edited copy.
Final Photo Review
- [ ] The output is a still-image file, not a video.
- [ ] The crop preserves the intended subject.
- [ ] Any text is readable and correctly spelled.
- [ ] Removed-background edges have been inspected.
- [ ] PNG is selected if transparency is needed.
- [ ] The downloaded file opens and has the intended dimensions.
- [ ] The original photo remains separate.
FAQ
Can I Follow These Exact Steps in CapCut Mobile?
The provided references do not establish the same still-photo controls on mobile. The mobile beginner instructions cover New project, timeline edits, and video export. This tutorial instead follows the image workspace described in the photo guide. [c1] [c2]
Which Format Should I Choose After Removing a Background?
Choose PNG when you need to preserve transparency. The supplied photo guide specifically recommends PNG after Remove BG → Auto remove. Inspect the saved file to confirm the result meets your needs. [c1]
What If I Cannot Find AI Design or Create Image?
The provided photo guide uses those labels, but it does not verify their availability in every version or account. Confirm that you are in an image workspace rather than a video project. The references do not provide a verified alternative still-image route for every interface. [c1] [c2]
Do I Need AI Tools for a Basic CapCut Photo Edit?
No AI refinement step is necessary for the basic workflow described here: crop, adjust color and light, optionally add a filter or text, then download. The source presents background removal, inpainting, expansion, and upscaling as additional editing options. [c1]