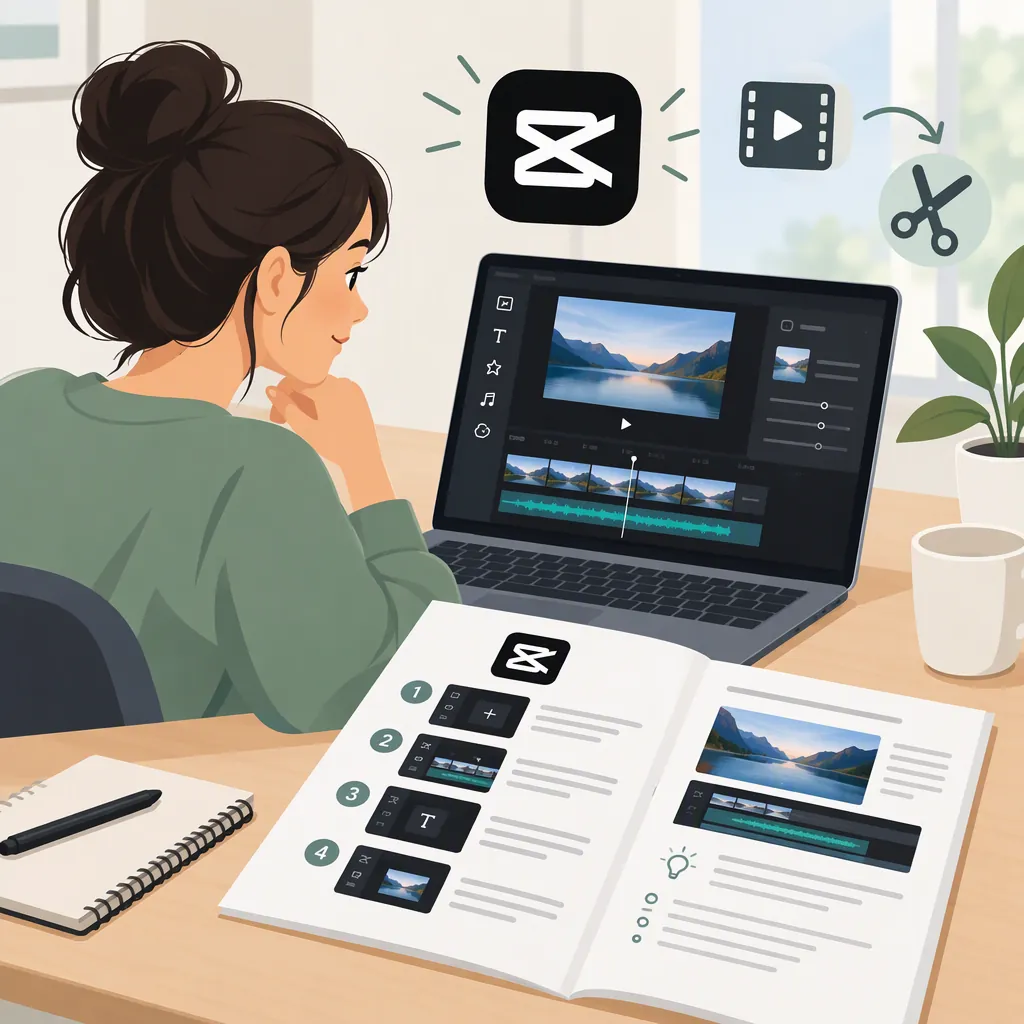
CapCut Tutorial PDF: A Print-Ready Beginner Lesson
Use this lesson and worksheet to make a CapCut tutorial PDF for offline practice. Save the page through your browser’s print dialog if a PDF destination is available, or copy the lesson into a document editor and export it as a PDF.
This is an original educational worksheet, not an official CapCut manual or an attached PDF download. The editing workflow is adapted from Miracamp’s Capcut | Beginner's Guide, a third-party web article. It covers mobile and desktop editing, but gestures and controls differ; the lesson does not verify exact button locations for your installed version. [capcut-basics]
Prepare Your PDF Copy
For an offline copy, include the introductory scope note, the complete beginner lesson, the practice worksheet, and its source address. Include the troubleshooting section and FAQ if you want them available while editing.
- Open this page in your browser and choose Print.
- If available, select Save as PDF or your system’s PDF destination.
- Check the preview for clipped text, missing checklist items, and awkward page breaks.
- Save the file with a descriptive name, such as
capcut-beginner-practice.pdf.
If the print preview is unsuitable, copy the selected sections into a document editor, adjust the layout, and use its PDF export option.
Saving this tutorial as a PDF is separate from exporting a video in CapCut. The PDF contains instructions and notes; the video export is the finished media file you will create during the lesson.
Print-Ready CapCut Beginner Lesson
Practice goal: Arrange a few clips into a short sequence, trim them, add a readable title and permitted audio, then export and review the result.
Before starting:
- Choose footage and audio you have permission to edit.
- Record your device and CapCut version on the worksheet.
- Note where you intend to view the finished video.
- Keep the PDF accessible while you work.
The lesson follows an import-to-export workflow: clips, trimming, text, audio, an optional transition, and export. The instructions describe editing actions rather than a fixed screen layout. [capcut-basics]
1. Import and Arrange Clips
- Start a new project.
- Import the footage you selected for this exercise.
- Place the clips on the timeline in the order you want them to play.
- Play the sequence once before adding text, music, or effects. [capcut-basics]
Completion check: The clips play in the intended order, with a clear beginning and ending. If the sequence is confusing, rearrange it before continuing.
2. Trim and Split
- Select a clip on the timeline.
- Drag its beginning or ending edge to remove footage you do not want.
- To remove a passage in the middle, place the playhead at the first boundary and split the clip.
- Move the playhead to the second boundary and split again.
- Remove the unwanted middle piece. [capcut-basics]
Completion check: Replay the sequence across each edit. Look for an unintended gap, missing action, or a cut that interrupts the subject.
3. Add and Time a Title
- Use the Text tool to add a brief title or on-screen label.
- Position the text so it does not cover the subject.
- Identify the portion of the sequence where the title should appear.
- Adjust its timing, then replay that portion to check when the text appears and disappears. The source supports adding text and adjusting its timing, but does not establish an exact timing-control path for every version. [capcut-basics]
Completion check: You can read the full title during normal playback, and it appears only where it belongs. If it disappears too quickly, revise its timing and check again.
4. Add and Balance Audio
- Import an audio file you have permission to use.
- Trim the audio to fit the intended portion of the video.
- Select the clip or audio segment whose volume you want to adjust.
- Raise or lower its volume to balance speech, music, and other sounds.
- Play the sequence and repeat the adjustment where needed. [capcut-basics]
Completion check: Listen to the entire sequence. If there is dialogue, it should remain understandable alongside music and effects. If there is no dialogue, check that the audio fits the sequence and ends where intended.
5. Compare One Transition with a Plain Cut
This step is optional practice.
- Choose a boundary between two clips.
- Add a transition at that boundary using the transition control available in your version.
- Replay the join and compare it with the original cut. [capcut-basics]
- Keep whichever version makes the sequence easier to follow.
Completion check: The transition does not obscure an important moment or distract from the sequence. A plain cut is an acceptable result.
6. Export and Review
- Play the complete timeline and check the clip order, edits, title, and audio.
- Open the export controls.
- Choose the resolution and frame rate for your intended output.
- Write those choices on the worksheet, then export the video. Resolution and frame rate are part of the documented export workflow; no single preset is established here for every project or destination. [capcut-basics]
- Open the exported file and watch it from beginning to end.
Completion check: The exported file has the expected picture, readable text, audible sound, and intended ending. Record any problem, return to the project to correct it, and export again if necessary.
Printable Practice Worksheet
Use this worksheet to record your choices and review the result. Its editing checkpoints follow the beginner workflow above. [capcut-basics]
Project Notes
- Project name: ____________________
- Device and CapCut version: ____________________
- Intended viewing destination: ____________________
- Footage and audio permissions checked: ____________________
Editing Checklist
- Import the selected clips.
- Arrange the clips in sequence.
- Trim unwanted starts and endings.
- Practice splitting a clip.
- Add a readable title and check its timing.
- Add permitted audio and adjust its volume.
- Compare one transition with a plain cut, if practicing transitions.
- Review the complete timeline.
- Choose and record export settings.
- Export the video and watch the exported file.
Export and Review Notes
- Resolution chosen: ____________________
- Frame rate chosen: ____________________
- One problem found: ____________________
- One change to make: ____________________
- Action or control I could not find: ____________________
Worksheet scope: Original practice material based on a third-party guide, not an official CapCut manual. Mobile and desktop controls may differ. [capcut-basics]
Workflow reference: Miracamp, Capcut | Beginner's Guide. Full source address for offline reference: https://www.miracamp.com/learn/capcut/mastering. [capcut-basics]
When the PDF Does Not Match Your Screen
Match the editing action, not just a button location. Start by identifying:
- The preview, where you watch the sequence.
- The timeline, where clips sit in order.
- The editing toolbar, where editing actions are available.
These interface elements are described in the guide, alongside touch-based mobile interaction and mouse-based desktop interaction. Their precise layout is not verified here for your installation. [capcut-basics]
If you cannot complete a step:
- Check that you have selected the item you intend to edit, such as a video clip, text element, or audio segment.
- Identify the action you need: trim, split, add text, adjust volume, or export.
- Record your device, version, and the missing action on the worksheet.
- Consult guidance that matches your platform and version before continuing if the available controls remain unclear.
Do not substitute an unrelated action simply because it appears in the same toolbar. For the underlying workflow, consult the linked Miracamp guide when you are online. [capcut-basics]
FAQ
Is There a PDF File to Download from This Page?
No attached PDF is provided. You can create a personal PDF copy using your browser’s print dialog, if a PDF destination is available, or a document editor’s PDF export. The linked Miracamp reference is a web guide, not a verified PDF download. [capcut-basics]
Is This an Official CapCut Tutorial?
No. This is an original lesson adapted from a third-party guide published by Miracamp. It should not be treated as an official CapCut manual. [capcut-basics]
Can I Use This Tutorial on Mobile or Desktop?
Use it as a sequence of basic editing actions on either platform, not as an exact map of your screen. The guide discusses both mobile and desktop, with different gestures and interaction methods. If a control is unclear, seek instructions matching your installed version. [capcut-basics]
Which Export Settings Should I Record?
Record the resolution and frame rate you select for the project. Both are documented export choices, but this lesson does not prescribe a universally suitable preset. Choose according to your intended output and review the exported file before marking the exercise complete. [capcut-basics]
Sources
- [capcut-basics] Capcut | Beginner's Guide