CapCut Tutorial: Edit Your First Video from Import to Export
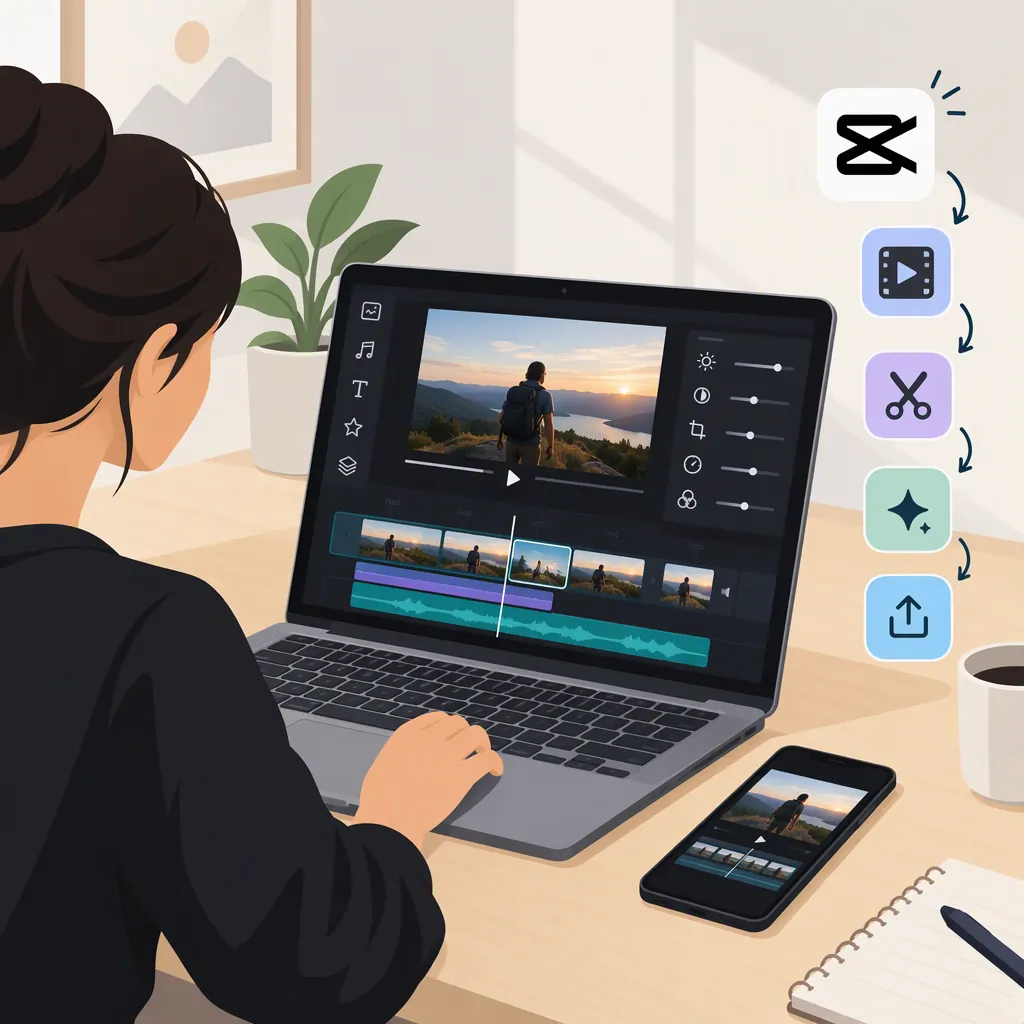
To make a basic video in CapCut on desktop, select Create project, import your clips, and drag them onto the timeline. Move the playhead and use Split to isolate unwanted footage, remove it, and preview the remaining sequence. When the edit is ready, select Export and choose your output settings. [capcut-guide]
This beginner tutorial focuses on desktop importing, cutting, and exporting, with optional text and audio checks and separate mobile and web starting steps. Button names follow CapCut’s public beginner guide; layouts and available options may differ by version. [capcut-guide]
Prepare a Small Practice Edit
Choose two or three clips you have permission to use. Plan a simple sequence: an opening shot, the main action, and an ending. Your first goal is to make that sequence understandable without relying on effects.
Before opening the editor, write down:
- Purpose: What should the viewer understand?
- Order: Which clip opens the video, which shows the main action, and which ends it?
- Destination: Where will you play or upload the finished file?
- Optional additions: Does the video actually need a title, captions, or music?
For the first pass, work with the footage and its existing sound. Text, music, captions, and transitions are optional additions, not prerequisites for completing this practice edit.
1. Create a Desktop Project and Import Clips
Follow these desktop starting steps: [capcut-guide]
- Open CapCut and select Create project.
- Select Import and choose your video files. The guide also describes dragging files directly into the interface.
- Drag the imported footage onto the timeline.
Arrange the clips in your planned order. Play the sequence once before cutting, noting where the action begins, where it ends, and which pauses or repeated sections you could remove.
Keep the timeline easy to follow. CapCut’s guide recommends organizing it so you can locate sections when making adjustments. [capcut-guide]
Checkpoint: Before proceeding, confirm that your intended clips are on the timeline and play in the right order.
2. Split Clips and Remove Unwanted Footage
The playhead marks the position you are viewing on the timeline. CapCut’s desktop workflow uses Split at that position to cut a clip into separate sections. [capcut-guide]
To remove an unwanted section from the middle of a clip:
- Move the playhead to the beginning of the unwanted section.
- Select Split.
- Move the playhead to the end of that section and split again.
- Select and remove the isolated unwanted segment.
- Play across the remaining join and check for an unintended gap or missing action.
For example, if a clip contains useful action, a pause, and more useful action, place your two cuts around the pause rather than removing the entire clip.
Listen as well as watch. If a cut interrupts a sentence, reconsider its position. If removing footage makes the action confusing, keep more context.
CapCut’s guide also describes transitions between desktop clips. Treat them as optional: first make sure the sequence works with plain cuts, then consider whether a transition serves a clear purpose. [capcut-guide]
Checkpoint: Watch the shortened sequence without stopping. It should still communicate the purpose you wrote down.
3. Optional: Check Text, Captions, and Audio
CapCut’s guide describes desktop text templates, automatic captions, and audio-level balancing, but it does not give complete desktop menu paths for adding text, adjusting its duration, generating captions, or changing volume. The items below are optional review goals, not a button-by-button tutorial for those controls. [capcut-guide]
If you cannot locate the relevant controls in your version, complete the basic cut-and-export exercise without these additions.
Text: Check Content, Placement, and Duration
If you add a title using the text controls available in your interface, review it against these goals:
- Keep the wording short enough to read comfortably.
- Check that it does not cover important action.
- Play from before the title appears until after it disappears.
- Confirm that it appears when relevant and remains visible long enough to read.
The guide describes customizable text templates for titles, subtitles, and captions; it does not establish the exact controls for setting their timing. [capcut-guide]
Captions: Review Rather than Assume Accuracy
The guide describes an automatic-caption feature. If it is available in your interface and you use it, compare the generated words with the recording and check their timing. [capcut-guide]
Pay particular attention to names, numbers, and words that were difficult to hear. If you cannot correct a caption using your available controls, do not treat that caption as a verified transcript.
Audio: Check Whether Speech Is Understandable
Listen to the whole sequence with any music, narration, or sound effects playing together. CapCut’s guide recommends balancing these audio levels so background sound does not drown out the main audio. [capcut-guide]
Use these checks:
- Can you understand every spoken sentence?
- Does added music make any word harder to hear?
- Does a cut interrupt speech or create an abrupt sound change?
If optional music obscures speech and you cannot locate the volume adjustment, leave the music out of this first edit rather than exporting unclear dialogue.
Use only media whose usage terms fit your project. This tutorial does not establish licensing permission for any particular track, template, or stock asset.
4. Preview and Choose Export Settings
Watch the full timeline before exporting. CapCut’s guide recommends a complete preview to catch unwanted footage, mismatched audio, and abrupt changes. [capcut-guide]
On desktop, select Export. The guide describes choices for resolution, quality, and format, but does not provide one recommended combination for every destination. [capcut-guide]
Use this decision sequence instead of choosing a preset at random:
- Check the destination. For an upload, consult that destination’s current requirements for accepted formats and resolutions. For local playback, check what the intended device or player accepts.
- Check your source footage. Note its resolution so you can compare it with the available export choices.
- Choose compatible settings. Select an accepted format and a resolution appropriate to the destination and footage. Do not assume the highest available setting is necessary.
- Check the result. Export the file, open it outside the editor, and verify that it plays correctly.
Example decision process: Suppose you are preparing a practice video for an upload. First identify the upload destination’s accepted settings, then compare them with your footage and CapCut’s available export choices. Choose a compatible combination and test the saved file. This is a selection method, not a universal preset.
Pre-Export Review Checklist
- Watch the entire timeline without skipping.
- Check cuts for unintended footage, gaps, or interrupted speech.
- Read any titles and captions.
- Confirm that speech remains understandable under added sound.
- Review the selected resolution, quality, and format.
- After export, check the saved file’s beginning, ending, text, and audio.
Mobile and Web: Starting Steps
These are entry-point summaries, not full equivalents of the desktop exercise.
Mobile
CapCut’s guide gives this mobile workflow: [capcut-guide]
- Tap New project and select your videos.
- Tap a clip in the timeline to open editing options such as text, animations, and filters.
- When finished, tap Export at the top and choose the resolution.
Keep the same basic goal: assemble a clear sequence, remove unnecessary footage using your interface’s controls, and review the saved result.
Web
The guide gives these browser steps: [capcut-guide]
- Choose New video.
- Upload your videos or photos.
- Drag clips onto the timeline.
- Trim, split, or rearrange them as needed. The guide also describes adding text, transitions, effects, and music.
- Select Export, choose the resolution and format, and download the result.
Do not expect desktop labels or control locations to match the mobile or web interface. Use the workflow for the version you are editing in.
FAQ
How Do I Split a Clip in CapCut on Desktop?
Place the footage on the timeline, move the playhead to your intended cut, and select Split. To isolate an unwanted middle section, split at both ends and remove that segment. [capcut-guide]
Before deleting it, check that you have selected only the unwanted section. Afterward, play across the join to decide whether you need to keep more footage for continuity.
Which Export Settings Should I Choose?
Start with the intended destination’s accepted formats and resolutions, then compare those requirements with your source footage and the available export options. CapCut’s guide lists desktop resolution, quality, and format choices without establishing a universal best preset. [capcut-guide]
If the exported file is rejected or does not play, check the destination’s requirements against the settings you selected before exporting again.
Can I Add Automatic Captions in CapCut?
CapCut’s beginner guide describes automatic captions, but does not establish their accuracy or availability in every version. [capcut-guide]
If the feature is available, review both wording and timing. A caption that contains the right words can still need correction if it appears too early or disappears before the speaker finishes.
Do I Need Text, Music, or Transitions for My First Video?
No—this practice edit can consist of your selected footage, its existing audio, and clean cuts. The guide describes text templates and transitions as available features, not requirements for completing an edit. [capcut-guide]
Add an element only if it helps communicate your purpose. If you cannot find its controls or verify the result, leave it out of the first version and finish the basic export.