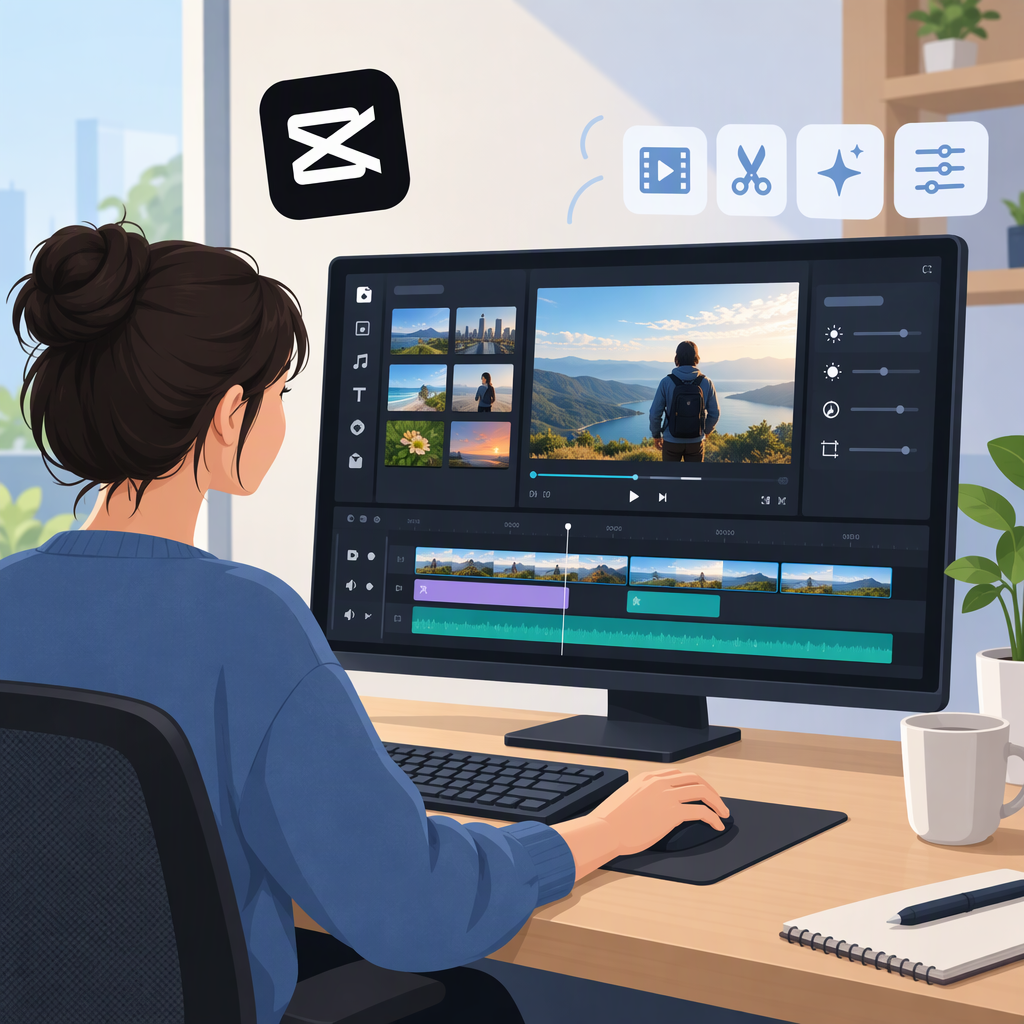
CapCut Video Editor for PC: A Beginner’s Guide to Windows
If you want to use CapCut on a Windows PC, start from CapCut’s official website and choose its Windows download option. CapCut’s Windows guide also lists the Microsoft Store as a download route. Before installing, check your PC against the published requirements—but note that CapCut’s own pages give conflicting minimum storage and graphics details, so those figures are not a reliable single checklist. (capcut.com)
This guide covers a simple edit: bring in your clips, arrange and trim them, preview the sequence, then export and locate the finished file. The steps below describe the workflow without relying on exact button names that may differ between app versions. No hands-on test is claimed.
Find CapCut for Windows and Check Your PC
Use CapCut’s official Windows download page or its Windows listing in the Microsoft Store rather than an unverified third-party download. CapCut’s Windows guide lists Windows 10 or later, an Intel Core i3 or above, 4 GB RAM or above, Intel HD Graphics 4000 or above, and at least 2 GB of available storage. (capcut.com)
There is an important qualification: another CapCut desktop download page lists Windows 10 (64-bit) or later, an Intel Core i3 or equivalent AMD processor, 4 GB RAM, integrated graphics or 2 GB VRAM, and 10 GB of free space. Because these official pages disagree on storage and graphics, treat their figures as published guidance—not a definitive compatibility guarantee. If your PC is close to the limits, check the requirements shown on the official download or install flow before proceeding. (capcut.com)
Make a Basic Edit in CapCut for Windows
CapCut’s desktop materials describe timeline editing, but the available sources do not establish a complete, version-specific sequence of Windows button labels. Use this as a workflow rather than a precise click-by-click tutorial: (capcut.com)
- Open CapCut Desktop and start a project using the project-creation control shown in your version.
- Add the video and audio files you want to use from your PC through the project’s media-import area.
- Place the clips on the timeline in the order you want them to appear. To shorten a clip, use the timeline’s trim controls; preview the change before moving on.
- Add any essential text or audio, then play through the timeline to check the sequence, sound, and ending.
- Keep the project in CapCut if you expect to revise the edit. Exporting creates a finished video file; it is not a substitute for preserving the editable project.
For example, a short three-clip sequence could be arranged as opening shot → main moment → closing shot. Trim pauses from the starts and ends, preview the joins, and make sure the last clip does not cut off unexpectedly. This is an illustrative editing plan, not a tested CapCut project.
Export Your Video and Find the File
When the timeline is ready, select Export at the top right. CapCut’s help page says the desktop export panel includes resolution, frame-rate, and bitrate controls; its January 2026 guide describes 2K (2560 × 1440) and 4K (3840 × 2160) options, with frame rate up to 60 fps depending on the source. The options available to you may depend on your device and project, so choose only settings actually shown in your export panel. Higher bitrate generally means a larger file. (capcut.com)
After export completes, keep the export page open and use Open folder to go directly to the saved video. CapCut says that if you changed the save path, the file will be there; if you did not, it is usually in the system Videos folder or a default CapCut folder. If you still cannot find it, search Windows for the filename you entered or for a video extension such as .mp4. Play the exported file in a media player to confirm it opens and that the picture and sound are present. (capcut.com)
Quick Checks If Something Goes Wrong
- The download or installation fails: CapCut lists device compatibility, network problems, and system restrictions among possible causes. Recheck the official requirements and try the official download route. (capcut.com)
- The export seems missing: Return to the completed export page and choose Open folder; otherwise search by the filename or check the Videos folder and default CapCut folder. (capcut.com)
- The export looks different from the preview: CapCut’s help guidance recommends checking export bitrate and notes that proxy playback can affect preview quality. Compare the rendered file in a separate player before judging the final result. (capcut.com)
In short: get the Windows app from a CapCut route, treat the published minimum specifications cautiously because CapCut pages differ, assemble and preview a simple timeline, then export and use Open folder to find the rendered video.