How to Use CapCut Online: Start, Edit, and Export a Video
How to Use CapCut Online
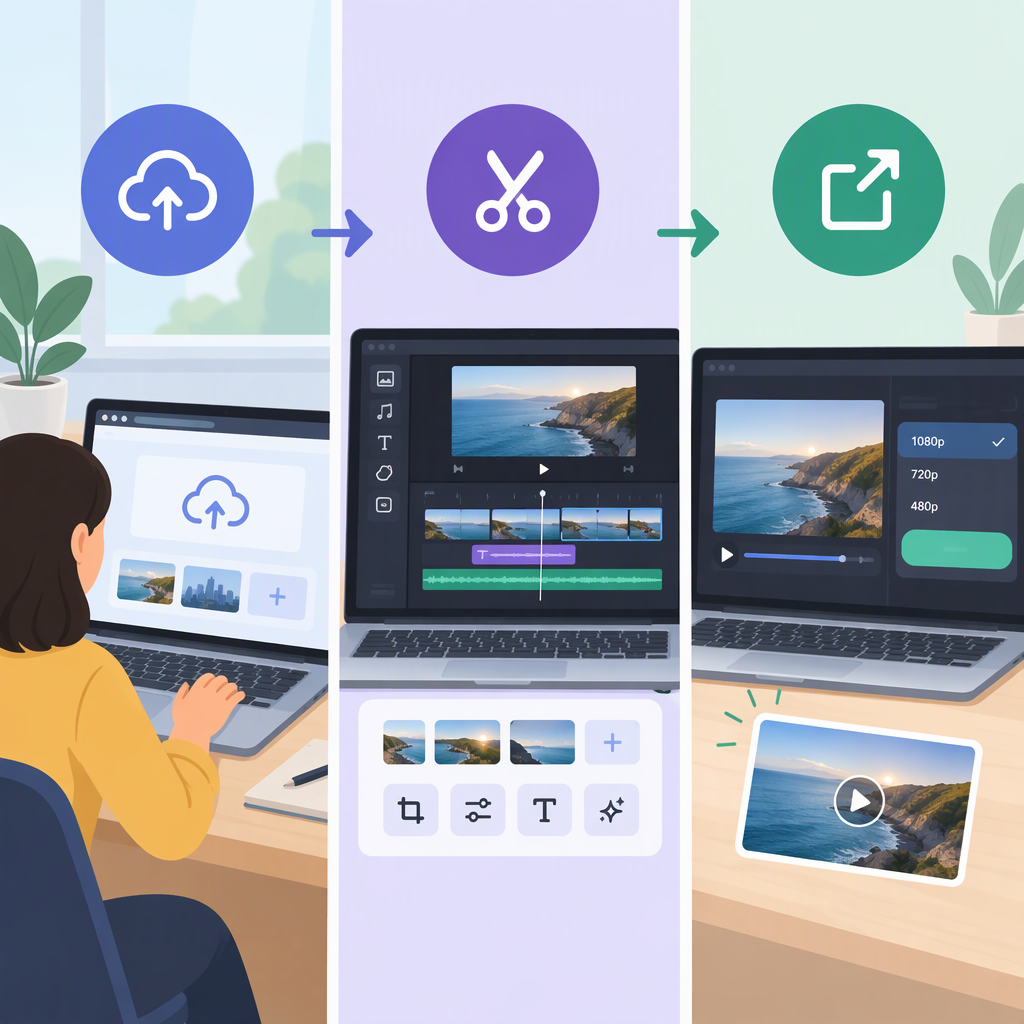
To edit in a browser, open CapCut’s online video editor, sign in or create an account, upload your media, and drag it onto the editing timeline. Arrange or trim your clips, preview the result, then use the editor’s Export option to finish. CapCut’s instructions distinguish this browser workflow from its desktop and mobile apps. (capcut.com)
1. Open the Editor and Start a Project
- Go to the online video editor.
- Sign in or sign up when prompted, then open your workspace. CapCut lists uploads from your computer, cloud storage, Google Drive, Dropbox, or a QR code as options on its online-editor page. The choices shown may depend on your account or the page you enter from. (capcut.com)
- Upload the video clips you want to use. The editor’s online workflow places uploaded media in the project before you arrange it on the timeline. (capcut.com)
These steps are for CapCut in a web browser—not the separate steps for starting a project in the mobile app.
2. Arrange, Trim, and Preview Your Clips
- Drag clips from the media area onto the timeline. Place them side by side in the order you want them to play. (capcut.com)
- To remove or rearrange a section within a clip, split it at the point you want; the resulting sections can be moved or removed separately. The control’s exact appearance can vary with the interface. (capcut.com)
- Preview the edit and check the joins between clips. If you see a gap, close it before finishing; CapCut notes that a gap can hide the transition control. (capcut.com)
Example: If you have three clips and want the second one to open the video, place them in the order 2, 1, 3 from left to right. Preview the two joins to make sure the clips meet as intended. This is an illustrative example of the timeline arrangement described in CapCut’s online guide, not a test of the editor. (capcut.com)
3. Keep the Project and Export the Video
When signed in, CapCut’s web instructions describe finding a project again under Recent Projects or Spaces. To continue editing, return to the online editor, sign in, and open the project from the location where it appears. CapCut notes that cross-device use requires projects to be uploaded to Spaces; don’t assume a project stored only on one device will be available elsewhere. (capcut.com)
When the edit is ready, choose Export and use the output options displayed in your editor. Available options can depend on the platform and project, so choose from what you actually see rather than assuming a particular resolution or format is available. CapCut’s online export guidance identifies unstable internet, large files or high resolution, browser cache issues, and an outdated browser as possible reasons an export may fail. (capcut.com)
If an Online Export Fails
For the browser editor, CapCut’s troubleshooting guidance suggests checking that the internet connection is stable, updating the browser, and—if needed—trying a lower resolution or frame rate. It also suggests clearing the browser cache or exporting a long video in shorter segments. These are troubleshooting suggestions, not guarantees that an export will succeed. (capcut.com)