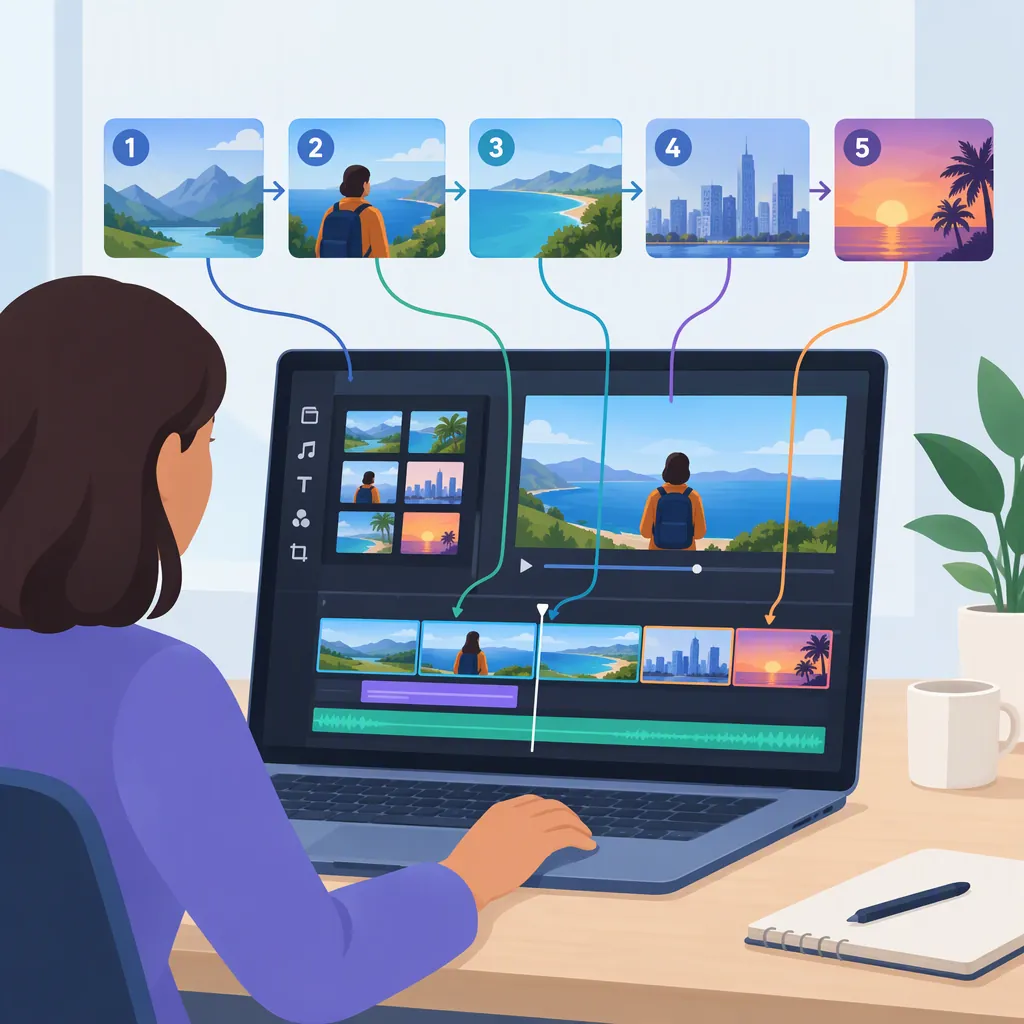
Canva Video Editor: Scene-Based Planning and Editing Overview
Canva’s video editor was described in October 2021 as a scene-based tool with templates and a timeline—an approach closer to assembling presentation slides than working in a complex video editor. Scenes provide a useful framework for planning a short video: give each scene a purpose, pair it with supporting media, and review how the sequence communicates your message. [citation-1]
Evidence boundary: This overview relies on How-To Geek’s October 12, 2021 report. It supports the historical feature descriptions below, but not current Canva menus, pricing, export settings, or account restrictions. The workflow and example are editorial guidance, not a verified click-by-click tutorial.
Understand Scenes, Templates, and the Timeline
The report describes three elements of Canva’s video editing approach: scenes, video templates, and a timeline. [citation-1] For planning purposes, consider them at different levels:
- Scene: What does this part of the video need to communicate?
- Template: Does the proposed visual structure suit your message and media?
- Timeline: How should the sequence unfold over time?
Those questions are a planning framework, not descriptions of specific interface controls.
Start with the message rather than a template. For example, a demonstration may need room for a clearly visible action, while an explanation may need a diagram and a short label. A layout that looks suitable at first glance may not leave enough space for the information viewers need.
Give each scene one main job. If a scene introduces a question, demonstrates a process, and delivers a conclusion all at once, consider separating those ideas before editing.
A Basic Workflow for a Canva Video Project
Use the following checklist to move from a scene plan to a reviewed video. Complete editing actions only where your current Canva interface supports them; control names and exact procedures are not established by the available source.
1. Define the Message and Prepare Media
Write a one-sentence description of what viewers should understand by the end. Identify the intended viewing format and gather the footage, images, text, and audio needed to support that message.
Before placing media in the project:
- Check that the files are available and usable.
- Confirm permission to use them in the intended video.
- Remove private information from screen captures or recordings.
- Separate essential material from optional decoration.
The source does not document the current process for uploading or importing media, so this overview does not prescribe an upload menu or button.
2. Organize the Project by Scene Purpose
Use the reported scene-based model as the organizing principle. [citation-1] A short explanatory video might contain:
- An opening that states the question or goal.
- A demonstration that supplies the answer.
- A closing scene that summarizes the key point.
This is a suggested sequence, not a Canva requirement. If you use a template available in your account, assess whether its structure fits these purposes rather than changing your message to fit the layout.
3. Coordinate Visuals, Text, and Timing
For each scene, identify what the viewer should look at and what they should learn from it.
Use on-screen text to label or summarize the visual rather than duplicating a long spoken explanation. Estimate duration by reading the text aloud and considering how long the visual takes to understand. Where your editor provides timing adjustments, use the preview to test those estimates.
If a scene feels rushed, consider reducing its text or dividing its content before simply extending its duration. If it feels slow, check whether the visual or narration repeats something already established.
4. Plan Recording and Audio
The 2021 report lists camera, screen, and Chrome-tab recording, along with multiple audio tracks. These are historical capabilities, not confirmation of their availability in a current account. [citation-1]
Choose recording material according to the explanation:
- Use a person on camera when seeing the speaker contributes to the message.
- Use a screen view when viewers need to follow visible actions.
- Use both only when each supplies useful information.
If recording or audio controls are available to you, check that speech remains understandable alongside any other sound. Avoid including background audio merely to fill silence.
5. Use Transitions and Animation Deliberately
Transitions and animations also appear in the 2021 feature report. [citation-1]
Where these options are available, use them to clarify a change or direct attention. A transition should help viewers recognize a new scene or topic; animation should support understanding rather than compete with the main visual.
6. Preview and Check the Output
Review the complete sequence, not just individual scenes:
- Does the opening establish the purpose?
- Does each scene add necessary information?
- Can viewers read the text while following the visual?
- Is the narration understandable?
- Do scene changes interrupt an explanation?
- Does the ending resolve the opening question?
If your available editor permits export, inspect the resulting file as well as the preview. Before building a project that depends on a particular format, resolution, asset license, or watermark condition, verify that requirement in your current account. The historical source does not establish those details.
Worked Example: A Three-Scene Explainer
Hypothetical planning example: A short video explains how to fold a sheet of paper in half. This is not a record of a completed Canva project or a demonstration of verified interface steps.
| Scene | Purpose | Supporting visual | On-screen text | Audio | Starting duration estimate |
|---|---|---|---|---|---|
| Opening | Establish the goal | An unfolded sheet beside a folded example | “Fold a sheet in half” | Briefly state the goal | 4 seconds |
| Demonstration | Show the action | Close view of aligning the edges and pressing the fold | “Align edges, then crease” | Explain the two actions as they happen | 10 seconds |
| Summary | Reinforce the result | The finished fold, with edges visible | “Check the edges” | Remind viewers to check alignment | 4 seconds |
The opening shows the intended result so viewers know what they are working toward. The demonstration needs more time because viewers must follow movement, not just read a label. The summary returns attention to the feature that indicates whether the task is complete.
These durations are initial planning estimates, not recommended Canva defaults. Revise them after reviewing the actual footage and narration.
Scene Planning Worksheet
Fill this out before editing, then update it after previewing the sequence.
Project
- Main message: __________
- Intended audience: __________
- Intended viewing format: __________
- Required output or account capabilities to verify: __________
Repeat for each scene
- Scene purpose: __________
- Footage or image needed: __________
- On-screen text: __________
- Spoken explanation or other audio: __________
- Estimated duration: __________
- Connection to the next scene: __________
Before editing
- Does every scene support the main message?
- Is any information repeated unnecessarily?
- Are the media files available and cleared for use?
- Have essential recording and output requirements been checked?
FAQ
Why Plan in Scenes Rather than Start with a Template?
Canva’s reported scene-based approach makes scenes a relevant planning unit. [citation-1] Defining each scene’s purpose first helps you assess whether a template supports the explanation. A template can organize the presentation, but it does not determine what your video needs to say.
Does a Scene-Based Editor Still Have a Timeline?
Yes—the October 2021 report describes Canva’s scene-based approach as retaining a timeline. [citation-1] That establishes the historical presence of both concepts, but not the current timeline layout or its controls.
Can I Use This Overview as a Current Canva Button-By-Button Tutorial?
No. The available report describes features rather than documenting an editing procedure. [citation-1] Use this article for scene planning and review; check the interface available to you for exact media-import, timing, text, audio, and export controls.
Does the Report Establish That Canva Video Editor Is Free Today?
No. How-To Geek reported free access to Canva’s video tools in October 2021 and also mentioned a paid Pro plan. [citation-1] That does not establish today’s pricing, included assets, or account restrictions. Verify any cost-sensitive requirement before committing to a project.