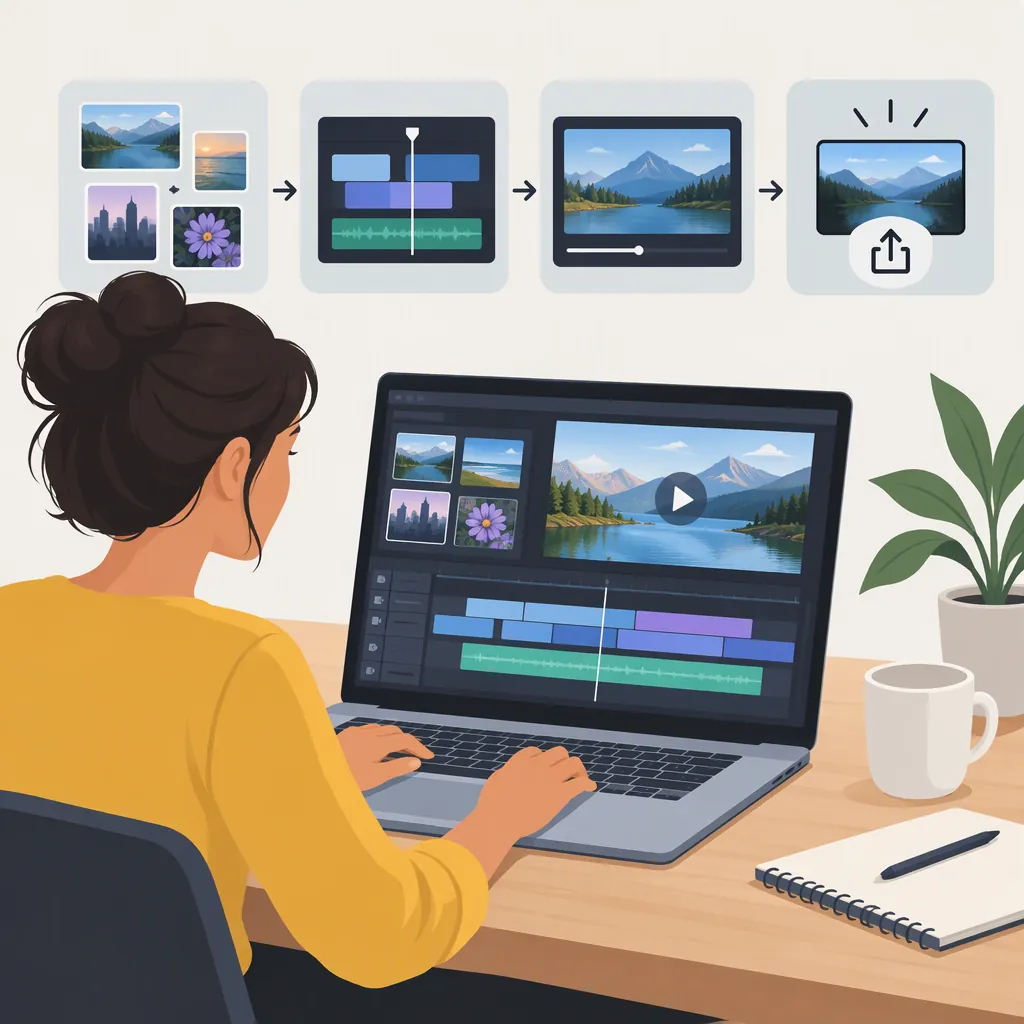
Adobe Spark Video Maker: A Workflow for the Documented Spark Interface
The documented Adobe Spark Video maker workflow builds a video scene by scene using photos, clips, text, or icons, then adds narration and music before previewing and sharing. This walkthrough follows How to use Adobe Spark Video, a training page for SHS teachers credited to Joyce Howard—not a verified current Adobe Express interface guide. The available guide text does not identify a software version or publication date, so its button names and limits should not be assumed to apply to today's Adobe Express. [c1]
Prepare Your Story Before Editing
The Spark Video guide recommends collecting your content and making a rough outline before building the video. Its editor uses scenes arranged in a sorter at the bottom of the workspace. [c1]
For a short explanation, plan one idea per scene. Separate what viewers need to read from what you intend to say aloud. Keep a record of where each photo, clip, and music track came from, and check permission to use it rather than assuming that anything available to import is reusable.
Use this planning sheet as an editorial starting point, not as a software requirement.
Four-Scene Planning Sheet
| Scene | Visual | On-Screen Text | Narration | Review Question |
|---|---|---|---|---|
| Opening | A relevant photo or short clip | Topic title | Explain the purpose | Is the topic immediately clear? |
| Context | A photo or icon | One key point | Add necessary background | Does this explain why the topic matters? |
| Demonstration | A clip or supporting image | A brief label | Explain what viewers should notice | Do the visual and narration agree? |
| Closing | A simple image or text | Main takeaway | Summarize the explanation | Can viewers identify the takeaway? |
Build and Arrange Spark Video Scenes
In the documented Spark interface, begin by signing in, choosing a video project, entering a title, and selecting a template or starting from scratch. Choose a theme to set the font style and colors; the guide says the theme can be changed later. [c1]
- Set up the opening scene. Use its + control to add a photo or video. For a local video, choose the beginning and end of the segment, then select Save to insert it into the scene. [c1]
- Add the next scene. Select + in the scene sorter. The new scene appears after the selected scene. [c1]
- Choose a layout. Use the documented layout options below to determine what the scene can contain. [c1]
- Reorder the story. Drag scenes in the sorter until the sequence matches your outline. [c1]
The guide describes four layouts with these content options: [c1]
| Documented Layout | Supported Content |
|---|---|
| Full Screen + Thing | A full-screen photo or video, plus a photo, icon, or text |
| One Thing | One photo, video, icon, or text item |
| One Thing + Caption | A photo, icon, or text item, plus a caption; no video |
| Two Things | A photo, icon, or text item in each of two areas; no video |
The guide also describes a maximum 30-second selection when inserting a video clip. That is a limit of the documented import workflow, not an established maximum for the finished video or a verified current Adobe Express limit. [c1]
As an editing principle, choose the simplest layout that communicates the scene's idea. If the frame becomes crowded, move supporting information into another scene rather than forcing several ideas together.
Add Readable Text and Narration
Add Text
In the Spark Video guide, selecting the T icon places a cursor in the scene so you can type. The guide notes that letters become smaller as more text is entered. [c1]
Use short labels or key points. Move longer explanations into another scene or into narration, and check readability during the full-video preview.
Record Voice-Over
The documented narration workflow is:
- Prepare and practice what you want to say.
- Hold the microphone control while speaking.
- Release it when finished.
- Listen to the recording and re-record if necessary. [c1]
The guide recommends using narration to expand on on-screen text instead of simply reading it aloud. [c1] In your review, check that the spoken explanation matches the visual shown at that moment.
Select Background Music
The guide records the following music controls for its Spark interface:
- Open the Music tab in the upper-right area.
- Scroll through the soundtrack list.
- Click in front of a music selection to audition it.
- Click the chosen soundtrack's name, then select Add my music. The guide says the added track loops throughout the video. [c1]
These control names describe the guide's interface; they are not confirmation of current Adobe Express controls.
As an editorial choice, music is optional. Omit it when it distracts from the explanation. If you include it, listen through the preview and check that every spoken word remains understandable.
Preview and Adjust Scene Timing
Select Preview in the documented Spark interface and watch the entire sequence. The guide recommends reviewing the flow and then returning to the editor to make adjustments. [c1]
Check scene order, clip boundaries, text readability, and audio together—not just each scene separately. Before sharing, ask:
- Does each scene stay visible long enough to understand?
- Are important words and subjects visible in the frame?
- Does the narration match the visual currently on screen?
- Is background music distracting from speech?
- Have asset permissions and necessary credits been checked?
- Is the intended audience appropriate for the sharing setting?
For timing adjustments, the guide describes a gray circle showing a number followed by s in the bottom-right toolbar. Selecting it opens a slider with a maximum of 10 seconds. If text takes longer to read, the guide recommends splitting it across two or more scenes. This limit applies to that documented timing control, not necessarily to other content or current Adobe Express behavior. [c1]
Generate and Share a Video Link
After reviewing the video, the Spark Video guide describes this publishing sequence:
- Select Share. Open the sharing controls at the top of the video. [c1]
- Complete Story Details. Enter the title, subtitle, category, and author name, and choose whether the name should appear. [c1]
- Review More Options. Add credits for photos or videos made by others and identify your own contributions where appropriate. [c1]
- Choose discoverability. The guide's Get Noticed setting makes the video searchable when enabled; when disabled, viewers need the link to access it. [c1]
- Generate the link. Select Create Unlisted Link or Create Public Link, according to the selected sharing setting. [c1]
- Distribute the generated link. The guide describes sharing through Facebook, Twitter, email, or an embed option. These are documented Spark options, not confirmation of today's available sharing controls. [c1]
Do not treat an unlisted link as a guarantee of confidentiality. Choose a sharing setting appropriate to the material, and avoid publishing sensitive information on the assumption that possessing the link is a sufficient access restriction.
If you edit the video after publishing, the guide instructs you to repeat the Share process to Update the published video. [c1]
Keep Adobe Express Instructions Separate
The Google Play listing for Adobe Express: AI Photo, Video describes uploading clips, trimming and combining footage, and adding text, music, transitions, and sound effects. It also states that some features are not supported on all devices. The listing does not establish that Spark Video's buttons, scene layouts, or timing limits apply to Adobe Express. [c2]
A separate Adobe Express article describes switching between landscape and square video using a resize icon in the main menu. That article does not establish current plan availability or a complete present-day resizing procedure. [c3] If you change framing, review the result for cropped subjects and readable text.
If your editor does not match the Spark controls above, use the planning sheet and review checklist as editorial guidance. Do not assume that a missing Spark control has an equivalent location in Adobe Express.
FAQ
Will These Adobe Spark Video Maker Steps Match My Current Editor?
Not necessarily. These steps follow Joyce Howard's Spark Video training guide, whose available text does not identify a software version or publication date. The separate Adobe Express listing does not verify that Spark's scene controls, layout names, or timing limits remain available in the current editor. [c1] [c2]
How Does the Documented Spark Video Workflow Record Voice-Over?
Hold the microphone control while speaking, release it when finished, and listen to the recording. The guide says you can re-record if necessary and recommends scripting and practicing first. [c1]
How Do I Add Music in the Documented Spark Interface?
Open Music, audition a selection by clicking in front of it, then click the soundtrack's name and select Add my music. The guide says the track loops throughout the video. Those controls are specific to the documented interface. [c1]
What Should I Do If Viewers Cannot Finish Reading a Scene?
Shorten the text, split it across scenes, or adjust the scene duration. The Spark Video guide describes a timing control capped at 10 seconds and recommends splitting text that needs longer; this is not a verified current Adobe Express limit. [c1]
Is the 30-Second Clip Limit a Limit on the Whole Video?
The guide describes selecting up to 30 seconds when inserting a video clip. It does not establish that 30 seconds is the maximum length of the finished video, and it does not verify a current Adobe Express import limit. [c1]
How Do I Update a Video After Sharing It?
The documented Spark workflow requires going through Share again to Update the published video after making changes. These instructions do not verify today's Adobe Express publishing controls. [c1]