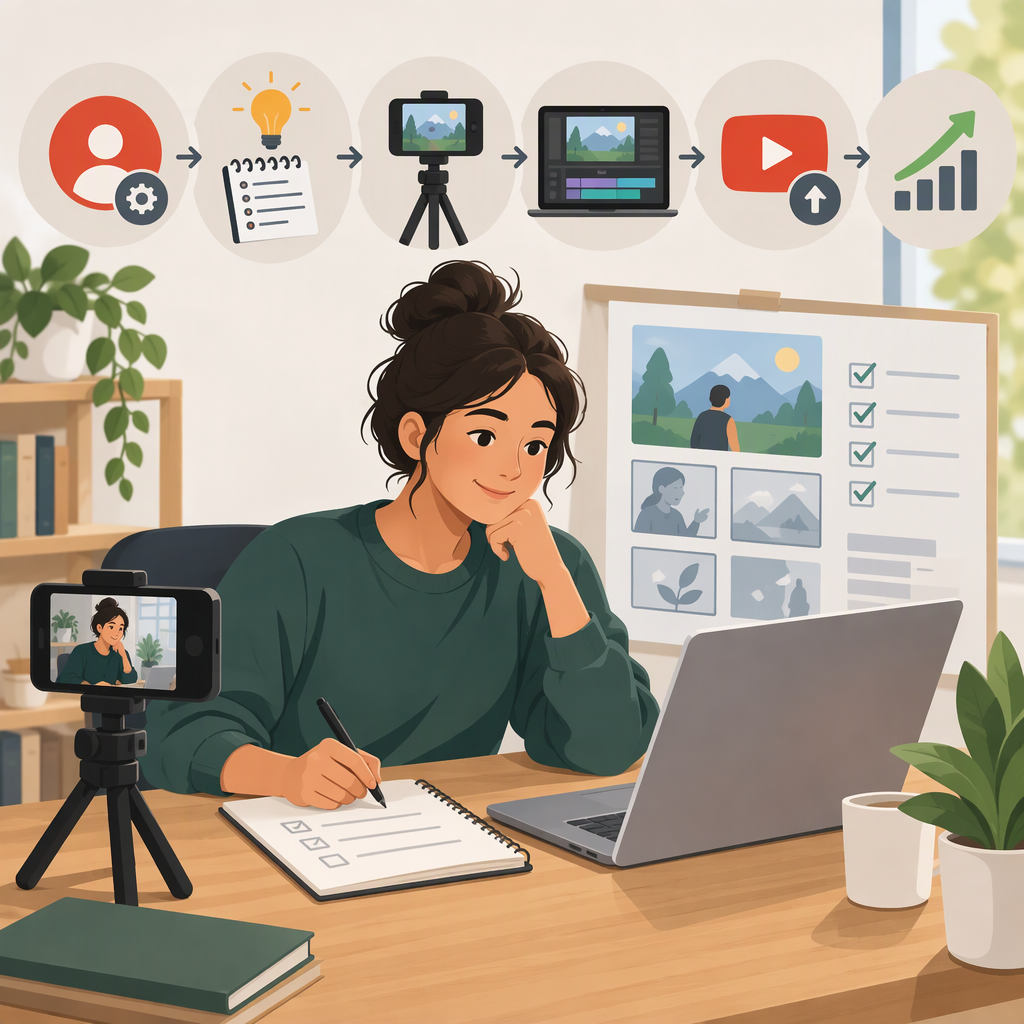
How to Start a YouTube Channel with No Money: A Practical First-Video Plan
You can start a YouTube channel without buying equipment: you need a Google Account, a YouTube channel, a way to make a video, and internet access to upload it. “No money” means avoiding new purchases—not that recording, storage, data, or internet access are guaranteed to cost nothing. If you already have a usable phone or computer and can get online, keep the first video simple and try publishing before deciding whether you need to spend anything.
What a Zero-Budget Start Does—And Doesn’t—Cover
You need a YouTube channel to upload videos. YouTube’s instructions say to sign in, open the account’s channel settings, choose Add or manage channel(s), and select Create a channel. A supervised YouTube experience may not allow channel creation. (support.google.com)
A no-cash setup might use:
- A phone or computer you already have that can record or handle your video.
- A quiet place with enough light to see the subject.
- A way to connect to the internet and enough data or bandwidth to upload.
- A free way to plan and record; you can start without a separate editing app by making the video short and organized before recording.
These are practical options, not a guarantee that every device or connection will work. If you don’t have access to a recording device or internet connection, starting without spending may not be feasible yet. YouTube also says supervised accounts may have upload restrictions. Account verification is needed for some features, including uploading videos longer than 15 minutes and adding custom thumbnails; you can publish a shorter video without depending on those features. (support.google.com)
A Simple Route to Your First Video
1. Choose One Useful, Manageable Topic
Pick something you can explain, demonstrate, or document with what you have. Make the promise specific enough to fit one short video. For example, instead of “learn gardening,” try “how I start basil seeds in a reused container.” That is a planning example, not a claim about likely views or channel growth.
Before recording, write down three things: what the viewer will learn, the main steps or points, and one sentence to close with. A simple outline can reduce retakes and make editing optional.
2. Match the Format to Your Equipment
Choose the format that works with your current setup:
- Talking to camera: Keep the phone or computer steady and frame yourself in a quiet, well-lit spot.
- Demonstration: Show the process close enough to understand; explain each step aloud or add narration if your setup allows it.
- Voice-over or slides: Use this only if you already have a practical way to record audio and assemble the visuals.
Good lighting and clear, understandable sound matter more at the start than buying accessories. If a room is noisy, move to a quieter place or record when it is calmer. If the picture is dim, try facing a window. These are low-cost adjustments, not promises that any particular device will produce a polished result.
3. Record a First Take, Then Check It
Put the device on a stable surface, record a short test, and play it back. Check that the subject is visible, your voice can be understood, and the video includes the points in your outline. If something distracts from the explanation, adjust the setup and record again.
You don’t need to make the first upload elaborate. A focused video with a clear beginning, a few useful steps, and a direct ending is a reasonable starting point. Keep a copy of the original recording if your device has room; editing or upload processes can vary by device.
4. Upload and Fill in the Essential Details
YouTube’s published computer workflow is to sign in to YouTube Studio, select Create → Upload videos, and choose the video file. YouTube also provides upload instructions for mobile devices. The upload screen lets you enter video details; you can edit details later from Content in Studio. (support.google.com)
For the first upload:
- Write a clear title that says what the video actually covers. YouTube’s title limit is 100 characters. (support.google.com)
- Add a short description explaining what a viewer will see or learn.
- Answer the audience question accurately. YouTube’s upload details include whether a video is made for kids; don’t guess if you’re unsure what applies. (support.google.com)
- Choose the visibility setting that fits your intention. Review this before finishing: YouTube says that if you close the upload window before choosing visibility, the video is saved as private. (support.google.com)
- Use an available thumbnail option. YouTube offers automatically generated suggestions; uploading a custom thumbnail requires a verified account. A custom thumbnail is optional for a first upload. (support.google.com)
Do a final check that the file is the right one, the title matches the content, and the visibility setting is what you intended. Upload processing time can vary, and higher-quality files can take longer to process. (support.google.com)
What to Do After Publishing
Give the video time, then use what you can observe to make the next one clearer. You can review comments and, in YouTube Studio, use Analytics to view channel- or video-level reports. YouTube describes the Overview, Content, Reach, Engagement, and Audience tabs as ways to examine different aspects of performance; some data may be limited, and some reports may not be available on mobile. (support.google.com)
For a new channel, keep the review practical: Did viewers seem to understand the point? Did the recording have an avoidable sound or visibility problem? What question could the next video answer? If there is little feedback or data, that is not proof the idea failed—use your own production check and make another video you can sustain.
A simple next-video loop is: publish → note one thing to improve → make the next focused video. Don’t buy gear based on one upload. Consider spending only if you can identify a specific recurring problem—such as unusable sound or insufficient storage—and have already tried reasonable adjustments with what you own. Views, subscribers, and income are uncertain; monetization is not a prerequisite for starting.