How to Start a Gaming Channel with No Money
You can start a gaming channel without spending money if you already have a device that can play a game and capture it, enough storage for a test recording, and internet access to upload. You do not automatically need a webcam, a dedicated microphone, or paid editing software. But “free” depends on what your existing setup can do: some devices or games may not support the capture or upload route you want, and this guide can’t assume that every phone or console does.
A manageable first step is a short recorded video, not a full production: choose a game you already have access to, record one small moment, check the sound and picture, and then decide whether it is ready to upload. Recording lets you review the result before publishing; live streaming happens in real time and gives you less opportunity to inspect a finished video first.
Check What You Already Have
Before downloading anything or buying gear, make a quick inventory:
- A device that can run the game. Use a game you already have access to; don’t buy a game just to begin making videos.
- A way to capture the gameplay. Check whether your computer, console, or phone has a built-in recording feature or supports recording software you can use at no cost. The feature can vary by device, system version, and game, so test your own setup rather than assuming it will work.
- A way to check audio. If you want commentary, try a microphone or headset you already own. If you don’t have one, consider a voice-free clip with a clear on-screen purpose instead. Either way, listen to a short test before making a longer video.
- Enough free storage for a test file. Record briefly and check whether the file saves and plays back. Longer or higher-quality recordings can need more storage, so start small.
- Internet access and a publishing account if you plan to upload online. Uploading may not be available for some supervised accounts on YouTube, for example. (support.google.com)
If you’re using a Windows 10 or Windows 11 PC, Microsoft documents Xbox Game Bar recording: enable the feature, open the game, and use Windows key + Alt + R to start or stop a clip. The microphone can be toggled with Windows key + Alt + M. Microsoft says the recording is saved as an MP4 in Videos > Captures. This describes a Windows option, not a guarantee that every game or computer will record successfully. (support.microsoft.com)
Another computer option is OBS Studio, which its project describes as free, open-source software for recording and live streaming. OBS also cautions that meeting its basic system requirements does not guarantee good recording performance; the result depends in part on the computer and recording settings. If you try it, use its Auto-Configuration Wizard and make a brief test before committing to a longer session. (obsproject.com)
If your device has no working capture route and you don’t already have the equipment needed for one, you may not be able to follow a no-purchase recording workflow with that setup. Check the device maker’s instructions for your exact model and software version before assuming you need to buy something—or that a particular workaround will work.
Choose a First Game and Format You Can Finish
Pick a game you can already play and a video idea small enough to record and review in one sitting. The point of a first upload is to learn whether your setup and workflow work—not to find a game or format guaranteed to attract viewers.
A few manageable options:
- One short gameplay clip: Capture a single moment, challenge, or tip. This is a useful first test if you want to check recording and game audio without making a long video.
- Gameplay with commentary: Add a brief explanation or reaction if your existing microphone records clearly. Check that your voice can be heard over the game.
- Voice-free gameplay: Make the purpose clear through the gameplay itself or concise on-screen text you create. You can try this if you don’t have a microphone, but still check that the game capture is understandable.
- A livestream: Consider it if you specifically want real-time interaction and your chosen platform and setup support it. For a first technical test, a recording is easier to review before it goes public.
These are format choices, not promises about reach. Choose the simplest one your current setup can produce clearly.
A No-Cost Workflow for a First Recorded Video
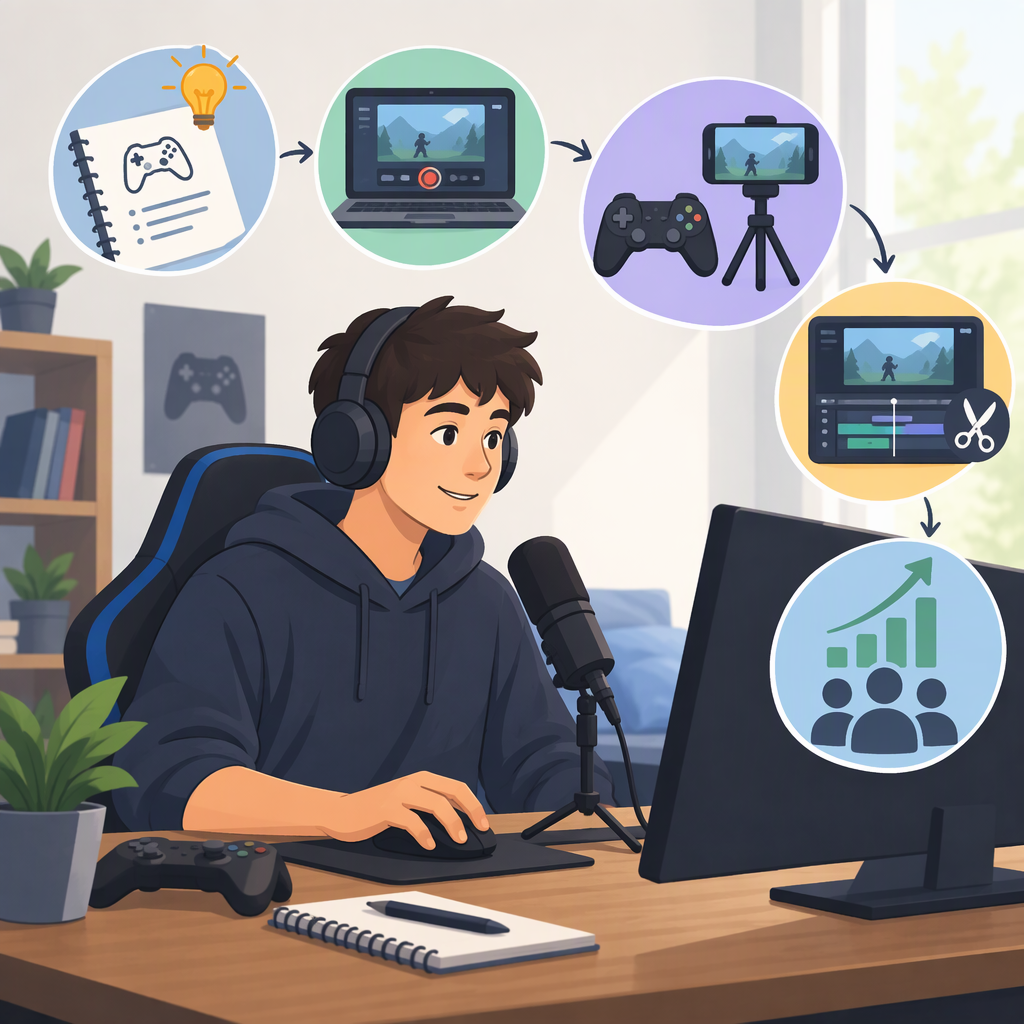
- Write down one small idea. For example: “Show one attempt at a challenge and explain what I learned.” Keep the scope narrow enough that you can finish the recording and review it without needing extra equipment.
- Check the capture route on your device. Use the device’s own instructions for its current model and software. If you’re on Windows 10 or 11, you can try the Game Bar steps above. If you use OBS, add the source that fits your setup and use its Auto-Configuration Wizard; available sources differ by operating system. (support.microsoft.com)
- Record a short test. Capture a little gameplay and, if you want commentary, a little speech. Play the file back. Check that the video saved, the game is visible, the sound is present, and your voice is understandable. OBS’s quick-start guide recommends testing for a few minutes before a full recording. (obsproject.com)
- Fix only what the test shows. If there’s no sound, check the recording settings and selected audio devices. If your voice is hard to hear, try speaking closer to the microphone you already have or lowering game volume for the next test. If the recording stutters or the device struggles, try a shorter or less demanding test and check the software’s official guidance for your hardware. These are troubleshooting ideas to test, not guaranteed fixes.
- Make only necessary edits. If you already have an editor, trim the beginning and end or remove a section that makes the point hard to follow. Otherwise, consider whether the unedited clip is clear enough to publish. Avoid adding music just to make the video feel more finished.
- Prepare basic upload details. Write a plain title that describes what happens in the video. Add a short description if it helps explain the clip. Use a thumbnail only if you can make one with tools you already have; it isn’t a reason to delay a first test upload.
- Upload and review the settings. On YouTube, the documented computer workflow is to sign in to YouTube Studio, choose Create > Upload videos, select your file, and fill in its details and visibility. YouTube says to set the audience as required for its child-directed-content rules. Processing can take longer for higher-quality video. (support.google.com)
Check Game and Platform Guidance Before Publishing
A recording feature does not, by itself, answer whether you may publish every element in a video. Check the current guidance for your publishing platform and the publisher of your game, especially for gameplay footage, music, and third-party material.
For YouTube, its copyright guidance says that using a copyright exception, getting permission, or using music from its Audio Library or Creator Music does not guarantee avoiding a copyright claim or strike. YouTube also says uploaded videos may be scanned through Content ID. Don’t assume a song is safe just because it was included in a game, or because you found it at no cost. (support.google.com)
Rules can differ by game publisher. For example, Nintendo’s guidelines say they apply to Nintendo-owned game content and encourage creators to include their own creative input or commentary; the guidelines also say they may change and should be checked before sharing. That example does not establish the rules for other publishers, games, or platforms. (nintendo.co.jp)
Decide What to Improve Before Buying Anything
Watch your test once as if you were seeing it for the first time. Identify the first observable problem, then make one change and test again:
- The game picture is missing or hard to follow: Check the selected capture source and recording settings against the documentation for your device and software.
- Game audio or commentary is missing: Check which audio sources are enabled and selected; OBS, for example, advises checking the Audio Mixer and device settings. If you have no microphone, try a voice-free format rather than treating a microphone purchase as an automatic first step. (obsproject.com)
- The device struggles to record: Keep the next test brief and simplify the recording settings. OBS notes that recording performance depends on hardware and settings, so a successful install alone doesn’t prove your computer can handle the recording you want. (obsproject.com)
- The video is difficult to understand: Narrow the idea, remove a confusing section if you can, or explain the goal at the start of your next attempt.
- You’re not sure whether the content can be published: Pause and check the relevant platform and game-publisher guidance instead of relying on assumptions about gameplay or music rights.
A first upload does not need to prove that the channel will grow or earn money. It only needs to help you learn whether your existing setup can make a clear video—and what, if anything, is worth improving next.