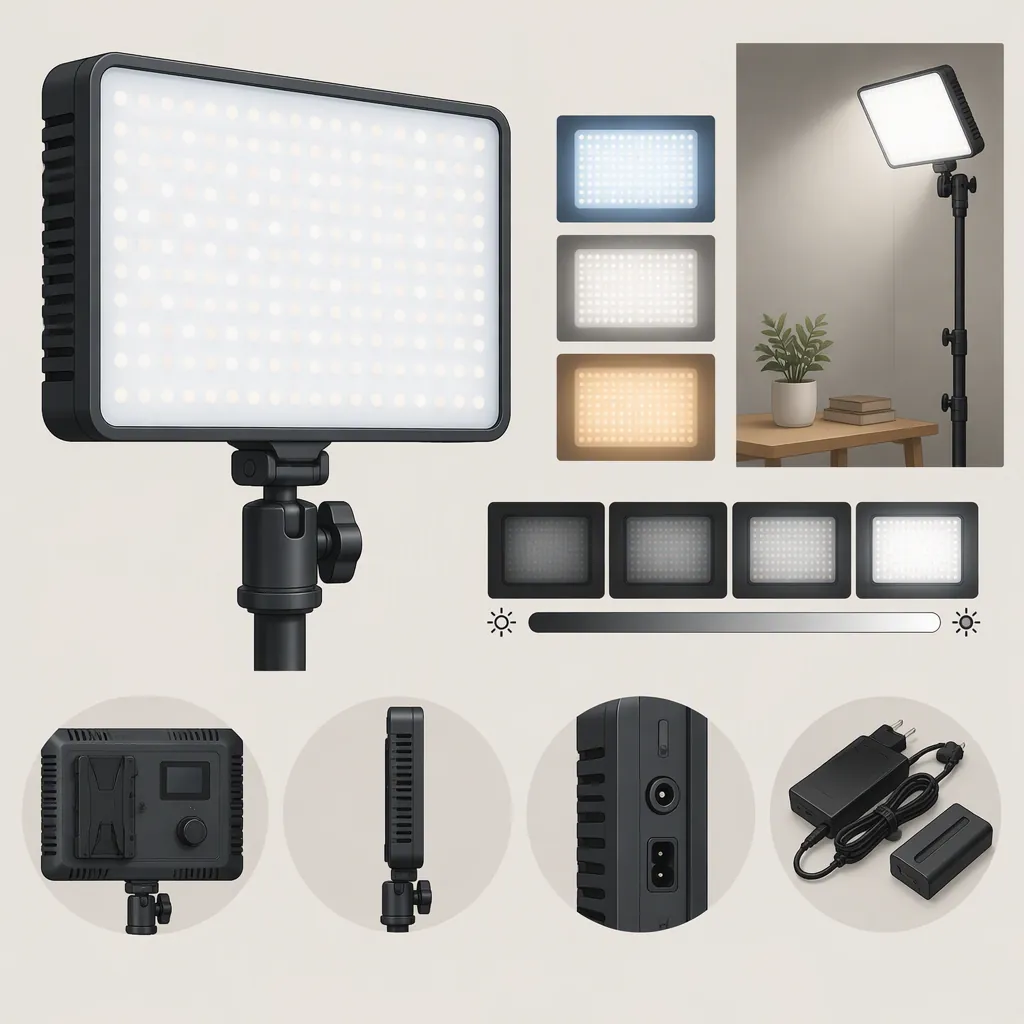
Viltrox L116t Light Panel: Controls, Power, and Setup Checks
The Viltrox L116T is described in the cited Amazon.com.au product page as a continuous, bi-color LED video light panel with adjustable brightness and color temperature. [c1] This overview explains its listed controls and power requirements, followed by general checks for a recording setup. The product details below are retailer-listed specifications, not independently verified performance results.
Viltrox L116t Specifications at a Glance
The cited Amazon.com.au product page describes the L116T as follows. [c1]
| Item | Retailer-listed description |
|---|---|
| Light type | Continuous LED video light panel, rather than a photographic flash. [c1] |
| Brightness adjustment | 20–100%. [c1] |
| Color-temperature adjustment | 3300–5600 K. [c1] |
| Adjustment control | Press the adjustment button to switch between brightness and color-temperature modes; rotate it to change the selected value. [c1] |
| Display | Shows brightness, color temperature, and battery status. [c1] |
| Setting memory | Retains the previous setting when switched on again. [c1] |
The product page names interviews, video conferencing, livestreaming, and vlogging among the L116T’s intended applications. Those labels do not establish how well it will illuminate a particular subject or room. [c1]
This overview concerns the L116T only. Other lights shown in the retailer page’s recommendations are separate products; their features should not be treated as L116T specifications.
Using the Listed Controls in a Recording Setup
The Viltrox L116T’s press-and-rotate control arrangement is described in the cited Amazon.com.au product page. Follow the instructions supplied with the unit rather than treating that brief retailer description as a complete operating guide. [c1]
For a repeatable setup, note the selected brightness and color temperature alongside the camera settings and light position. These values document your setup; they do not promise a particular exposure or color result.
When evaluating a change, keep the camera and subject positions consistent and adjust one setting at a time. Review the recorded image rather than judging the setup only from the light’s display. This is a general recording-check method, not a verified L116T performance procedure.
Power Requirements and Package Contents
The cited Amazon.com.au description for the Viltrox L116T names NP-F550, F750, and F960-series lithium batteries, references a 12 V / 2 A DC supply, and marks the referenced power accessories as not included. Confirm the contents of the exact package and the unit’s electrical requirements before connecting a supply. [c1]
The same page contains USB entries in its specification table alongside the separate battery and DC descriptions. Those table entries alone do not establish USB powering or charging support. Do not infer a compatible USB power arrangement from them. [c1]
Before connecting power, compare the unit’s labeling and supplied instructions with the proposed power source, including the required voltage, current, connector, and polarity where applicable. If those details are unclear, do not rely on a connector’s physical fit as confirmation of compatibility.
The available material does not establish runtime for a particular battery and recording setup. It also does not establish performance at your intended recording distance, so no recommendation for a particular session length or room size follows from these specifications.
Pre-Recording Setup Checklist
Use this checklist to assess your own recording arrangement. These are general checks, not verified L116T mounting instructions, runtime results, or performance guarantees.
- Confirm the unit and accessories. Check that the unit is labeled L116T, review its supplied instructions, and identify which power and mounting accessories are actually present.
- Verify the power arrangement. Compare the power source and connector requirements with the unit’s labeling and instructions before connection. Resolve any uncertainty first.
- Check mounting stability. Follow the mounting instructions for the light and support equipment. Confirm that the assembly stays secure in the intended position and that cables do not pull on it.
- Record a short test at the actual camera position. Use the intended subject position, framing, and room lighting rather than a different test location.
- Review exposure and shadows. Look for overly bright areas, distracting shadows, reflections, and unwanted color differences in the recorded image. Adjust the arrangement and test again as needed.
- Document the setup. Record light position, distance and angle, brightness, color temperature, camera settings, and power source. Use those notes as a starting point for later sessions—not as proof that results will remain identical.
A short test can help evaluate the image and physical arrangement, but it does not demonstrate that a battery will last for the full session. Treat power duration as a separate planning question.
FAQ
Does the Viltrox L116t Include a Battery or Dc Power Supply?
The cited Amazon.com.au product description for the Viltrox L116T marks the referenced battery and DC power accessories as not included. Check the contents of the exact package rather than assuming it is ready to power out of the box. [c1]
Can the Viltrox L116t Be Powered or Charged Through USB?
The cited Amazon.com.au product page for the Viltrox L116T includes USB specification-table entries, but these do not establish USB powering or charging compatibility alongside its separate battery and DC descriptions. Confirm support through the unit’s labeling and supplied instructions before attempting a USB power arrangement. [c1]