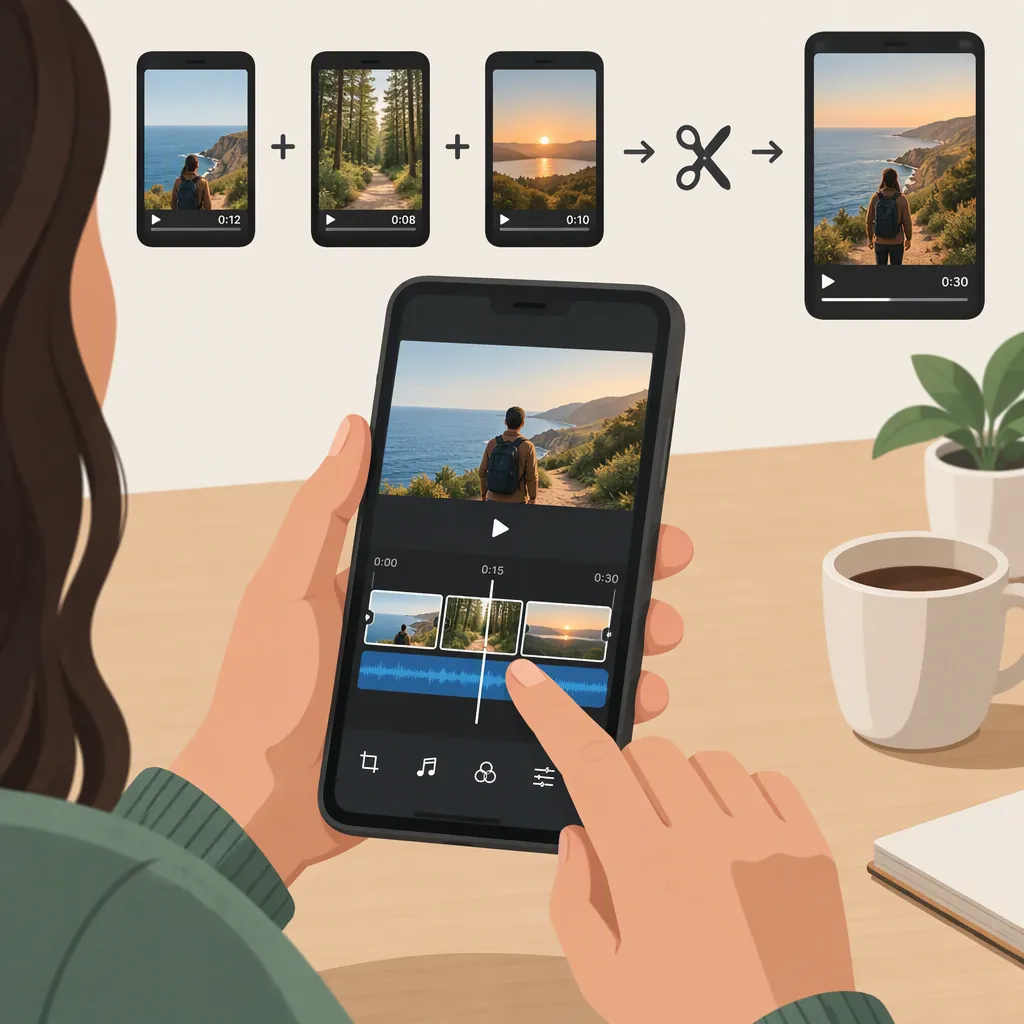
How to Edit Phone Videos Together into One Video
To edit phone videos together, import your clips into a mobile video editor, arrange them in playback order on a timeline, and trim unwanted footage. Check the joins, framing, and sound, then export the sequence as one video. Mobile editors can support timeline editing and clip merging, though exact controls depend on the app and version. [citation-1]
This workflow is for consecutive playback: one clip ends and the next begins. A side-by-side video collage is a different layout.
Choose Your Clips and Final Framing
Select the clips you want to include and decide what order will make sense to a viewer. For example, a three-clip cooking video could show:
- Ingredients
- Preparation
- The finished dish
You do not need a fixed storytelling template. Start with a simple sequence, then revise it after watching the clips together.
Choose whether the finished video should be vertical, horizontal, or square. Check that your source clips are in focus and that important subjects will fit the final frame. Keeping one output orientation throughout helps make the sequence consistent. [citation-1]
If your clips mix horizontal and vertical footage, review each one in the project preview. Where the editor offers these options:
- Fit the whole clip inside the frame when keeping the full image matters, even if this leaves borders.
- Fill the frame by cropping when you can remove the edges without losing important content.
Do not crop out a face, action, or detail simply to eliminate empty space.
Import, Order, and Trim the Clips
Choose a mobile editor that supports multiple clips, reordering, trimming, and exporting. If you need to remove footage from the middle of a clip, also look for a split tool.
VlogBox’s 2021 guide describes importing footage into iMovie on iPhone and editing clips on a timeline in VN. These are historical examples, not confirmation of current menus, availability, or pricing. Check the editor’s current instructions for app-specific controls. [citation-1]
1. Start a Project and Import Your Footage
Create a video project and select the clips you want to combine. If the editor offers a project shape or aspect-ratio setting, choose the framing you planned.
Find the timeline: the area that displays your clips in playback order. Keep your main footage in one consecutive sequence rather than placing clips on overlapping layers.
2. Put the Clips in Playback Order
Select the clip you want to move, then use the editor’s move or reorder control. Some interfaces allow dragging; others provide a separate arrangement view. Follow the method your app supports.
For example, suppose your imported clips appear as:
Finished dish → Ingredients → Preparation
Move them into:
Ingredients → Preparation → Finished dish
Play the sequence to verify the result. Do not rely only on the order in which you selected files during import.
3. Trim the Beginning and End of Each Clip
Select a clip and locate its trimming boundaries or trim controls.
- Adjust the starting boundary to remove footage before the useful action begins.
- Adjust the ending boundary to remove footage after the useful action finishes.
- Preview the retained section before moving to the next clip.
Leave enough footage for the viewer to understand the action. If a cut feels rushed, restore a little of the beginning or ending where your editor allows it.
4. Remove Unwanted Footage from the Middle
Trimming the outer edges is different from removing an interruption inside a clip. If your editor supports splitting:
- Move the playback position to the start of the unwanted section.
- Split the clip there.
- Move to the end of the unwanted section and split again.
- Select and delete only the isolated middle segment.
- Play across the new join.
Check whether the remaining segments meet. If deletion leaves an empty gap, use the editor’s gap-removal or move controls to bring them together.
5. Watch the Complete First Cut
Before adding effects, play the full sequence. Check for missing clips, repeated moments, accidental gaps, and cuts that interrupt the action. Fix the order and timing first.
Refine Transitions, Sound, and Text
Review Each Join Before Adding a Transition
Start with a direct cut: one shot ends and the next starts. Add a transition only if it helps explain a change or makes the sequence easier to follow. Too many transitions can distract from the footage. [citation-1]
Preview a short section on both sides of every join, not just the transition itself.
Check Audio Across Clip Boundaries
Listen for sudden changes in speech, background noise, and music. Select the relevant clip and use its audio controls, if available, to reduce an unusually loud section or bring adjacent clips closer in level.
If you add background music, keep important speech understandable and use music you have permission to include. The reference recommends controlling music volume and cautions against unauthorized copyrighted music. [citation-1]
Add Text Only Where It Helps
Use text for context and captions for spoken information that viewers need to understand without sound. Text and captions can support muted viewing. [citation-1]
Check spelling, contrast, placement, and how long each item stays visible. Preview text over the actual footage so it does not cover an important subject.
Export and Check the Finished Video
Use the editor’s export or save-video function to create the combined file. Exact steps vary; the cited guide does not provide a complete mobile export walkthrough.
Choose output settings supported by the place where you intend to use the video. The reference names MP4 and H.264 as common options and recommends checking compatibility. [citation-1] These terms describe different things: MP4 is a container format, while H.264 is a video encoding format, so a video can use both.
Your app may expose only some settings. You do not need to find every possible option; choose a supported output configuration from the settings available. There is no universal mobile export preset established by the cited guide.
Open the exported file and watch it from beginning to end.
Finished Video Checklist
- Every intended clip appears in the correct order.
- Unwanted starts, endings, and middle sections are removed.
- No accidental gaps remain.
- Important subjects stay visible.
- Text is readable and accurate.
- Speech remains clear, and audio does not jump unexpectedly.
- The exported file plays through to the intended ending.
FAQ
Can I Combine Video Clips Directly on My Phone?
Yes. Mobile editors can support importing, trimming, and combining clips. VlogBox’s 2021 guide describes mobile examples, but check current compatibility and controls before choosing an editor. [citation-1]
What If I Accidentally Delete a Clip?
If your editor offers Undo, use it immediately and check what was restored. Otherwise, reimport the original clip and return it to the correct position. Keep the source footage until you have checked the exported video.
Should I Crop Mixed Horizontal and Vertical Clips or Leave Borders?
Choose based on what must remain visible. Fit the whole clip when cropping would remove important content; fill the frame only when the crop preserves the subject. Review every shot within one consistent output orientation, as recommended by the reference. [citation-1]
What Should I Check First If the Volume Jumps Between Clips?
Listen to the original audio on each side of the join before changing the music. Check for a louder recording, background noise, or an overlapping audio track, then adjust the relevant clip’s level if your editor supports it. Keep any background music below important speech. [citation-1]
Do I Need a Transition Between Every Clip?
No. Watch each direct cut first and add an effect only where it serves the sequence. Excessive transitions can be distracting. [citation-1]