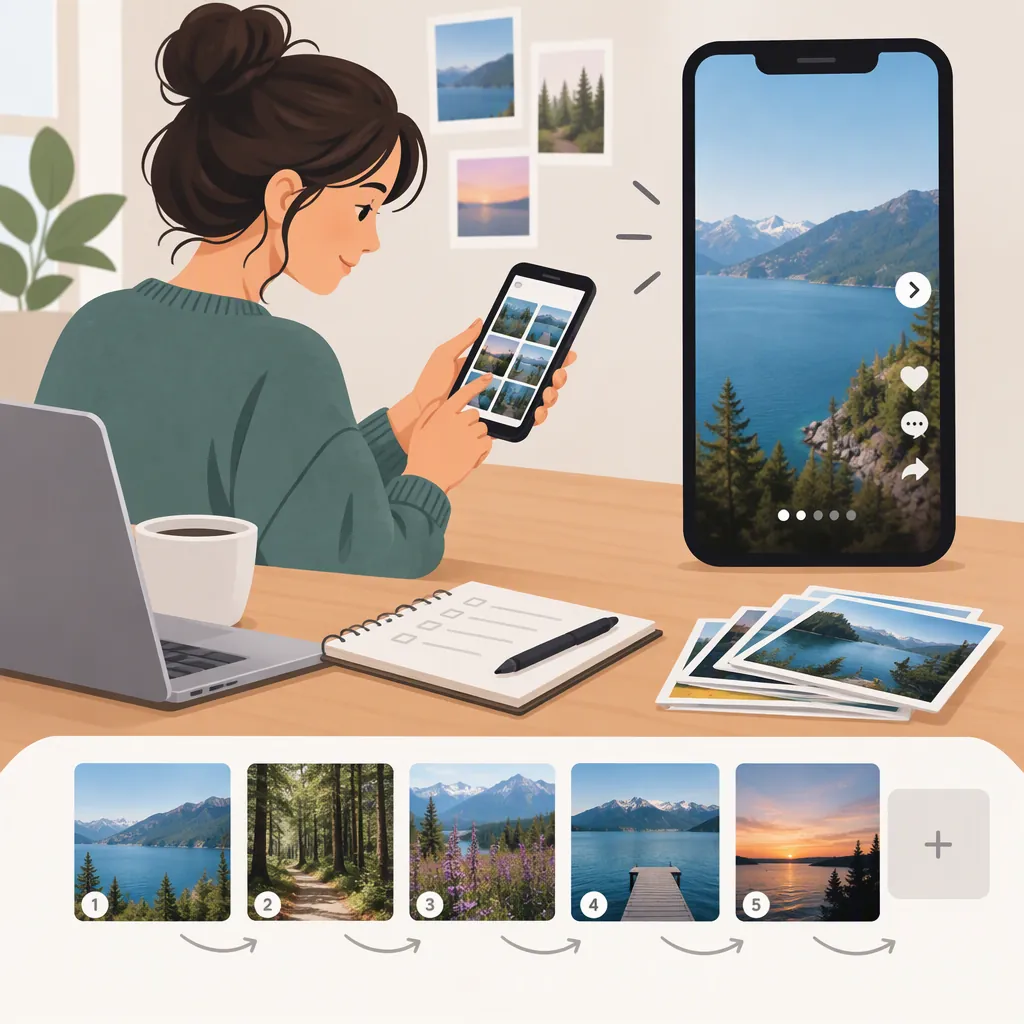
TikTok Carousel: A Guide to Creating and Preparing a Photo Post for Publication
To create a TikTok carousel, plan a sequence of still images, give each slide one clear purpose, and arrange the photos in reading order. Then, using the photo-post options available in your TikTok app, review the format, caption, and publishing settings before confirming publication. Carousels work well for checklists, comparisons, visual diaries, and step-by-step explanations; video may be more suitable when motion or voice carries the message. [c3]
Scope of this guide: The references support carousel planning and design, but do not verify TikTok’s current upload controls, image specifications, maximum photo count, or account-specific availability. The publishing section below is a conditional workflow—not a verified button-by-button tutorial. Use it to check the options your app actually provides. [c1] [c2] [c3]
1. Choose a Topic That Works as a Photo Sequence
A TikTok photo carousel lets viewers swipe through a sequence of still images. Choose this format when someone benefits from examining details, comparing options, or reading steps at their own pace. If the explanation depends on movement, timing, or spoken delivery, consider video instead. Neither format is universally better. [c3]
Start with one narrow subject. Possible directions include:
- A visual diary: small moments from a day, with short captions or timestamps.
- A before-and-after sequence: the starting scene, what changed, and the finished scene.
- A favorites list: one selection per photo, with a brief explanation.
- A local guide: recommendations grouped around a specific place or theme.
Planoly includes daily diaries, resets, favorites, and city guides among its TikTok carousel ideas. These are creative starting points, not predictions of reach or engagement. [c1]
Before designing, write a one-sentence description of the post: “This carousel shows ___ so the viewer can understand ___.” If the photos do not serve that same purpose, narrow the topic or separate it into multiple posts.
2. Outline the Slides Before Designing
Give each slide a distinct job. A practical sequence starts with a descriptive cover, adds any necessary context, delivers the main points, and ends with a useful recap. Postoria recommends one main idea per slide and a meaningful final slide rather than a generic promotional ending. [c3]
Example: Five-Slide Visual Diary
This is an original storyboard example, not a TikTok requirement or recommended platform maximum.
| Slide | Purpose | Image and text |
|---|---|---|
| 1 | Introduce the subject | A setting image with the title “A morning walk in photos.” |
| 2 | Establish context | Where the walk began, with one short sentence of context. |
| 3 | Show a detail | A texture, color, or object worth examining closely. |
| 4 | Add contrast | A different scene, with a brief explanation of what changed. |
| 5 | Tie the sequence together | A final image and an observation that connects the earlier photos. |
For each slide, record the image filename, intended position, slide text, and any permission or attribution needed. Add or remove slides according to the subject; do not stretch a simple idea merely to fill the storyboard.
3. Make the Images Readable on a Phone
Use concise text and a consistent layout. Postoria’s design guidance emphasizes mobile-readable text, one main idea per slide, and visual rhythm across the sequence. [c3]
Review your draft in this order:
- Check the cover. Make the subject clear without relying on a vague teaser.
- Remove repetition. Delete text that adds nothing beyond what the photograph already shows.
- Reduce crowding. Split a dense explanation across slides rather than shrinking the text.
- Align recurring elements. Keep headings and slide numbers in consistent positions.
- Inspect at normal phone size. Check that the text and important image details remain easy to read.
Read the entire sequence without music. The essential explanation should still make sense visually; clarity without sound is part of Postoria’s carousel decision test. [c3]
4. Prepare the Files and Caption
Keep the finished images together in their intended reading order. A numbered working list—such as “01 cover,” “02 setting,” and “03 detail”—can help you compare the selected images against your storyboard. It is an organizational aid, not a guarantee that TikTok will preserve that order.
Draft a caption that names the subject and adds context missing from the slides. Avoid copying every line of slide text into it.
Before opening the publishing workflow, check that:
- Every image belongs in the sequence.
- The cover accurately describes the content.
- Names, locations, and other factual details are correct.
- You have addressed any permission or attribution needs.
- Private information and unintended people are not exposed.
- No draft notes or placeholder text remain.
5. Work Through the TikTok Publishing Checks
The following steps describe what to accomplish in the app, without assuming particular button names or a fixed screen layout.
Enter the Creation Workflow and Check for Photo Selection
Open TikTok’s creation workflow and inspect the available media options. If it provides a way to select photos for a post, use that option.
Do not assume that any mode accepting several images produces a swipeable photo carousel. If you cannot identify the intended format, stop before publishing rather than substituting a slideshow without checking it.
Select the Images and Verify Their Order
If multiple-photo selection is available, choose the images from your prepared sequence. Compare the selected images with your storyboard.
Where the app permits rearrangement, correct the order. If it does not, return to selection and check whether selecting the images again produces the intended sequence. Proceed only when the preview matches your plan.
Confirm the Intended Photo Format
Inspect the preview for the photo-carousel format you intended. Do not treat a video-style slideshow as equivalent to a swipeable photo post.
Review each image for:
- Readable text.
- Cropping that preserves important details.
- Missing or duplicated slides.
- A clear transition from one point to the next.
Add the Caption and Review Available Settings
Enter your prepared caption wherever the interface allows, then proofread it alongside the images.
Review the audience and interaction settings available to you. If you select audio, check that it is appropriate for the content and your permitted use. The post’s essential meaning should remain understandable without it. [c3]
Confirm Publication and Inspect the Result
When the preview and available settings match your intention, use the app’s final publishing control.
After publication, open the post and check its image order, appearance, caption, and audience settings where visible. If the result differs from your intent, inspect the available management controls before deciding what to change; this guide does not assume that every part of a published post is editable.
Final Pre-Publication Checklist
- Selected images match the storyboard.
- The preview matches the intended photo-carousel format.
- Each slide communicates one clear point.
- Text is readable on a phone.
- Cropping preserves important details.
- Caption and slide text are proofread.
- Images and any audio are appropriate for the intended use.
- Privacy, audience, and interaction settings are reviewed.
- No placeholders or draft notes remain.
6. Review the Result Without Assuming Carousels Win
Keep a short production note about what was difficult to explain, design, or read.
If you compare carousels with videos, use similar topics and reasonably consistent publishing conditions. Postoria recommends comparing matched topics and looking for patterns across multiple posts rather than declaring a winner after one result. [c3]
Record only measurements actually available to you. Do not assume TikTok exposes every metric named in a third-party article. Production time and clarity are also useful review criteria; neither requires a claim that carousels receive preferential distribution.
FAQ
Should I Use a TikTok Carousel or a Video?
Use a photo carousel when reading, comparison, or a sequence of still images helps explain the subject. Use video when movement, voice, or timing is essential. Choose based on the content’s job, not an assumption that one format always performs better. [c3]
How Many Photos Should I Prepare?
Prepare enough photos to complete the idea without repetition. Give each slide a distinct purpose, and remove slides that merely repeat earlier points. Postoria supports this slide-by-slide approach, but a storyboard length is not a platform limit. Check what your app accepts before finalizing a large sequence. [c3]
What Is a Simple Idea for a First TikTok Carousel?
Try a photo diary, a small favorites list, or a before-and-after sequence. Planoly includes these approaches among its carousel ideas. Keep the topic narrow so each photo has a clear role. [c1]
What Should I Do If the App Does Not Show the Format I Need?
Check the available photo-selection options and preview against the intended swipeable format. If you cannot confirm that format, leave the post unpublished rather than assuming a video slideshow is interchangeable. The references do not establish a reliable way to enable a missing option; the scope note above explains this limitation. [c1] [c2] [c3]