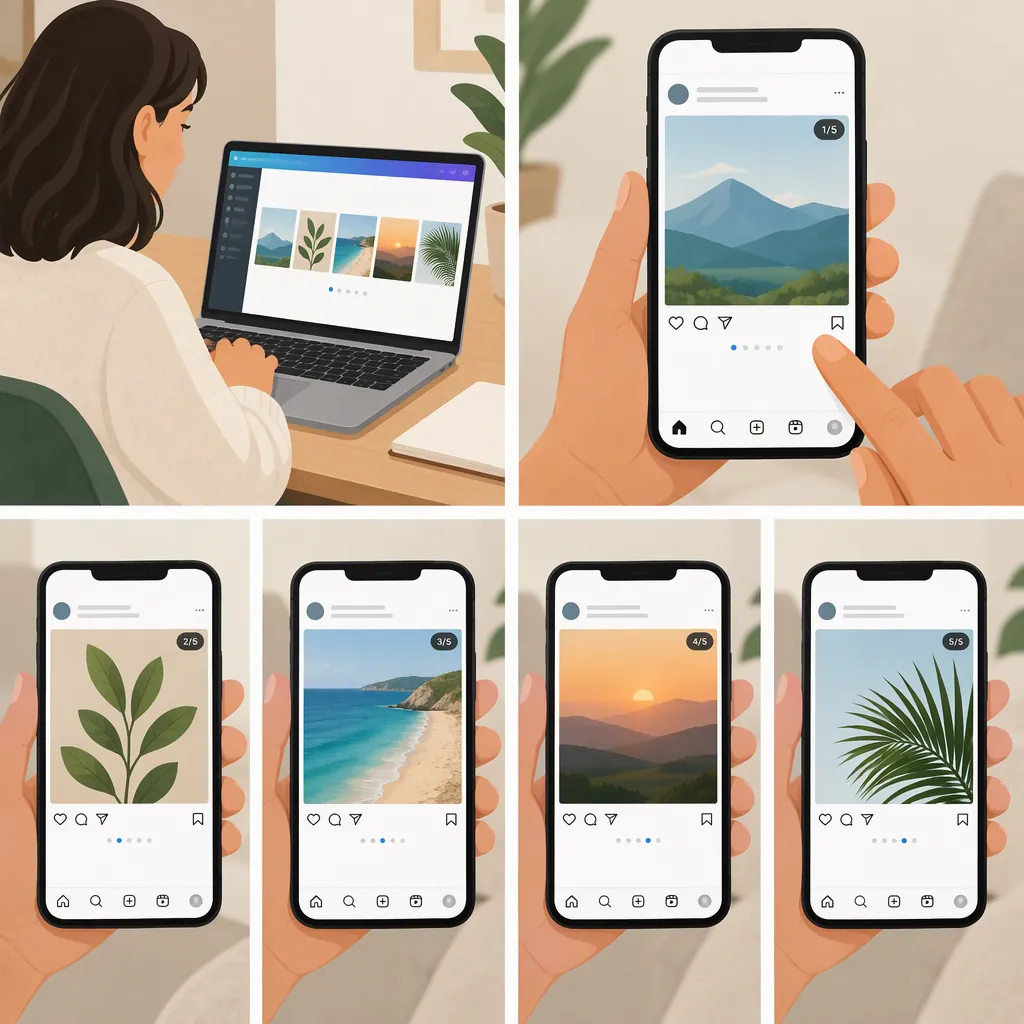
How to Create and Publish a Canva Instagram Carousel
To make a five-slide photo carousel, arrange your photos in one wide Canva design, export the complete layout as a PNG or JPEG, and split it horizontally into five square images. Then prepare those images as one Instagram post in left-to-right order. Nina Mace Photography’s tutorial supports the Canva export-and-split workflow. [citation-1]
Scope: This guide uses five connected square slides as a design example, not as an Instagram limit or a required format. The supplied source does not verify Instagram’s current posting interface. The publishing section therefore provides a conditional workflow rather than fixed button names or account-specific instructions.
1. Plan the Five-Slide Sequence
The referenced tutorial creates one continuous photo layout and then divides it into five squares, rather than exporting five independently designed pages. [citation-1]
Choose your photos before arranging the design. As an editorial recommendation, give each slide a purpose:
| Slide | Suggested role | Planning question |
|---|---|---|
| 1 | Opening image | Does it introduce the subject clearly? |
| 2 | Supporting view | What does it add to the opening image? |
| 3 | Main detail | Which detail deserves closer attention? |
| 4 | Additional context | What helps explain the sequence? |
| 5 | Closing image | Does it provide a clear ending? |
Plan both the complete strip and the individual squares. A photo can cross a slide boundary deliberately, but avoid cutting through essential text, faces, or details unintentionally.
Five-Slide Planning Sheet
- Slide 1 — Opening image:
- Slide 2 — Supporting view:
- Slide 3 — Main detail:
- Slide 4 — Additional context:
- Slide 5 — Closing image:
- Boundary check — Important subjects or text near a cut:
2. Set up the Layout in Canva
Use the Tutorial’s Template
Open Nina Mace Photography’s tutorial and find Step 1, which links to the author’s Canva templates. The tutorial instructs readers to open a template and drag their photos into it. These are author-provided templates, not resources presented here as official Canva templates. [citation-1]
The frozen source provides the tutorial page, not a verified direct template URL. If its template link is unavailable, use the layout specification below as an independent design plan.
Plan Your Own Five-Square Canvas
For five equal squares arranged side by side, the full canvas needs a 5:1 width-to-height ratio.
For example, you could use:
- Full layout: 5,000 × 1,000 pixels
- Each intended slide: 1,000 × 1,000 pixels
- Vertical cut positions: 1,000, 2,000, 3,000, and 4,000 pixels from the left edge
These are example design dimensions, not verified Instagram upload requirements.
If your Canva interface offers custom dimensions, enter the full-layout dimensions. If guides or positioning controls are available, mark the four cut positions. Otherwise, use five equal temporary squares as a visual planning aid, then remove them before export.
Arrange the Photos
Place your photos across the strip, using the planned boundaries to judge what each slide will contain.
Review the layout in two ways:
- As a complete image: Check the overall progression, spacing, and continuity.
- As five separate squares: Check whether each slide remains understandable on its own.
Use text only where it adds necessary context. Keep complete words and essential labels inside a single slide unless a split is intentional. Consistency and readability are design goals, not guarantees of engagement.
3. Export the Complete Canva Design
Export the entire finished strip as a PNG or JPEG. The tutorial supports both formats. It also says resizing is unnecessary for its supplied template workflow; that advice should not be generalized to every custom design. [citation-1]
Before splitting, check the export:
- It contains the entire strip, not just one section.
- Temporary boundary markers have been removed.
- No important content is missing.
- The proportions match your five-square plan.
Keep the Canva design and the original exported strip so you can correct the layout without rebuilding it.
4. Split the Strip into Five Square Images
The tutorial uses a separate image-splitting tool, not Canva, for this step. Its instructions are to upload the exported image, choose a horizontal split, set the number of blocks to five, and save the resulting files. [citation-1]
To find the tutorial’s linked splitter, return to the tutorial page and locate Step 3. The supplied source does not identify the linked tool or verify its current availability, so this guide does not assign it a product name.
If that link is unavailable, use an image editor or splitter that lets you make five equal sections across the width. Treat the following as an output specification rather than instructions for a verified tool:
- Open or upload the complete strip.
- Divide its width into five equal sections while retaining the full height.
- Save each section as a separate image.
- Arrange the results from left to right.
For the example 5,000 × 1,000-pixel strip, each section should be 1,000 × 1,000 pixels. If a tool’s “horizontal” setting is ambiguous, inspect the preview: you need five side-by-side sections, not five stacked rows.
Check the Split Files
- There are exactly five output images.
- All five have identical dimensions.
- Each image is square.
- Together, they cover the entire strip without gaps or duplicated sections.
- Subjects and text are not unintentionally cut.
- The left-to-right order is clear.
As a practical organization step, label the files 01 through 05. Do not rely on filenames alone to determine their order in the final post.
5. Prepare and Publish the Instagram Carousel
The referenced tutorial ends with saving the split files to a computer or phone ready for Instagram upload; it does not document the posting interface. [citation-1]
The following is a conditional publishing workflow. Use the controls available in your version of Instagram, and do not assume that labels, previews, or account options will match a particular screenshot.
Create One Post with the Five Images
- Make all five files accessible on the device you will use. Confirm that they are the final split images, not the unsplit strip.
- Start creating a new Instagram post. If the creation screen offers different content types, use the option intended for a feed post.
- Look for a multiple-image selection control. If available, use it to include all five files in the same post rather than creating five separate posts.
- Select the images in the intended order:
01,02,03,04, then05. - Inspect the selected sequence. If the interface offers numbered selections or reordering, use those controls to confirm the order. Otherwise, return to selection and choose the files again in sequence if necessary.
If your interface does not expose a multiple-image option, do not substitute five separate posts and assume they will function as a carousel. This source does not resolve device- or account-specific posting differences.
Review Cropping and Add Context
Before publishing:
- Review each image in any available preview.
- Check that cropping does not remove content or break the connection between slides.
- Confirm that the opening image is first and the closing image is last.
- Read any text at a size comparable to how it will appear on a phone.
- Add a caption that explains the sequence without depending on missing context.
- Confirm that you have the necessary rights and permissions to publish the photos.
If available crop controls change the visible area, check every slide again after adjusting them. If the sequence cannot be previewed reliably, resolve the uncertainty before sharing.
Publish and Verify
Once the files, order, caption, and permissions are checked, use the final publishing control shown in your interface. If publication succeeds and the post is viewable, inspect it to confirm that all five slides appear in the intended order.
Do not assume that a published carousel can be reordered afterward; the supplied source does not establish post-publication editing options.
Pre-Publication Review
- All five images are included in one post.
- Selection order matches the left-to-right design.
- Cropping and slide boundaries have been checked.
- Caption has been reviewed.
- Photo rights and permissions have been checked.
- Any preview problems have been resolved before publishing.
Troubleshooting the Layout
| Problem | Practical check |
|---|---|
| The split images are not square | Check that the original strip has a 5:1 ratio and that its width was divided into five equal sections. |
| The tool creates stacked sections | Inspect the split direction and choose the setting that produces five sections across the width. |
| A face or word is cut awkwardly | Move the content away from the planned boundary in Canva, export again, and repeat the split. |
| The sequence looks disconnected | Compare adjacent slide edges and confirm both the file order and any applied cropping. |
| The template or splitter link is unavailable | Use the independent layout and output specifications above; the source does not verify the linked resources’ current availability. [citation-1] |
FAQ
Does Canva Split the Carousel in This Workflow?
No. The referenced workflow uses Canva to arrange and export the complete design, then a separate image-splitting tool to produce five squares. It does not establish whether Canva offers other ways to create carousel files. [citation-1]
Should I Export the Canva Design as PNG or Jpeg?
The tutorial allows either PNG or JPEG. It does not compare quality or file size, so it does not establish one format as the better choice for every design. [citation-1]
What Size Should the Five-Slide Canvas Be?
For this continuous-square design, use a 5:1 overall ratio. A 5,000 × 1,000-pixel strip is one example that divides into five 1,000 × 1,000-pixel squares. Those dimensions are a design recommendation, not a platform requirement verified by the tutorial. The tutorial’s no-resizing advice applies to its own template workflow. [citation-1]
Is Five Slides an Instagram Carousel Limit?
No platform limit is established here. Five slides is the layout used in the referenced tutorial, which does not document Instagram’s current carousel limits. [citation-1]
Does the Tutorial Explain Exactly Where to Tap to Publish?
No. It explains how to save the split images ready for Instagram upload, but it does not document current posting controls. Use the conditional publishing checklist above without treating it as a verified walkthrough for a specific Instagram version. [citation-1]