How to Create and Publish a Canva Carousel
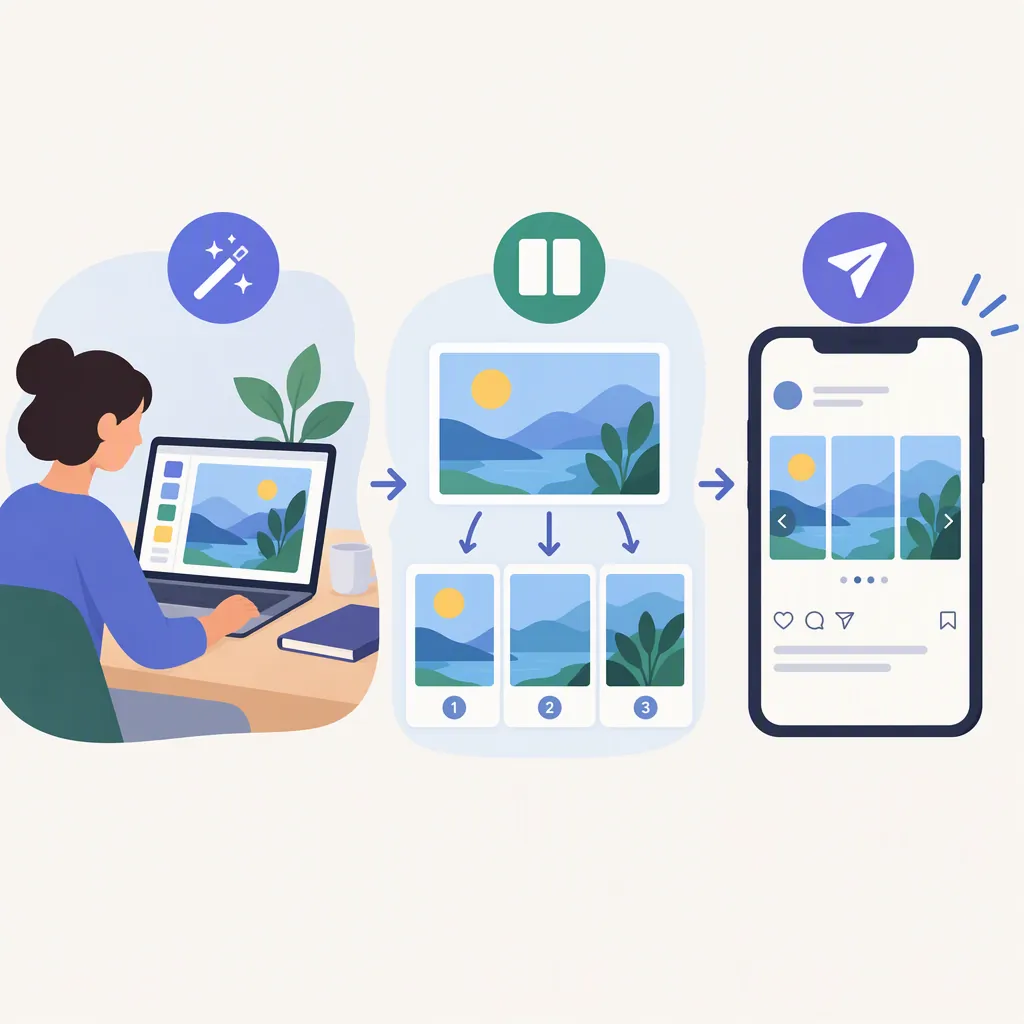
For a seamless photo carousel, edit a wide carousel template in Canva, download it as a JPEG, split it into equal-width slides, and select those slides in order when creating an Instagram post. The workflow below follows Adam and Grace’s template tutorial; it is not a universal export method for every Canva carousel layout. [c1]
Choose the Carousel Structure
First, decide what the sequence should communicate: a visual story, a before-and-after comparison, or a short explanation. Adam and Grace’s tutorial describes these as uses for Instagram carousels and demonstrates a seamless photo layout, where neighboring slides form a visually connected sequence. [c1]
This article follows that wide-design workflow. The tutorial’s templates contain five, six, or seven slide-width panels within a full-width design, which is exported and then divided into individual images. Those counts describe the supplied templates, not a general requirement for all Canva carousels. [c1]
Before editing, write a short slide map. A practical five-slide sequence might be:
- Introduce the subject.
- Show the first detail or step.
- Show the next detail or step.
- Present the result or comparison.
- Summarize the main point.
Treat this as an editorial starting point, not a required format. Choose the number of slides that suits the material and the template you actually have.
Edit the Template in Canva
For the templates covered by the source tutorial, open the Canva template link and select Use Template, choosing the link for the intended slide count. Duplicate the design before making changes so you retain an unchanged copy. [c1]
The tutorial then directs users to:
- Open Uploads and upload the chosen photos.
- Drag the images into the template’s designated spaces.
- Adjust the layout, text, and branding elements.
- Check alignment between neighboring panels. [c1]
As an editing precaution, keep essential text and important image details away from intended split boundaries. Review both the full composition and each imagined slide separately: a wide layout can look coherent while an individual panel lacks context.
If you add an introduction or summary, decide whether it belongs inside the wide design or will be a separate image. Do not include a separate image in the split count for the wide design.
Export and Split the Wide Design
Adam and Grace’s workflow exports the full-width Canva design as a JPEG, then uses PineTools Split Image to divide it into separate slides. PineTools is a separate tool in this workflow, not a Canva export feature. [c1]
The tutorial specifies these settings in the splitting tool:
- How to split image: Horizontally.
- Split by: Quantity of blocks, with equal width.
- Quantity of blocks: The number of slide-width panels in the exported design.
- Format: Same as input.
- Image quality: 100. [c1]
For example, use six blocks for a wide design containing six equal slide-width panels—not because every carousel needs six slides. After splitting, the tutorial instructs users to download the ZIP containing the individual images. [c1]
Inspect the extracted files before uploading. Check the first and last slides, the order of the middle slides, and any photograph or graphic that crosses a boundary. If a split cuts through essential text, revise the Canva design and export again.
Scope limitation: These settings come from a third-party template tutorial. The supplied source does not establish universal Canva dimensions, export options for separate-page designs, or current Instagram account-specific limits.
Assemble and Publish the Instagram Post
The source tutorial describes opening Instagram, tapping + to create a post, selecting the carousel option, and choosing the individual slide images in the correct order. It then proceeds through Next, final adjustments, a caption, and Post. [c1]
Use the post preview as a final review rather than assuming the export is ready:
- Confirm that the opening slide comes first.
- Check that the preview includes every intended slide exactly once.
- Look for unexpected cropping or unreadable text.
- Swipe through the transitions between neighboring images.
- Make sure the caption accurately describes the sequence.
For an educational carousel, a useful caption can state the topic, explain any context the slides omit, and summarize the takeaway. Avoid adding claims that the images do not support.
The supplied reference is not current official Instagram documentation. If the interface differs from the tutorial, use the available multi-image post controls and verify the sequence before publishing.
Final Carousel Checklist
Use this checklist as an editorial and file-review aid. It combines the source’s edit, split, and posting sequence with suggested checks for clarity; it is not a platform specification. [c1]
Copyable Prepublication Checklist
- [ ] The carousel has one clear subject.
- [ ] An unchanged copy of the Canva template is retained.
- [ ] Essential text stays clear of split boundaries.
- [ ] The split count matches the panels in the wide export.
- [ ] Every extracted slide has been inspected.
- [ ] Images appear once each and in the intended order.
- [ ] The Instagram preview has been checked for cropping.
- [ ] The caption matches the content of the slides.
FAQ
Does This Canva Carousel Workflow Need Another Tool?
Yes. The referenced wide-template workflow uses Canva for editing and JPEG export, then PineTools Split Image for dividing the export into individual slides. It does not establish that every Canva carousel requires an external splitting tool. [c1]
How Many Blocks Should I Use When Splitting the Image?
Match the block count to the number of equal slide-width panels in the exported wide design. The source demonstrates five-, six-, and seven-slide templates and says to adjust the quantity accordingly. [c1]
Does This Tutorial Show Publishing Directly from Canva?
No. The documented workflow downloads the design, splits it into images, and uploads those images to Instagram. It does not provide instructions for direct publishing from Canva. [c1]