How to Start YouTube on Your Phone: A Beginner’s Guide
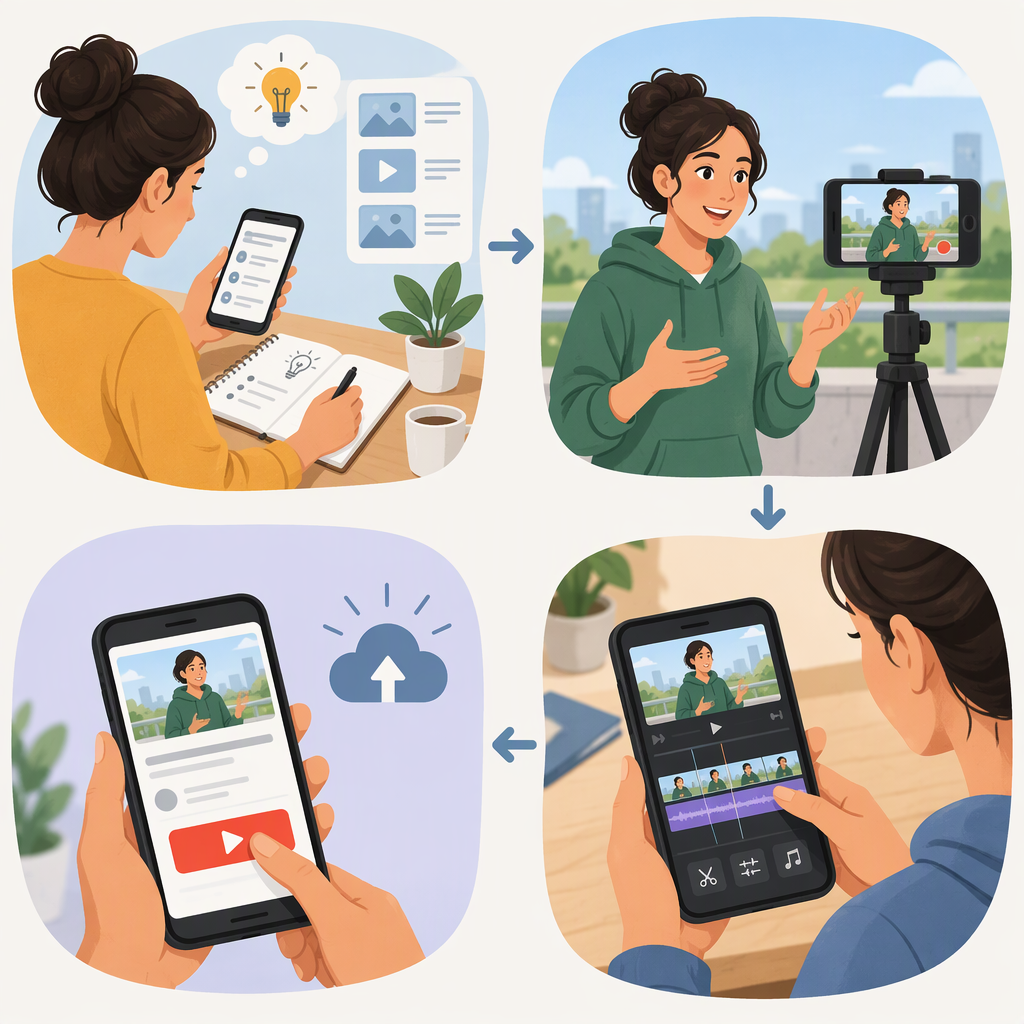
You can make and publish your first YouTube video with a phone. Start with one manageable idea, record a clear take, make a few simple edits, then review the details and settings before publishing. You don’t need to begin with a full channel plan or promise yourself a posting schedule.
1. Choose One Idea and Prepare Your Channel
Before recording, finish this sentence: “This video will help or interest ___ by ___.” Aim for something you can explain or show in one sitting, such as a short cooking demonstration, a beginner tip, or a quick account of how you solved a small problem. Those are example ideas—not a formula for getting views.
Then choose a format:
- Short: A focused, vertical or square video. YouTube categorizes eligible square or vertical videos up to three minutes as Shorts. A Short can work well for one compact point or demonstration. (support.google.com)
- Regular video: A better fit if the idea needs more explanation or a step-by-step walkthrough. You don’t need to make a Short just because you’re filming on a phone.
To upload, you need a YouTube channel, not just a Google Account. YouTube’s instructions say you can create one from the mobile site: sign in, open Settings, go to Add or manage channel(s), choose Create a channel, enter a name and handle, and create it. If you use a supervised experience, channel creation may not be available. (support.google.com)
Keep setup simple: pick a name you’re comfortable publishing under and a handle that’s easy to recognize. You can refine your channel details later; don’t let choosing artwork or a perfect name hold up your first video.
2. Plan and Record with the Phone You Have
Write a tiny outline rather than a full script:
- Opening: State what the viewer will learn or see.
- Main part: Explain or show two or three steps or points.
- Finish: Summarize the result or give one useful next step.
For example, a first video about repotting a plant might open with the plant and the goal, show the supplies and repotting steps, then finish with what to check afterward. This simple structure also works for a regular video; add detail only where the subject needs it.
Before a full take, record a short test and play it back. Check that your face or subject is in frame, your voice is understandable, and the image isn’t wobbling. Practical ways to improve the shot without buying gear:
- Put the phone on a stable surface or hold it with both hands.
- Face a window or another soft light source; avoid placing a bright window directly behind you.
- Move close enough to the phone for your voice to be clear, and listen for background noise.
- Look at the camera lens for key lines, and pause briefly between sections so edits are easier.
- For a Short, frame vertically; for a regular video, choose the orientation that suits the subject and keep it consistent.
These are simple recording practices, not a guarantee of a particular video quality or audience response. An optional microphone or stand may help in some situations, but neither is required to start.
3. Edit, Upload, and Check the Settings
Use your phone’s built-in editing option or another editor you already have. For a first edit, keep it basic: remove the setup and mistakes at the beginning or end, cut long pauses, put the sections in order, and watch the result once with sound on. Avoid adding music unless you have permission or a suitable license to use it.
To make a Short in the YouTube app: YouTube’s instructions describe tapping Create, choosing Short, recording one or more clips, previewing, tapping Next, adding details, selecting an audience, then choosing Upload Short or Save draft. The Shorts camera supports videos up to three minutes. You can also select a suitable video from your phone rather than recording in the app. (support.google.com)
To upload an existing video: YouTube’s Android instructions say to open the app, tap Create, select a video, then tap Next. A square or vertical video that is three minutes or shorter is uploaded as a Short. Button labels and available controls may vary by device or app version, so use the current prompts on your phone if they differ. (support.google.com)
Before publishing, check these details:
- Title: Say plainly what the video contains. Don’t promise a result the video doesn’t deliver.
- Audience: Choose whether the video is made for kids or not. YouTube requires creators to set this for their videos; base the choice on who the content is directed to, not simply whether it is safe for general viewing. (support.google.com)
- Visibility: Choose deliberately. Public videos can appear on your channel and in search; Unlisted videos can be watched by people with the link; Private videos are limited to you and people you choose. Defaults can depend on a creator’s age, so don’t assume the setting is the one you want. (support.google.com)
- Thumbnail: Use a clear frame or an available suggested image. YouTube’s mobile help says custom thumbnails for regular videos can be added from the YouTube or Studio app if the account is verified. Custom Shorts thumbnails currently require YouTube Studio on a computer, so don’t count on setting one from your phone. (support.google.com)
If you’re unsure, save a draft or choose Unlisted while you review the finished upload. Remember that anyone with an unlisted link can share it. When you’re satisfied, set the visibility you intend and publish.
4. Review the First Upload and Choose the Next One
After publishing, watch the video once as a viewer. Check that it plays, the sound is clear, the title matches the content, and the visibility is what you intended. If you receive comments or other feedback, note a useful pattern—but don’t treat one person’s response as a verdict on the whole idea.
Write down one improvement for next time: a clearer opening, steadier framing, better light, or a tighter edit. Then choose another small idea that uses what you learned. For example, if the first video showed a complete process but felt rushed, the next could explain one step more clearly.
A first upload is a starting point, not evidence that an audience, income, or creator career will follow. The practical goal is to finish one video, learn something specific from making it, and decide whether you want to make another.