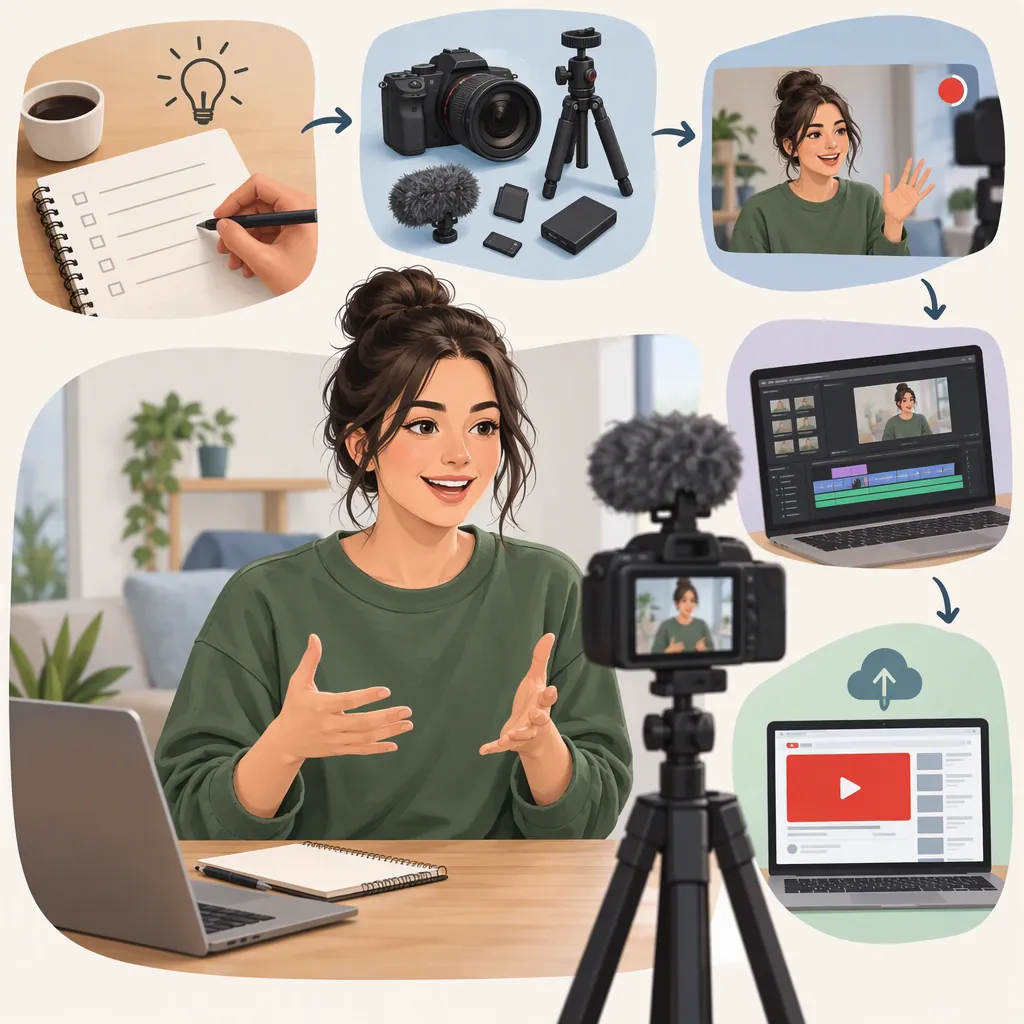
How to Start Your Own YouTube Vlog
To start your own YouTube vlog, choose a repeatable subject and a specific audience, create a channel, and plan one small story you can film with equipment you already have. Test your sound and lighting, record the activity plus supporting shots, edit for clarity, and upload with an accurate title, thumbnail, and description. Use the first upload to identify what to improve next—not as a test of whether you can become a successful creator. The supplied guides support starting with a smartphone and a manageable production process. [c1] [c3]
1. Choose a Subject You Can Keep Filming
A vlog is a video-based way to share experiences, stories, or observations. It does not have to document every part of your life. Descript’s guide recommends choosing a niche through your interests and identifying the audience that already enjoys similar content. [c1]
For a lifestyle channel, narrow a broad interest into a repeatable perspective. Instead of “my life,” try “learning to cook after work” or “weekend projects in a small apartment.” These are illustrative ideas, not proven growth formulas.
Before settling on a subject, ask:
- Can I name several different episodes without repeating the same story?
- Can I film these episodes within my normal time and budget?
- Who would find them useful, interesting, or relatable?
- What parts of my life will remain off-camera?
Review a few channels covering similar topics. Notice their story structure, recurring questions, and filming choices rather than copying their identity. Competitor research and topic planning are both part of the workflow described in the Descript guide. [c1]
Channel Concept Worksheet
Complete before filming:
- My recurring subject:
- The viewer I am making this for:
- What each episode will offer:
- Three possible episode ideas:
- Places, people, and personal details I will not film:
- Time I can realistically spend on each episode:
2. Create and Describe Your YouTube Channel
The basic setup described in Marko Saric’s guide starts with signing in to YouTube using a Google account and creating a channel. It also describes customizing the channel and using YouTube Studio to manage videos, comments, and performance information. [c2]
Choose a channel name that fits your subject, then write a short description explaining what you will cover. Prepare a recognizable profile image and simple channel artwork; elaborate branding can wait until your format is clearer.
Use YouTube’s current on-screen prompts for channel creation and upload settings. Saric’s article was published in 2020, so its menu labels, customization options, and eligibility details should not be treated as current instructions. [c2]
As a practical precaution, review your public-facing name, image, and description before sharing the channel. Decide how you will handle comments and avoid publishing personal contact details you do not intend to make public.
3. Plan One Small Story
Choose an activity you can actually film: preparing a meal, practicing a hobby, or completing a home project. Hollyland’s beginner guide recommends an accessible topic, a three-part structure, and a short shot list. [c3]
Give the episode a beginning, middle, and ending:
- Beginning: Explain what you are doing and what you want to find out.
- Middle: Show the activity, decisions, difficulties, and progress.
- Ending: Show the result and explain what you learned.
For example, a cooking vlog might follow the question, “Can I make a satisfying dinner from what is already in my kitchen?” That gives the footage a direction beyond recording unrelated moments.
An outline is enough if a full script makes your delivery feel stiff. Descript’s guide presents improvisation, outlines, and scripts as different recording approaches with tradeoffs in delivery and editing time. [c1]
First Vlog Shot List
Episode question: __________

Record:
- An opening explanation of the activity and goal.
- A wide shot showing the setting.
- Close-up shots of the objects or materials involved.
- The important steps of the activity.
- A genuine difficulty, decision, or change of plan, if one occurs.
- The finished result.
- A closing reflection answering the episode question.

Before recording other people, ask whether they are comfortable appearing in a public video.
4. Test Your Setup, Then Record
You do not need to begin with a professional camera. The supplied guides describe a smartphone as a workable starting point, especially with suitable lighting and a quiet recording space. [c1] [c2] [c3]
Before a long take:
- Stabilize the phone on a secure support.
- Position yourself so light falls on your face rather than leaving you silhouetted.
- Record a short test and listen with headphones.
- Check that your voice is understandable and that the frame shows what matters.
- Check battery power and available storage.
Hollyland specifically recommends a short audio test before filming and supplementary footage, often called B-roll, to connect scenes and support narration. [c3]
Record the main activity and a few details of the environment, tools, or hands at work. If you stumble over a sentence, pause and try again; you can remove the unwanted take during editing. [c1]
For your first project, choose the frame orientation before recording and keep it consistent. Also make privacy part of the shot check: remove visible addresses, documents, notifications, or other details you do not want to publish.
5. Edit for a Clear, Complete Story
Choose one editing application that works on your device and learn its basic import, trim, arrange, and export functions. You do not need a comparison of advanced software to finish a first vlog.
The supplied guides describe a basic workflow of organizing footage, arranging clips, removing unnecessary material, balancing audio, and exporting the finished video. [c1] [c3]
Make a first pass in story order. Then remove repeated explanations, accidental recording gaps, and scenes that do not help the viewer follow the activity. Add supporting shots where they clarify what you are saying. Keep music below your voice, and review any captions for mistakes.
There is no need to stretch an episode to reach an arbitrary length. Descript recommends keeping enough material to feel fulfilling while removing repetition; Hollyland likewise advises against padding a vlog to meet a time target. [c1] [c3]
Use your own footage and audio, or material you have permission to use. Check the terms for each music track rather than assuming anything labeled “free” is unrestricted. Saric’s guide warns about using copyrighted music or footage without permission. [c2]
6. Publish with Accurate Packaging
Write a title that describes the actual episode, create a thumbnail that represents it, and add a short description of what happens. Both Descript and Saric recommend accurate thumbnails and relevant, naturally written video metadata. [c1] [c2]
An illustrative title such as “Learning to Cook Dinner With Pantry Ingredients” tells viewers more than “You Won’t Believe My Day.” Your title and thumbnail should make a promise the video fulfills.
Before making the upload public, watch the exported video and check:
- The opening explains the episode.
- Speech is understandable throughout.
- The story has a clear ending.
- Captions, names, and on-screen text are correct.
- Music and other third-party material have appropriate permissions.
- No unintended personal information appears.
After publishing, note one thing that worked and one thing to change. Hollyland recommends reviewing the video and using constructive feedback to set specific goals for the next episode. [c3]
Treat limited early feedback cautiously. One upload is not enough to establish what an audience wants or whether a channel will grow.
7. Build a Sustainable Practice Before a Career Plan
Choose a publishing rhythm you can maintain alongside your existing responsibilities. Descript’s guide emphasizes consistency in both cadence and subject matter. [c1] This is a planning principle, not a guarantee of views.
For the next few episodes, track your time spent planning, recording, and editing. Use that record to decide whether your format is sustainable. Improve one production skill at a time rather than increasing spending and output simultaneously.
If your eventual goal is paid creator work, distinguish learning to produce videos from building dependable income. Descript discusses possible revenue sources—including advertising, sponsorships, affiliate arrangements, and products—but also warns that monetization takes time and effort. [c1]
The supplied references do not establish current YouTube monetization requirements or predict your earnings. Do not base a budget or a decision to leave other work on their historical thresholds, income examples, or audience statistics.
FAQ
Do I Need an Expensive Camera to Start a YouTube Vlog?
No. The supplied guides support starting with a smartphone, suitable light, and clear sound. Make a test recording first, then consider upgrades only when you can identify a specific problem your existing setup cannot solve. [c1] [c3]
What Should My First Vlog Be About?
Choose an activity you already have access to and give it a simple question or goal. A hobby session, meal preparation, or small project can provide a beginning, middle, and ending without requiring special travel or equipment. Hollyland recommends choosing something accessible that gives you material to show, not just discuss. [c3]
How Long Should My First Vlog Be?
Make it long enough to complete the story and short enough to avoid repetition. There is no universal length established by these references. Both Descript and Hollyland advise cutting unnecessary material rather than padding the video to reach a target. [c1] [c3]
What If I Feel Awkward Talking to the Camera?
Record a practice clip that you do not publish, use a short outline, and review your delivery without expecting perfection. Saric recommends private practice recordings, and Descript notes that recording mistakes can be removed in editing. [c1] [c2]
Can Starting a Vlog Become a Paid Career?
It can be a route to paid creator work, but starting a channel does not establish an income. The provided guides discuss monetization options and the effort involved; they do not support an earnings forecast for a new creator or provide verified current eligibility requirements. Build a sustainable production process before making financial commitments. [c1] [c2]