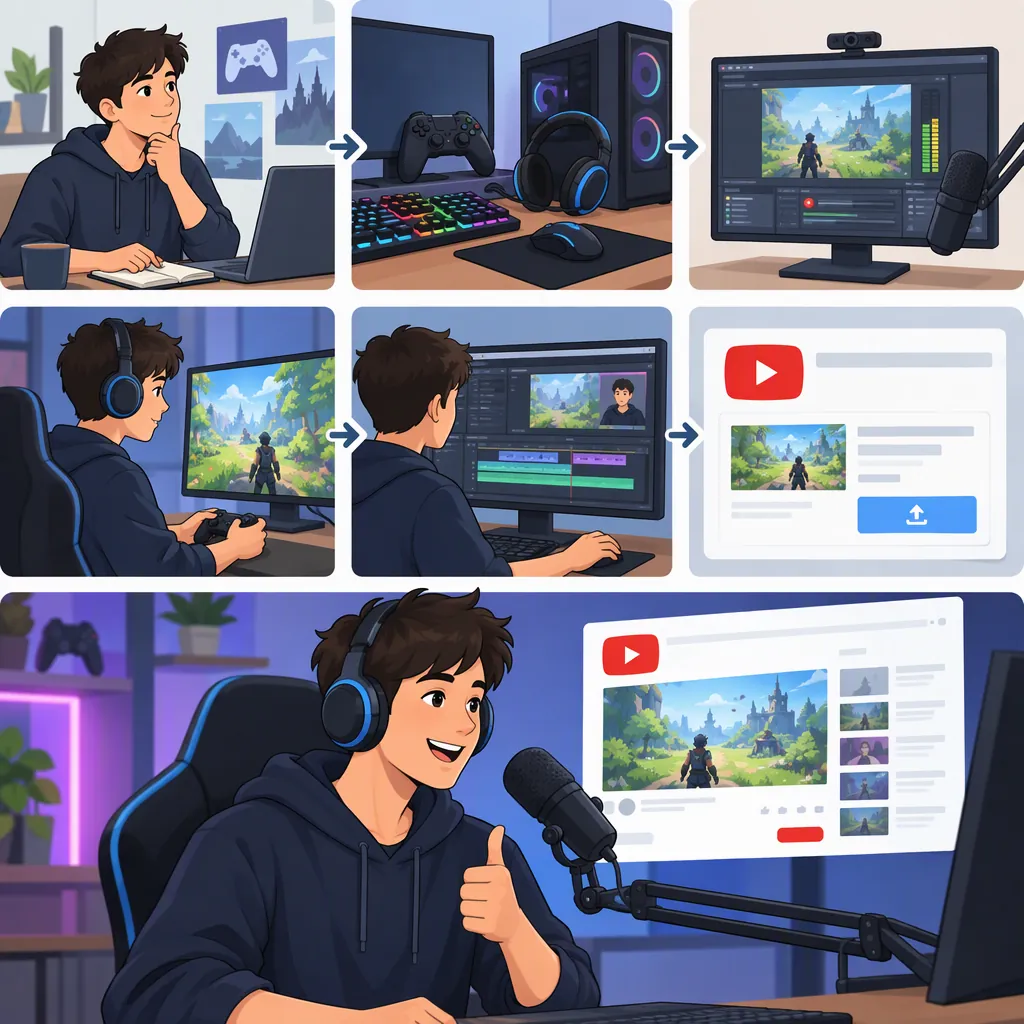
How to Become a YouTube Gamer: A Practical Starting Plan
To become a YouTube gamer, choose who your videos are for, select a game and repeatable format, test your recording setup, and create a video with a clear purpose. Then prepare your YouTube channel, upload the finished video, and use each production cycle to improve. Niche selection, recording, editing, and consistent publishing are useful starting points—not guarantees of audience growth or a full-time career. [c1]
The plan below focuses on making and publishing your first gaming videos before committing to expensive equipment or relying on future income.
Choose Your Audience and Gaming Focus
Start with a channel idea specific enough to guide your next few videos. Rather than “I play games,” try “I explain beginner strategies for one game” or “I attempt challenge runs and explain my decisions.” These are sample concepts, not proven growth formulas.
Possible gaming formats include tutorials, walkthroughs, reviews, highlights, and livestreams. Choose a format alongside the games you enjoy, whether you want narration, and whether appearing on camera serves the video. [c1]
For your first experiment, try one game and one main format. This makes the next few videos easier to plan without making it a permanent rule. Both single-game and multiple-game approaches are discussed in the beginner guide; neither establishes a guaranteed outcome. [c1]
Channel Concept Worksheet
Complete this sentence:
I make [video format] about [game or genre] for [specific viewer], helping them [learn something or enjoy a particular experience].
Then write down:
- Three video ideas that fit the sentence.
- Whether you will use narration, a camera, or neither.
- Your angle: explanations, analysis, humor, challenges, or another clear contribution.
- What you will deliberately leave out of your first few videos.
For example: “I make beginner tutorials about one strategy game for new players, helping them understand their first matches.”
Test Your Setup Before Buying More Gear
Separate your setup into four jobs: playing the game, capturing gameplay, recording any commentary, and editing the finished video. Gameplay recording software, microphones, and editing tools serve different parts of this workflow. A camera is a format choice, not an assumed purchase. [c1]
Test what you already have before expanding your setup. The goal is a recording with readable gameplay and understandable audio—not a particular equipment list.
A Minimal Recording Experiment
Use a short tutorial as a practice project: explain one action in the game, demonstrate it, and show the result. This is a suggested exercise, not a required video format.
If you play on a computer:
- Choose a gameplay or screen-recording tool. The guide discusses this software category, including OBS and other examples, but does not establish performance guarantees for your computer. [c1]
- In the tool’s capture controls, select the game or screen you intend to record. Check the preview for the correct picture and unwanted desktop content.
- In its audio controls, check the game-audio input and, if needed, your microphone input. Speak while the game is running and look for a response from the intended inputs.
- Record a short sample, stop, and locate the saved file.
- Play that file back to check the actual recording, not just the preview.
If you play on a console:
- Check your console’s recording options and instructions for capturing and exporting a clip. Availability, recording limits, and commentary options depend on the device.
- If those options meet your needs, capture a short sample and transfer it using the device’s supported method.
- If you intend to use an external capture setup, follow its device-specific connection and recording instructions rather than assuming the computer workflow applies.
- Verify whether your sample includes game audio and the commentary you intended to record. If commentary is absent, consider recording narration separately during editing.
These are workflow checks, not device-specific settings instructions. Follow the documentation for your chosen hardware and software when selecting exact controls.
Bring the Recording into an Editor
Choose an editor that you can use to import footage, trim clips, arrange them in order, adjust audio, and export a finished video. The guide discusses editing as a way to turn recorded clips into a cohesive story. [c1]
For your practice project:
- Import the saved gameplay file.
- Place it in the editor’s timeline or equivalent editing workspace.
- Remove unnecessary footage before and after the demonstration.
- Add separately recorded narration or brief on-screen explanations if needed.
- Export a test file and play it outside the editor.
Recording Test Checklist
- Is the gameplay readable, including important text?
- Is speech understandable over the game audio?
- Is there distracting background noise?
- Does the recording show anything private or unintended?
- If you use a camera, is its framing useful?
- Can you import, edit, and export the recording successfully?
Fix the single most important problem before recording a full video.
Give Your First Video One Clear Purpose
Before recording, write down what the viewer should get from the video. A tutorial might solve one problem; a challenge video might test whether a restriction is possible; a review might examine one aspect of a game.
Use this suggested structure:
- Opening: State the question or show the challenge without a long introduction.
- Main content: Present the steps, attempts, or observations needed to deliver the promise.
- Ending: Summarize the result and any important limitation.
Keep the opening short and edit footage into a coherent sequence. [c1] Remove repetition and pauses that do not help the viewer, but retain enough context to make the action understandable.
For tutorials, identify the game version or mode when it affects the advice. For reviews, distinguish what you observed from what you personally prefer.
Match the Title and Thumbnail to the Video
Write the title around the actual question, challenge, or result. Use a thumbnail that represents the content rather than promising something the video does not deliver. Honest titles and thumbnails are part of the guide’s recommendations. [c1]
Possible title patterns include:
- Tutorial: “How to Complete [Challenge] in [Game]”
- Challenge video: “Can You Finish [Game] Without [Action]?”
- Review: “[Game] Review: How Does [Feature] Work?”
Use a pattern only when the video addresses it. Treat these as writing examples, not guaranteed ways to attract viewers.
Before uploading, watch the exported file from beginning to end. Check audio, spelling, the opening, and whether the title’s promise is fulfilled. Review footage for private messages or other information you do not intend to share. Check applicable permissions for gameplay, music, images, and other material you include.
Prepare Your Channel and Publish Your First Video
Use the following as a first-publication checklist rather than a current YouTube interface tutorial. Exact controls, available features, and requirements can change; follow YouTube’s current in-product guidance for account, upload, and policy questions.
Prepare the Channel
- Sign in to the Google account you intend to use for your creator work.
- Complete YouTube’s channel-creation process if you do not already have a channel.
- Choose a channel name and handle that you are comfortable making public.
- Write a short channel description explaining the games, formats, and viewers you plan to serve.
- Review any profile information or images before making them public. You can refine the presentation later.
Keep the description concrete. For example: “Beginner tutorials and explained challenge runs for [Game]” communicates more than a broad promise to cover everything.
Upload and Review
- Select the finished file. Upload the exported video rather than the editor’s project file.
- Add an accurate title and description. Explain what the video covers and include relevant context, such as the game mode or version.
- Review the thumbnail. If a custom thumbnail is available to your account, use one that matches the video.
- Complete applicable settings. Review audience, visibility, and any other required settings using YouTube’s current explanations. Do not guess at settings with policy implications.
- Review the uploaded version. Check playback and any notices presented during the upload process.
- Confirm publication. Choose the visibility you intend, complete the publication action, and verify that the resulting video page behaves as expected.
This publication checklist is practical planning guidance; the cited beginner guide is not evidence for current YouTube interface details or policy requirements.
Build a Repeatable Production Routine
Choose a publishing rhythm that leaves time for planning, recording, editing, and review. Consistency and audience feedback can guide improvement, but no universal upload frequency is established here. [c1]
Try a small batch of videos in the same format before changing several things at once. After each upload, record what was difficult to produce and what viewers found useful or confusing, if feedback is available. Pick one improvement for the next video.
Short clips and livestreams are optional formats discussed in the guide. [c1] Add them only when you can explain their purpose and accommodate the extra work—not because you assume they are required growth shortcuts.
Post-Publish Review Template
- Video:
- Viewer promise:
- What worked in production:
- What took longer than expected:
- Viewer questions or feedback, if available:
- One change for the next video:
- Next idea that fits the channel concept:
If you have little or no viewer feedback, review what you can control: clarity, audio, pacing, and whether you delivered the promised result.
Separate Starting a Channel from Career Planning
Use your early videos as a production experiment before making major financial commitments. Track time spent, expenses, completed videos, and any actual revenue separately. Decide what you can afford without relying on future earnings.
If a career is your goal, set review points around observable evidence:
- Can you sustain the workload?
- Are your videos improving?
- Are production costs manageable?
- Does actual income cover costs consistently?
- What financial gap remains before the work could support your living expenses?
Publishing a channel is an initial step, not evidence that it can support you financially.
Evidence limits: The cited material is a commercial beginner guide about content and equipment. Its gear listings are not treated here as current prices or minimum spending requirements. It does not establish current YouTube monetization eligibility, game-specific usage rights, expected income, or a reliable timeline to full-time work. [c1]
FAQ
Do I Need to Show My Face to Become a YouTube Gamer?
No face camera is assumed in this starting plan. Decide whether appearing on camera helps your format; gameplay with narration or on-screen explanations is another approach. Camera use is treated as a channel-format choice in the guide. [c1]
Should I Start with One Game or Several?
One game can make your first batch easier to plan. You can revisit that constraint later. The guide discusses both approaches, so neither should be treated as a guaranteed route to growth. [c1]
How Much Should I Spend on Equipment?
Start by testing what you already have. Buy only to address a specific problem you cannot otherwise resolve. No verified minimum budget is established here, and the guide’s listed gear prices are not current buying advice. [c1]
Should I Start with Recorded Videos or Livestreams?
For this plan, begin with a recorded video so you can practice capture, editing, and review before publication. Livestreaming is another format, not a required first step. Both are discussed in the beginner guide. [c1]
How Long Does It Take to Become a Full-Time Gaming YouTuber?
There is no reliable timeline established by the cited guide. Base career decisions on sustainable workload, actual costs, and actual income rather than an assumed growth schedule. [c1]