How to Start a Vlog on TikTok: Plan, Film, and Publish Your First Video
To start a vlog on TikTok, choose one everyday activity, outline a beginning, middle, and ending, and record short clips with your phone. Edit those clips into a clear story, check the audio and captions, and prepare an accurate description. Before posting, review who can see and interact with the video. Choose a posting pace you can maintain rather than committing to daily uploads.
The storytelling and filming advice below adapts Insta360’s beginner vlogging guide. That guide supports starting with a smartphone, filming in segments, and building a sustainable routine; it is not documentation for TikTok’s current interface. The examples are practice exercises, not formulas for views or growth. [c1]
1. Choose One Story, Not Your Entire Day
Your first vlog does not need to document everything you do. Choose one activity with a visible progression: preparing lunch, working on a drawing, or trying a new hobby.
Insta360’s guide identifies daily life, hobbies, work, and opinions as possible vlog subjects. It also distinguishes your topic from your personal approach: two creators can cover the same subject from different perspectives. [c1]
Pair a subject with something you are learning, trying, or noticing:
- Too broad: “My lifestyle.”
- More specific: “Making lunch with ingredients I already have.”
- Another option: “Finding time to draw after work.”
Before filming, set a privacy boundary. Keep addresses, private messages, workplace details, and other people’s identifying information out of the frame. Ask permission before including someone else or their conversation.
First-Vlog Brief
Fill in these six lines:
- Subject: One activity I can film safely.
- Point of view: What I am learning, trying, or noticing.
- Beginning: What I intend to do.
- Middle: A decision, obstacle, or change.
- Ending: The result and my reaction.
- Privacy boundary: What I will not show.
For the lunch example, a completed brief could be:
| Element | Example plan |
|---|---|
| Subject | Make lunch using ingredients already at home. |
| Point of view | See whether I can put together a meal without another shopping trip. |
| Beginning | Show the ingredients I have chosen. |
| Middle | Explain one decision about how to use them. |
| Ending | Show the meal and say what I would change next time. |
| Privacy boundary | Do not show mail, delivery labels, other people, or identifying views outside. |
This is a demonstration plan. Describe what actually happens when you film rather than manufacturing an obstacle or reaction.
2. Start with Your Phone and a Test Clip
An equipment purchase does not need to be your first step. Insta360’s guide recommends a smartphone as a beginner starting point and emphasizes stability, clear audio, lighting, and intentional framing. [c1]
For this TikTok vlog exercise, record vertically. Place the phone on a stable support and make a short test recording where you intend to film.
Recording Test Checklist
- Record one sentence and one action.
- Play the clip back with sound.
- Check that your face or subject is visible.
- Check whether the frame stays steady.
- Listen for distracting background noise.
- Look for private information in the background.
- Adjust the location or framing and test again if necessary.
If speech is hard to hear, try a quieter location or move closer to the phone. If the subject is hard to see, change the framing or lighting. Consider additional equipment only when you have identified a specific problem that your existing setup cannot resolve.
3. Film a Beginning, Middle, and Ending
Use a short outline rather than scripting every sentence. Insta360 recommends outlining, recording in segments, and giving the vlog a beginning-middle-ending story arc. [c1]
A simple structure is:
- Beginning: Explain what you are doing and why.
- Middle: Show the activity and one meaningful decision or change.
- Ending: Show the result and reflect on it.
Record both explanation and action. A clip of you describing a task provides context; a clip of the task happening shows progression. Keep each clip purposeful.
You can also make this exercise without showing your face. Film your hands, materials, activity, and result, then explain the story with narration or text. This is a presentation choice, not a claim about TikTok performance.
Example Shot Sequence: Making Lunch
Use this sequence as a starting point, adjusting the narration to match your actual experience.
| Order | What to film | Possible narration |
|---|---|---|
| 1 | The ingredients you have selected | “I’m making lunch with what I already have.” |
| 2 | Preparing the ingredients | “Here’s what I decided to use.” |
| 3 | One meaningful choice during preparation | “I chose this because…” |
| 4 | Cooking or assembling the meal | Explain a step only if the image needs context. |
| 5 | The finished meal | “Here’s how it turned out.” |
| 6 | Your reflection, on camera or as narration | “Next time, I would…” |
There is no need to fill every moment with speech. Let an action shot carry the story when the activity is understandable on its own.
4. Edit the Clips into One Clear Story
Watch your footage before editing. Select the clips that explain the activity, show progression, and deliver the result. Insta360’s guide emphasizes a strong opening, purposeful pacing, and sound clarity. [c1]
For this first edit:
- Open with the activity or question instead of a lengthy introduction.
- Arrange clips so the viewer can follow what happened.
- Trim repeated explanations and unnecessary pauses.
- Keep narration understandable.
- If you add captions, check their wording and timing.
- Watch the complete video with sound, then without sound to check whether the visuals and text communicate the story.
What to Cut in the Lunch Example
Suppose you recorded two clips showing the same ingredients: one overhead shot and another shot explaining the same list. Keep whichever communicates the information more clearly.
If the second clip adds nothing new, remove it. That is an editing decision based on repetition—not a rule that every shot must be extremely short.
A possible final description is:
Making lunch with ingredients I already had at home—and one thing I’d change next time.
Use that wording only if the video includes the promised reflection. The description should match the finished story.
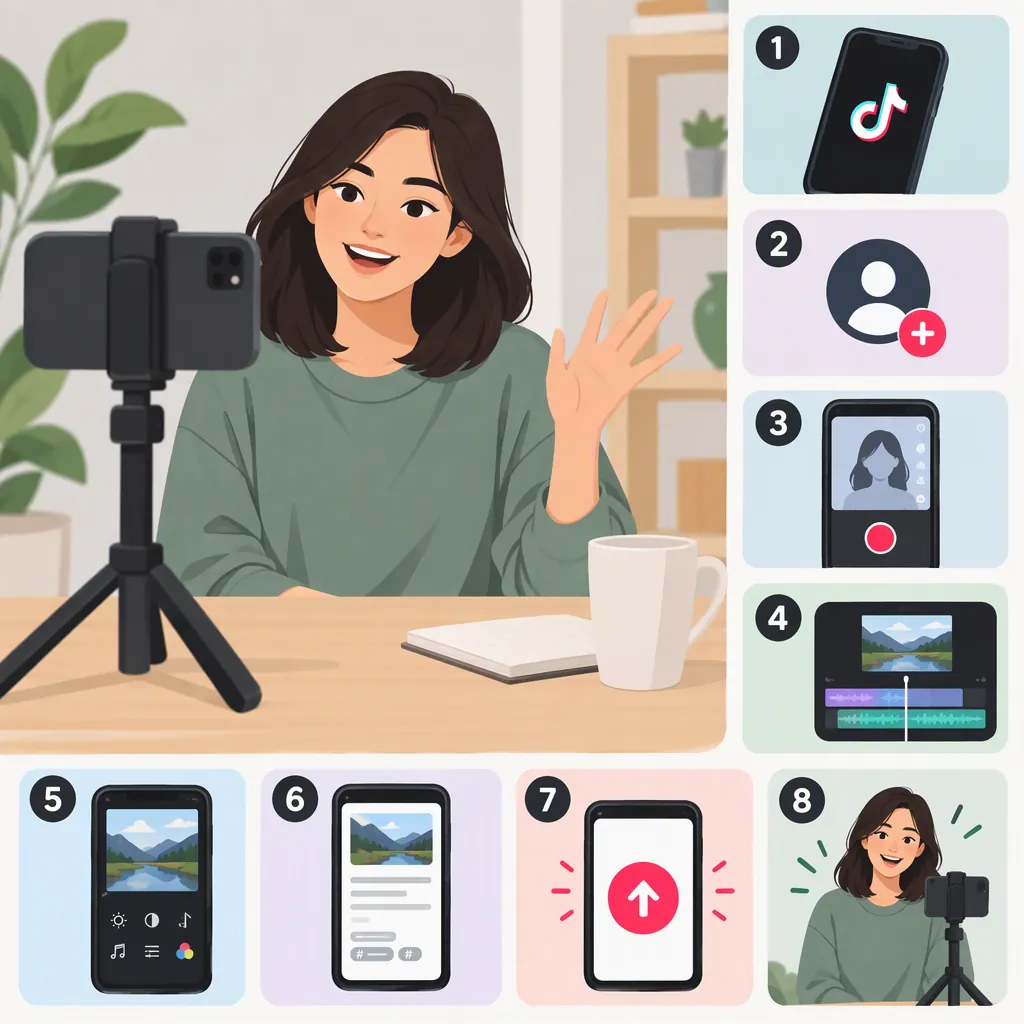
5. Complete the TikTok Publishing Workflow
Use the following as a task checklist, not a verified button-by-button walkthrough. The reference used here does not establish TikTok’s current upload controls, editing features, video limits, or setting names. Follow the options and explanations shown in your version of the app.
- Bring in your footage or record it. In TikTok’s video-creation flow, look for the available option to select existing clips or record new footage. Check that you have selected the intended material.
- Check the order and trim. If your editor offers clip arrangement and trimming, use them to build your beginning, middle, and ending. Otherwise, prepare the sequence in your phone’s editor before importing it.
- Review text and captions. If captioning or text tools are available, check accuracy, timing, and placement. Make sure text does not obscure the activity.
- Enter an accurate description. Name the activity and perspective without promising something the video does not deliver.
- Review visibility and interactions. Read the available audience and interaction settings. Choose what you are comfortable making public and allowing others to do.
- Preview, then publish when ready. Review the entire video before completing the posting action. Afterward, check the resulting post against your intended video, description, and settings.
If an option is unclear, consult the help available in TikTok rather than guessing what it does. If the video reveals private information or includes an unwanted appearance, stop and correct it before publishing.
Final Review Checklist
- The opening shows or explains the activity.
- Each retained clip adds context, action, or a result.
- Speech is understandable.
- Captions and on-screen text are accurate.
- The description matches the video.
- Private details and unwanted appearances are removed.
- Audience and interaction settings match your intentions.
6. Build a Routine You Can Sustain
Choose your next posting date based on the time you can realistically spend planning, filming, editing, and reviewing. Insta360’s guide recommends a sustainable rhythm and explicitly says consistency does not require daily uploads. This does not establish an optimal TikTok posting frequency. [c1]
After each vlog, note one choice to keep and one to change. Focus on decisions you control: clearer storytelling, better sound, fewer repeated shots, or a simpler filming plan.
Post-Video Review
- Video topic:
- Planning time:
- Filming time:
- Editing and review time:
- Actual expenses, if any:
- Keep: One choice that helped tell the story.
- Change: One concrete improvement.
- Next manageable posting date:
If you are exploring content creation as a career, use these records to understand the workload. Completing several vlogs can be a production practice exercise; it is not evidence that TikTok vlogging will generate income, audience growth, or paid work.
FAQ
Do I Need a Dedicated Camera to Start a TikTok Vlog?
No dedicated camera is necessary for the beginner workflow described here. Insta360’s guide recommends starting with a smartphone. Test your existing setup for stable framing, usable light, and understandable audio before considering extra equipment. [c1]
What Should My First TikTok Vlog Be About?
Choose one activity you can comfortably document, such as preparing a meal or working on a hobby. Give it a beginning, a meaningful decision or change, and a result. Daily life and hobbies are subjects identified in Insta360’s guide, which also emphasizes your individual point of view. [c1]
Can I Make a Vlog Without Showing My Face?
For this exercise, yes: use activity shots, narration, or text to communicate the story. Keep a clear beginning, middle, and ending—the story structure recommended in Insta360’s guide. The faceless approach is an editorial option, not a prediction about engagement. [c1]
How Long Should My First TikTok Vlog Be?
For this exercise, keep enough footage to explain the activity, show progression, and deliver the result; remove repetition. Insta360’s guide supports purposeful pacing, but it does not establish an ideal TikTok vlog duration or verify current platform limits. Check the limits shown in your app. [c1]
Should I Post a Vlog Every Day?
Daily posting is not required by the guidance used here. Choose a cadence that leaves enough time to film, edit, and review each video. Insta360 recommends sustainable consistency, not a guaranteed growth schedule. [c1]