Talking Head YouTube Videos: What They Are and How to Make One
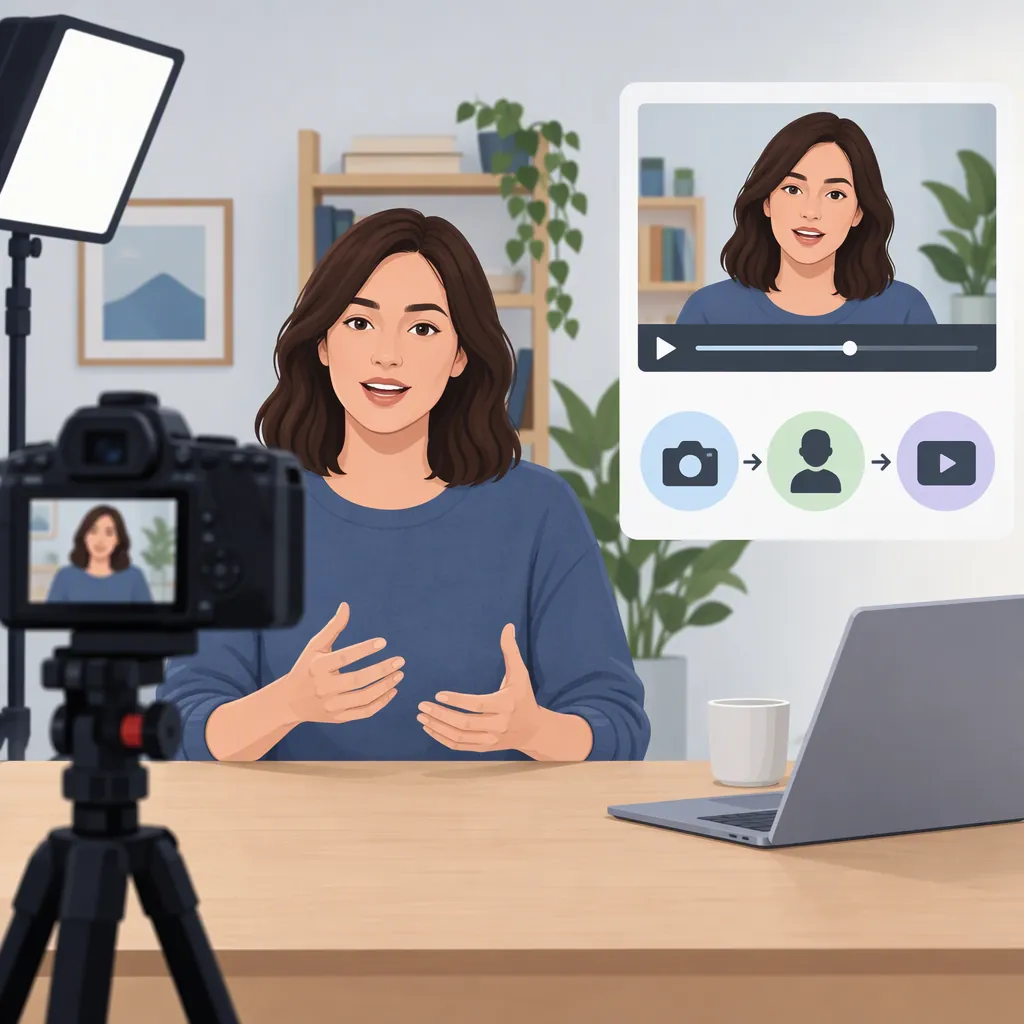
A talking head YouTube video features a person speaking on camera, typically framed around the head and shoulders. The term describes a shot style, not a YouTube feature. StudioBinder identifies YouTube as one setting where this format appears. To make one, plan a focused explanation, set up your shot, test a short recording, and edit the spoken message before adding supporting visuals. [c1]
What “Talking Head” Means
StudioBinder defines a talking head as a camera setup featuring the subject’s head and shoulders. Its examples include news presenters, documentary interviews, and social media videos, including YouTube. [c1]
The framing is not an absolute rule. StudioBinder also describes documentary variations with looser compositions and subjects speaking to an off-camera interviewer. A talking head therefore does not have to look like a tightly cropped, direct-to-camera news broadcast. [c1]
For this article, the production goal is a real person delivering an explanation on camera—not an animated character or a software-generated presenter.
Plan the Explanation Before Recording
The workflow below is a suggested starting point, not a platform requirement or a production standard specified by the reference.
Choose one question the video will answer. Write the answer in a sentence, then outline the points needed to explain it. Include a concrete example wherever the explanation would otherwise feel abstract.
Choose between a full script and short speaking notes. Try reading a paragraph aloud before committing to either approach. Rewrite wording that feels awkward to say, and mark places where you want to pause or show an example.
Presenter Outline
1. Viewer question: What does this video explain?
2. Direct answer: State the main idea in one sentence.
3. Explanation: List the essential points in order.
4. Example: Describe or show one concrete case.
5. Recap: Restate the answer without introducing a new topic.
Set up the Shot and Test the Sound
Start with head-and-shoulders framing if you want the conventional talking-head composition described by StudioBinder. Adjust the frame if your explanation needs visible hand gestures or a physical demonstration. [c1]
For a first recording, try this practical checklist:
- Put the camera or phone on a stable support.
- Use a background that does not compete with the subject.
- Arrange the light so your face is visible, then inspect the recorded image rather than relying only on the live preview.
- Choose a quiet location and record a short speech sample with your intended microphone.
- Listen to that sample for distracting noise, unclear words, or distorted sound.
- For a direct-address presentation, practice looking toward the lens. For an interview, decide where the interviewer will sit.
Treat these as setup choices to test, not guarantees of a particular visual or audio result. The supplied reference does not specify camera settings, microphone placement, or equipment requirements.
Record in Manageable Sections
As a starting approach, record the opening, each main point, and the recap separately. Leave a brief pause before and after each section so you have room to choose an edit point.
If you stumble, pause and repeat the sentence from a clear starting point. Review the first section before recording the rest: check that the face remains in frame and that the speech is understandable.
A single continuous take is also an option. Choose the approach that suits your delivery rather than assuming a talking-head video requires one uninterrupted performance.
Edit the Message and Add Supporting Visuals
Build an understandable spoken sequence first. Remove unwanted restarts and repetition, then watch the edit to check that the argument still makes sense.
If a passage would benefit from an example, consider showing a relevant screenshot, diagram, or supporting footage while the explanation continues. These are optional editorial choices; the talking-head definition itself does not require additional visuals.
For example, in an explanation of microphone placement, you could cut from the presenter to a close view of the actual setup. Keep the visual connected to the words being spoken, and avoid imagery that suggests an event, result, or demonstration you did not record.
Before publishing, review the whole video for understandable speech, accurate wording, readable on-screen text, and permission to use any added material. The supplied source supports the format’s definition and examples, but it does not establish YouTube performance outcomes or an optimal editing formula.
FAQ
Does a Talking Head Have to Look Directly at the Camera?
No. StudioBinder describes direct-to-camera news and social media examples, but also documentary subjects speaking with an off-camera producer. The format allows both approaches. [c1]
Do I Need a Particular Camera or Microphone?
The supplied reference does not establish a required camera or microphone. As a practical starting point, test the equipment available to you and review the recorded framing and speech before making equipment decisions.
Does a Talking Head YouTube Video Need Supporting Footage?
Supporting footage is not part of StudioBinder’s talking-head definition, which centers on the speaker’s framing. Consider adding visuals when they help explain a specific point, rather than treating them as mandatory. [c1]