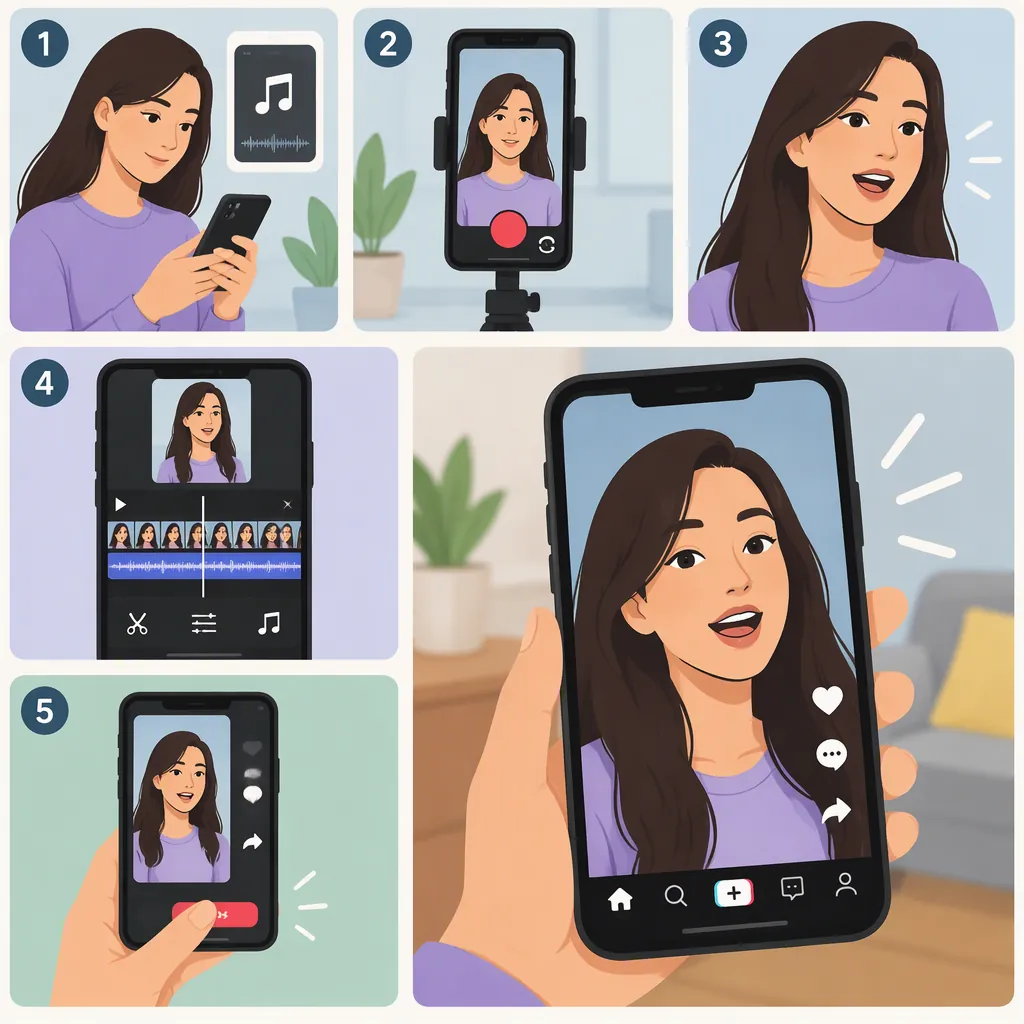
How to Make a TikTok Lip-Sync Video
To make a TikTok lip-sync video, choose a short audio passage you are allowed to use, rehearse its words and pauses, and record yourself mouthing along to that exact passage. Match the recorded performance to the same audio in your edit, remove any unwanted recording sound, and preview the finished video before posting.
Workflow used here: Record outside TikTok, assemble the video and audio in an editor that supports separate tracks, then prepare the finished file for upload. These are general production steps, not instructions for specific TikTok buttons. The supporting Snapchat tutorial collection highlights timing and expression, but it does not document TikTok’s recording or editing controls. [c1]
1. Choose and Prepare Your Audio Passage
Choose a short passage with words you can learn comfortably. For a first attempt, try one sentence or one musical phrase rather than a long verse.
Confirm that you have permission to use the recording for your intended post. Do not assume that audio available within one platform can also be downloaded, edited elsewhere, or reused on another platform. For this external-editing workflow, use a recording you are permitted to include in the finished video.
Before rehearsing:
- Choose the exact beginning and end of the passage.
- Keep any brief lead-in that helps you anticipate the first word.
- Use the same passage at the same playback speed for rehearsal, filming, and editing.
- Keep the permitted audio file available for your final edit.
Avoid rehearsing one version of a recording and editing with another. Your performance should follow the exact delivery that viewers will hear.
Short Performance Plan
- Audio passage: ______
- Opening words: ______
- Cue immediately before the first word: ______
- Main expression or reaction: ______
- Final word and ending pose: ______
Decide what the performance should communicate: a joke, a dramatic reaction, or a straightforward sing-along. Mark where your expression should change so you have a simple plan.
2. Rehearse the Words and Pauses
Listen to the selected passage. Learn not just the words, but also the gaps, drawn-out syllables, breaths, and sudden changes in delivery.
Practice in three passes:
- Words: Mouth the passage without worrying about acting.
- Timing: Start each word with the recording and hold longer sounds until they finish.
- Expression: Add your planned reactions without losing the timing.
Pick a cue just before your entrance, such as a beat or the end of a preceding word. If you keep missing the opening, rehearse that cue and the first phrase separately.
Aim for recognizable mouth shapes rather than exaggerated movement on every syllable. Practice the ending too: finish the last word with the recording and hold your planned pose briefly.
3. Record While Following the Same Audio
Set up a vertical frame for your TikTok-bound video. Place the camera so your whole face is visible, with enough room for planned gestures. Use steady support and light your face clearly; avoid leaving your mouth in shadow.
For the external-recording workflow:
- Have the selected passage ready on a playback device you can hear while filming.
- Start recording before starting the reference playback.
- Let the lead-in play, then mouth the words in time with the recording.
- Hold your ending pose and leave a little extra footage before stopping.
- Review a short test for framing and timing before recording more takes.
The playback is a timing reference, not necessarily the final soundtrack. If your camera captures that playback through its microphone, keep it temporarily as an alignment guide. In the edit, use the permitted audio file as the intended soundtrack and mute the camera recording where your editor supports it.
For your first full take, keep the camera fixed and perform continuously. Establish a complete, well-timed version before trying cuts or changes of location.
4. Match the Performance to the Final Soundtrack
Use an editor that lets you place video and audio on separate tracks, adjust their start positions, and control the recorded audio’s volume.
- Import your chosen take and the exact audio passage. Do not substitute a different version or change its speed.
- Align the performance. If the camera captured the reference playback, use it as a temporary guide to line up the intended soundtrack. Then check the visible mouth movements.
- Mute the camera audio for the finished version. This avoids leaving reference playback, room noise, or your own voice underneath the intended soundtrack.
- Trim the beginning and end. Keep the first word intact and let the final word finish.
- Preview the complete edit with sound. Check the opening, a phrase in the middle, and the ending.
If the mouth movement appears early or late by the same amount throughout, try a small adjustment to the video or audio start position. If only some words drift out of time, shifting the entire clip will not solve those individual moments; rehearse and record the troublesome passage again.
Listen as well as watch. If you hear doubled words, an echo-like overlap, unintended speech, or room noise, check whether the camera audio or a duplicate audio track is still audible.
5. Review the Finished File Before Posting
Export the assembled video and play that file from beginning to end. Do not rely only on the editor preview.
When preparing the file for TikTok, review the posting preview and any sound choices you make. If the file already includes the intended soundtrack, check that you have not introduced a second audible copy. Keep text away from your mouth and confirm that the audience and visibility settings match your posting plan.
Pre-Posting Review Checklist
- The first mouth movement matches the first audible word.
- A phrase in the middle still matches.
- The final word finishes with the audio.
- My mouth stays visible during key lines.
- Text does not cover the performance.
- Only the intended soundtrack is audible.
- The selected audio is permitted for my intended use.
- I have watched the exported file and reviewed the posting preview.
- The audience and visibility settings match my plan.
FAQ
Should I Sing Aloud or Just Mouth the Words?
For this workflow, try silently mouthing the words while following the recording. If quietly speaking helps you rehearse, use it during practice. In the final edit, mute the camera audio where your editor supports it, then listen for any remaining unintended voice or room noise.
How Do I Keep the Reference Playback Out of the Finished Video?
Treat the sound captured during filming as a temporary alignment guide. Place the permitted audio file on a separate track, match it to your performance, and mute the camera’s recorded audio. Preview the result to check that only the intended soundtrack remains.
What Should I Do If My Lips Look Late?
Check whether the delay stays constant throughout the clip. If it does, try a small start-position adjustment in your editor. If only certain words are late, practice those words with the preceding cue and record another take. Check the middle and ending before deciding the problem is fixed.
Can I Make the Video Without Complicated Cuts?
Yes—start with one continuous take. Follow the same passage from beginning to end, match it to the intended soundtrack, and trim only the extra footage at either end. Add more elaborate edits only after you have a version with consistent timing.
What Should I Focus on Besides Matching the Words?
Plan a clear expression or reaction, and keep your face visible while performing. Rehearse the expression after learning the timing so it does not distract you from the words. Timing and expression are also themes highlighted in Snapchat’s lip-sync tutorial collection. [c1]