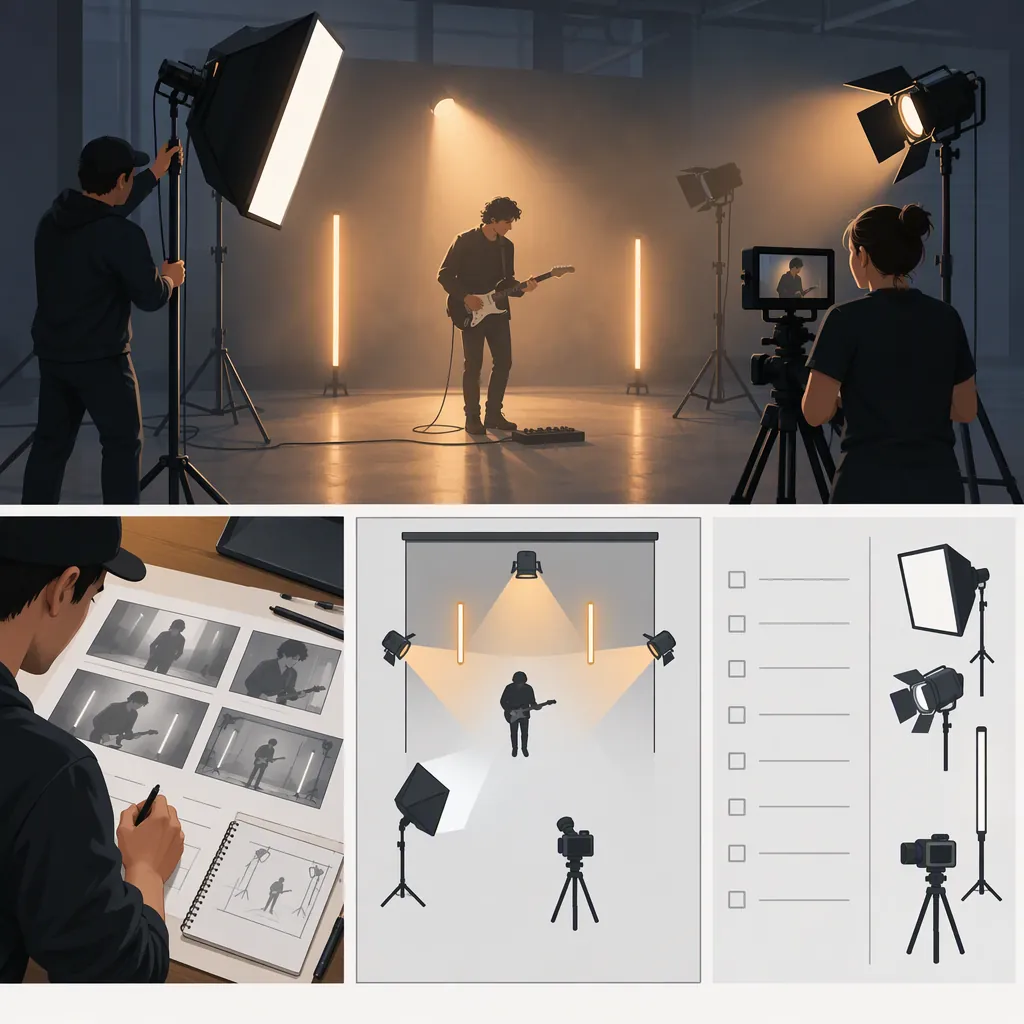
Music Video Lighting: Plan the Mood and Choose a Setup
Start music video lighting by choosing the mood and planning each shot. For a clearly lit performance, use a key light, fill light, and backlight. For a silhouette, try a light behind the performer with illumination directed toward the background. Outdoors, plan around sunlight and use reflectors or diffusion as needed. These are starting points to test, not fixed recipes. [c1] [c3]
Plan the Look Before Placing Lights
Music video lighting does more than make a performer visible: it helps establish mood and support the song’s story. Both COLBOR’s and Pinnacle Studio’s guides emphasize planning the visual approach before setting up lights. [c1] [c3]
For each shot, decide whether the audience should read facial expressions, follow choreography, or focus on a graphic outline. Then choose an indoor, outdoor, or nighttime setting and sketch the performer, camera, and light positions. Pinnacle Studio recommends storyboards, equipment lists, and communicating expectations to the crew. [c3]
Treat the setups below as options rather than requirements. The supplied sources are introductory guides, not measurements for your location or equipment. Test the intended framing before committing to a look.
Shot Lighting Brief
Copy and complete for each shot:
- Shot or song section:
- Intended mood:
- Location and time of day:
- Framing and performer movement:
- Must the face remain clearly visible?
- Main light source and direction:
- Fill or reflector:
- Backlight or background treatment:
- Color choices:
- Test result and adjustments:
Use Three-Point Lighting for a Readable Performance
COLBOR describes three-point lighting as a key light for primary illumination, a fill light to soften shadows, and a backlight to separate the subject from the background. Its suggested starting position places the key about 45 degrees from the subject, with a weaker fill opposite it. [c1]
Build the setup one light at a time:
- Place the key. Start to one side of the camera and check how the light shapes the performer’s face.
- Introduce fill. Adjust it until the shadow side is as visible as the shot requires. Do not treat the source’s suggested brightness relationship as mandatory.
- Add separation. Try a backlight behind the performer and judge its effect in the camera frame.
- Rehearse movement. Ask the performer to repeat the intended action and check the result throughout the shot.
For close-ups where you do not want to emphasize the backdrop, COLBOR also proposes a two-light arrangement with a key in front and a fill on the opposite side, slightly behind the subject. [c1]
Choose Between Facial Detail and Silhouette
A silhouette is a different visual goal from a clearly lit performance. COLBOR and Pinnacle Studio describe a one-light approach with the light behind the performer, angled toward a solid background, for choreography shots. [c1] [c3]
Use that arrangement as a test rather than a guarantee. Frame the shot, then adjust the light and performer positions until the outline reads as intended. If facial expression is essential, consider the key-and-fill approach instead.
For an indoor scene with a visible wall, both guides describe using elevated fill light to spill onto the background. COLBOR additionally discusses diffusion and barn doors for softening and shaping illumination. [c1] [c3] Decide whether the wall should contribute to the image before deliberately lighting it.
Plan Outdoor Shots Around the Sun
Pinnacle Studio notes that sunlight just after sunrise or before sunset is less harsh than midday light. It also recommends reflectors and diffusers when working outdoors during the day. COLBOR describes using the sun as a backlight and a reflector to illuminate the performer from the front. [c1] [c3]
Choose the sun’s direction as part of the shot plan. Test whether you prefer direct illumination on the face or sunlight behind the performer with reflected light in front.
COLBOR cautions that light changes quickly around blue hour and golden hour and recommends monitoring white balance. [c1] Avoid assuming that either period provides a fixed shooting window. Plan a short rehearsal and prioritize the shots that depend most on the chosen light.
Add Color After Establishing the Base Look
COLBOR suggests colored gels or filters as ways to change a scene’s mood and discusses LED tubes as visible background elements. These are creative options, not requirements for music video lighting. [c1]
A practical testing sequence is to establish the performer’s illumination first, then introduce a background color or contrasting light. Compare a short recorded take with the intended mood before adding more effects.
Use this review checklist before moving to the next shot:
Lighting Test Checklist
- Does the shot communicate the intended mood?
- Is facial detail visible when the performance needs it?
- Does the performer’s outline read in silhouette shots?
- Does the background support rather than compete with the performer?
- Does the lighting still work during the full movement?
- Are the selected colors intentional?
- Have light positions and camera settings been recorded for repeat takes?
FAQ
How Many Lights Do You Need for a Music Video?
There is no single setup in the supplied guides. They describe a one-light silhouette approach, a two-light close-up arrangement, and three-point lighting. Choose according to the shot’s visual goal rather than assuming every scene needs three fixtures. [c1] [c3]
Can You Shoot a Music Video with Natural Light?
Yes. The guides describe daylight setups using sunlight, reflectors, and diffusion. They also emphasize time of day and white balance. Plan for changing conditions rather than expecting sunlight to remain consistent throughout the shoot. [c1] [c3]
Do Music Videos Need Colored Lighting?
No. COLBOR presents colored gels and filters as creative options alongside setups that do not depend on color effects. Start with the illumination your shot needs, then test whether color supports the song’s mood. [c1]