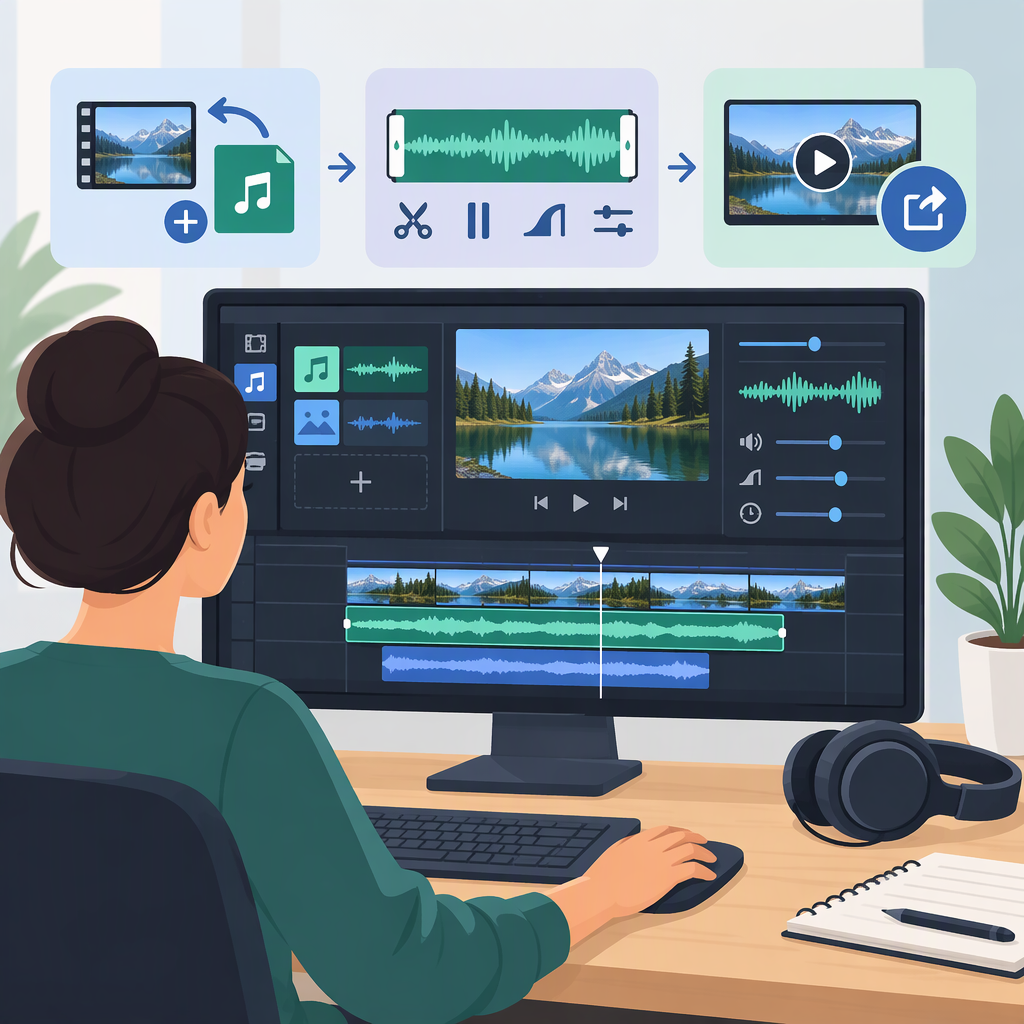
How to Add and Edit Audio in a Video Audio Editor
To add audio to a video, choose a sound source, add it to your project using the option your editor provides, position it against the picture, then preview and adjust the result. Before sharing, export the video and play that file to confirm the sound is present and synchronized. The exact controls—and whether you can import audio, record narration, or use a built-in sound library—depend on the editor and device.
Choose a Sound and Place It with the Video
- Decide what sound you need. You might use the video's original sound, an audio file, narration, music, or a sound effect. Use audio you have permission to use.
- Find the editor’s way to add it. Look for an option to import or add media, record a voiceover, or select from an included audio library. These options aren’t universal. For example, Adobe documents importing audio and adding clips to a Premiere sequence; Apple documents soundtrack and sound-effect options in iMovie. (helpx.adobe.com)
- Place the sound where it belongs. In a timeline-based editor, position the audio clip relative to the video: align a spoken line with the moment the speaker appears, or place music where you want it to begin. Other editors may use different controls.
- Preview the section. Listen while watching the picture. If the sound starts too early or late, move it and preview again.
Time and Adjust the Audio
Match the audio’s start and end to the moment you want the viewer to hear. If the clip contains unwanted material at the beginning or end, trim that portion if your editor allows it. If trimming would remove a sound you want to keep, consider moving the clip or changing its duration another way rather than cutting off that moment.
Adjust the clip’s level so it can be heard without overwhelming other important sound. Preview the change: a setting that seems suitable in the editor may sound different when played back. Fades can soften an abrupt start or finish, but use them only if your editor provides them and they suit the clip. Controls vary: for instance, Apple’s iMovie for iPhone documents moving, splitting, and changing the duration of audio clips, as well as adjusting volume and adding fades. (support.apple.com)
Balance Dialogue, Music, Effects, and Original Sound
Decide what role the video’s original sound should play. Keep it if it carries speech or useful ambient sound; reduce it if it competes with added audio; mute it if you don’t want it in the finished mix. When speech matters, check that you can understand it while music or effects are playing. Lowering, moving, or shortening competing audio may help.
Listen to the overlapping section, not just each clip on its own, and adjust levels until the important sound is clear. Some editors offer automatic ducking, which lowers background music while other audio plays; don’t assume the feature is available or enabled. Apple documents ducking in iMovie on iPhone, for example. (support.apple.com)
Preview and Check the Exported Video
Before finishing:
- Preview the edited section and, when practical, the full video.
- Check that each sound starts and ends where intended and stays aligned with the picture.
- Listen for speech or other important audio that is too quiet or masked by another track.
- Choose export options that suit your destination, using settings available in your editor. Available options can vary by editor and format. (helpx.adobe.com)
- Play the exported file itself. Confirm the sound is present, audible, and synchronized—not just correct in the editing timeline.
For example, iMovie on Mac provides an option to export a movie as a file. The steps and choices will differ in other apps or versions. (support.apple.com)
Quick Troubleshooting Checks
- Audio is misplaced: Return to the edit, move the clip relative to the video, and preview that section again.
- Audio is hard to hear: Check whether the clip is muted or its level is low, and listen for other sounds competing with it.
- Audio is missing from the exported file: Play the exported file, then check that the intended sound is present in the project and that the export completed as expected. If the problem remains, consult the editor’s help for your specific device and version.
A good video audio editor workflow is simple: place the sound, adjust timing and level, listen to the mix, and verify the exported video. Treat named controls and features as editor-specific rather than assuming every app works the same way.